Well To Hell
|
The Well to Hell Prop Getting more ambitious as I go on. This prop incorporates pneumatics, fans, fog, sound, black lights, and a central EFX-TEK PROP1 driving it all. Here's what "The Well" does: On queue from approaching TOTs (via motion sensor) our ghostly witch standing nearby will begin her haunted incantation - summoning up spirits from the well-gateway to the other side. As she finishes the spell, satanic images magically illuminate on the wall behind the well. Suddenly the well begins smoking, and very shortly thereafter the smoke begins rushing up out of the well. Finally, illuminated in a demonic fire-light, the undead creature springs forth from the well with an unearthly groan! Here's a video of the prop in action (sans smoke) Some video excerpts while testing (mp3s will launch in a new browser window): You can also check out the witch we custom built for the well. She makes the magical incantation that summons forth the demon, with her green eyes flashing and mouth moving. We've even got a few videos of her in action.
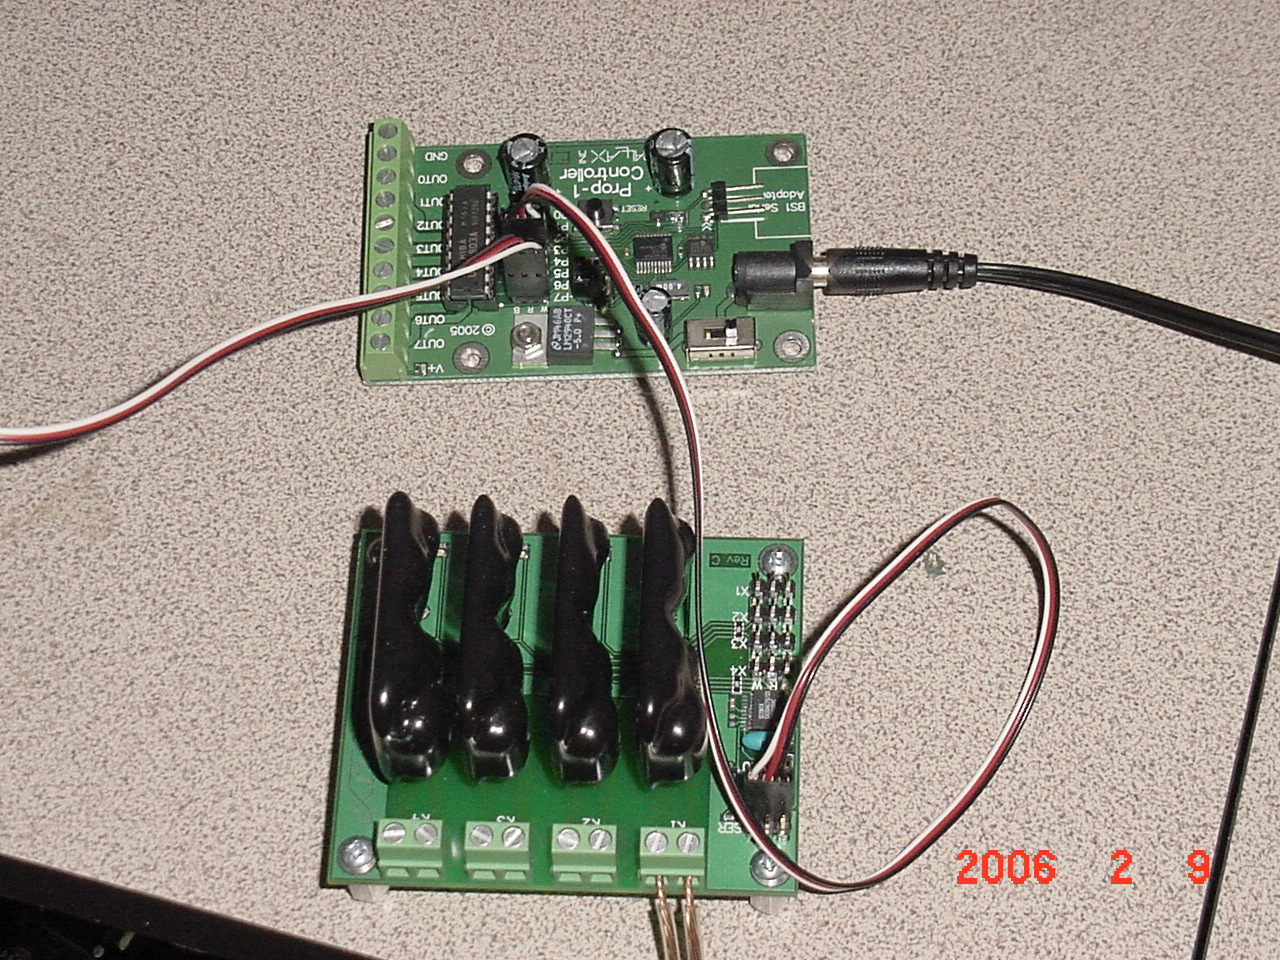
This involves several of firsts for me, so taking it a step at a time; I first needed to get a relay controller working with the PROP1 to control some of the 120VAC effects (lights, fog machine, hydraulic solenoid) I will be triggering for this prop. This was actually pretty easy - using a EFX-TEK RC-4 I simply hooked up a servo extension cable between the PROP1 and the RC-4, and a quick test with sample BASIC code provided by EFX-TEK verified that everything was talking and the PROP1 could control the RC-4. Here's a picture of the PROP1 hooked up to the RC-4 (with a PIR also hooked up, but not in the picture): (Click on any picture to see a larger version)
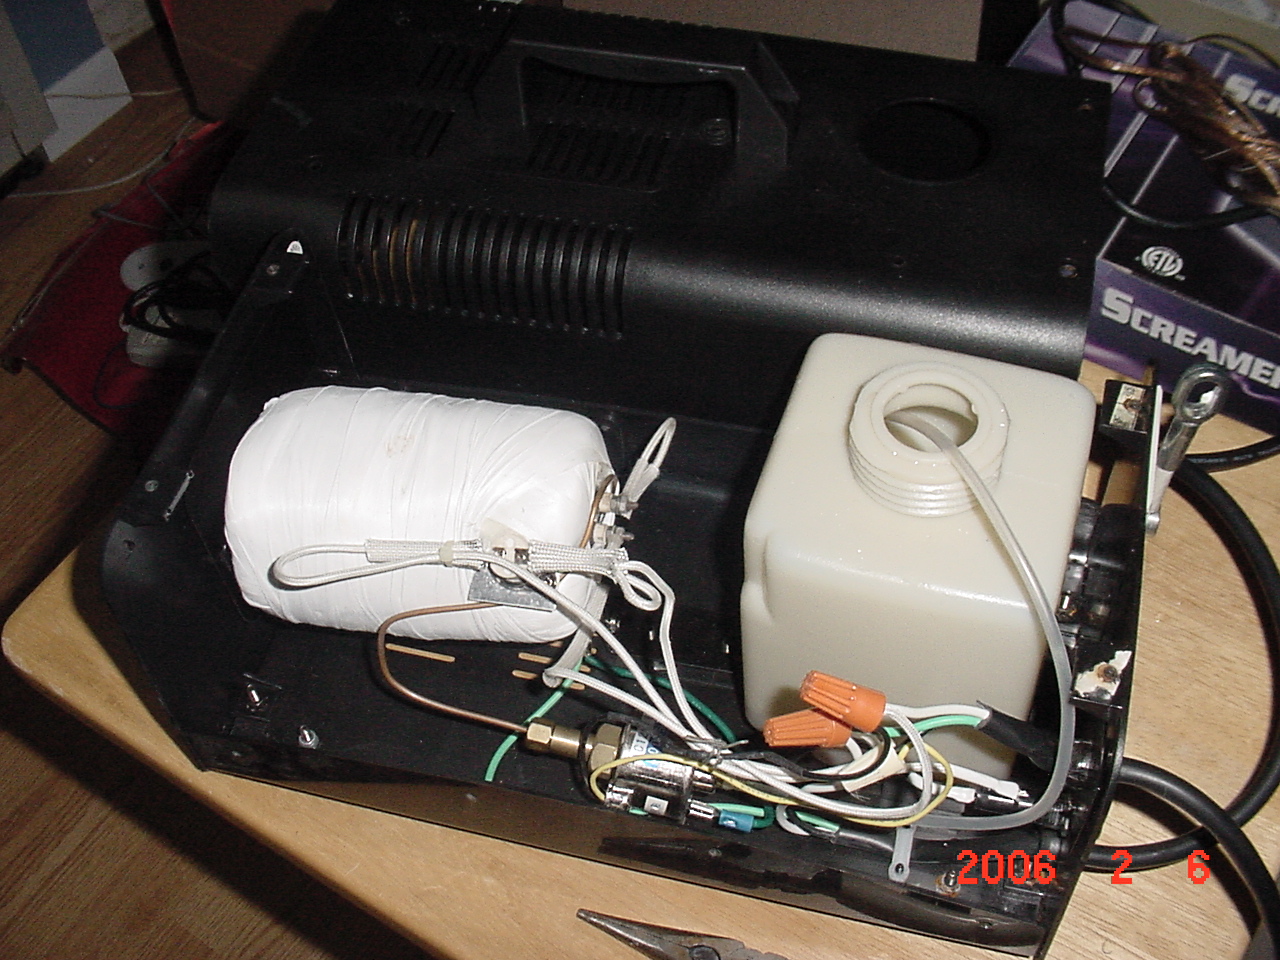
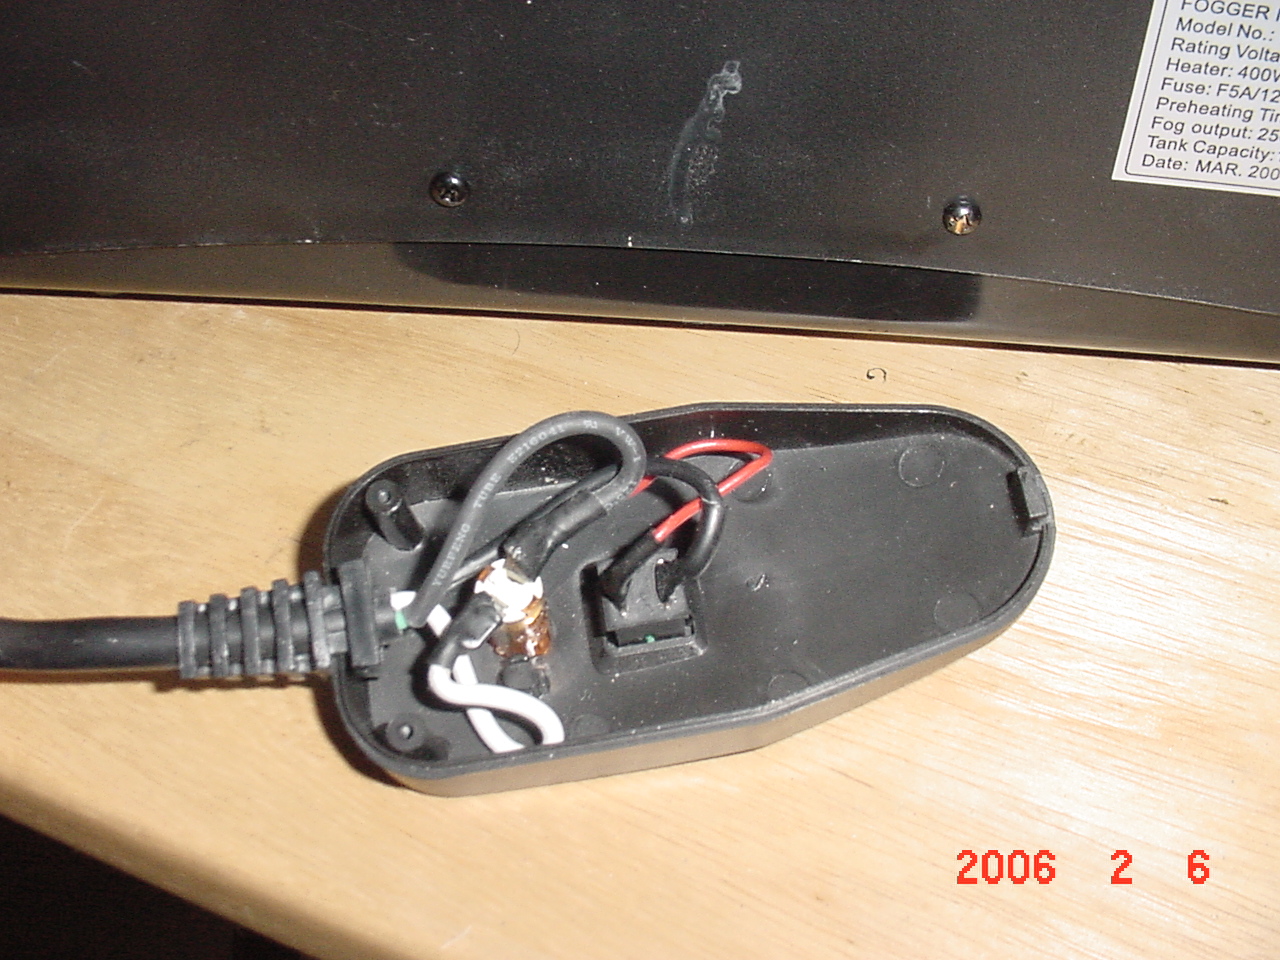
Next step was to get something hooked up to the RC-4 (and I was dying to see it in action anyway). I had an old "Silver Rain" fog machine (the older version which wouldn't accept a timer-capable remote). With only a manual control on the unit, its usefulness during the busy Halloween evenings was limited. So, I opened up the remote and the unit to determine how the switch worked. I have several similar units, and the wire colors inside the units are different on each, so if you try this yourself, don't go simply by the wire colors on my unit.
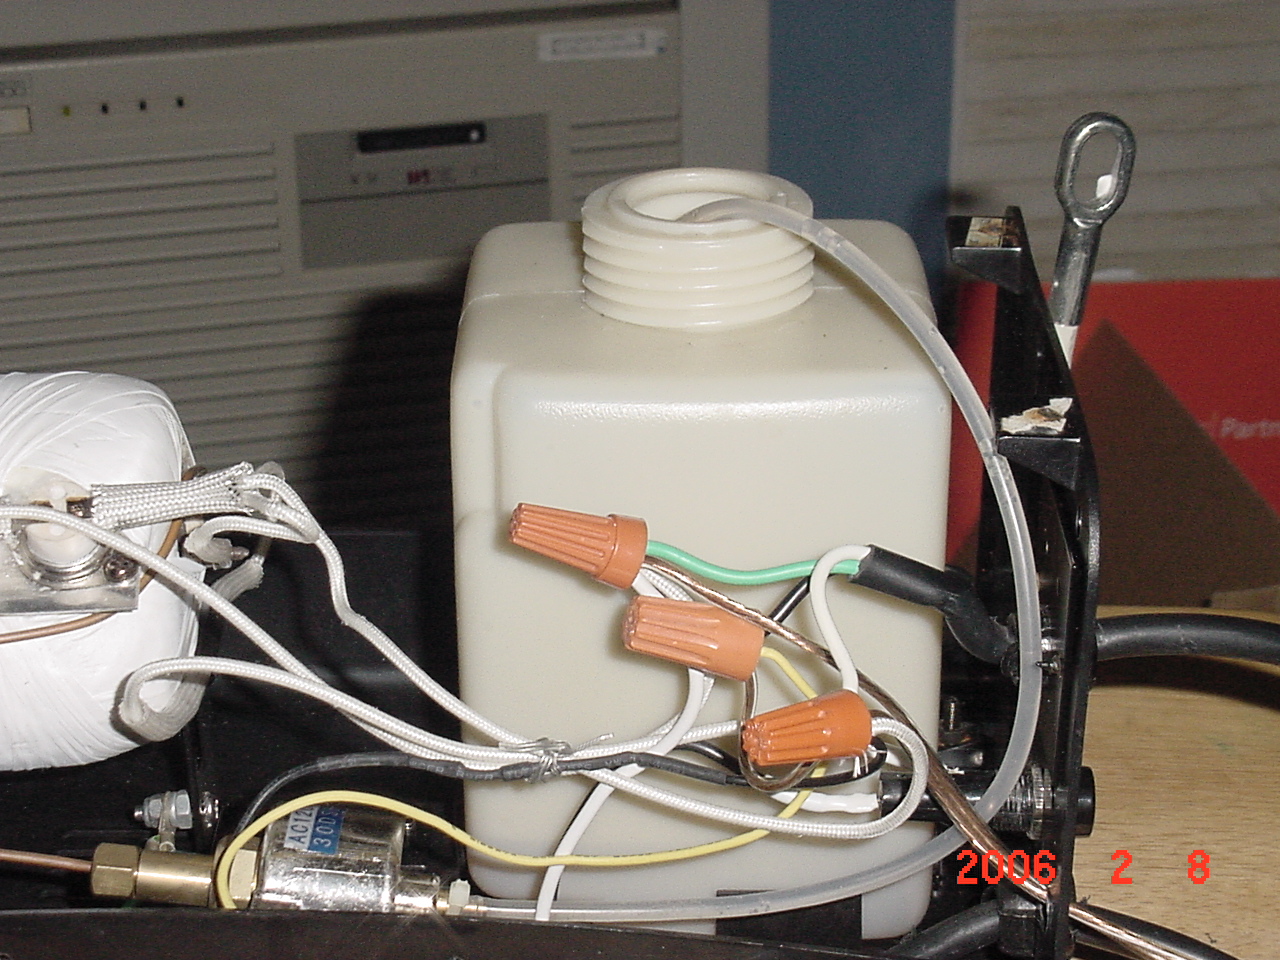
Basically I just identified the wires that fed each side of the switch on the remote, traced them back into the unit, and added my own leads to the wire-nut bound connections. I drilled a small hole out the back of the unit to feed my new wire, and ran that wire to the K1 blocks on the RC-4 board. Here's a close-up of the innards of the fog machine with my new leads attached;
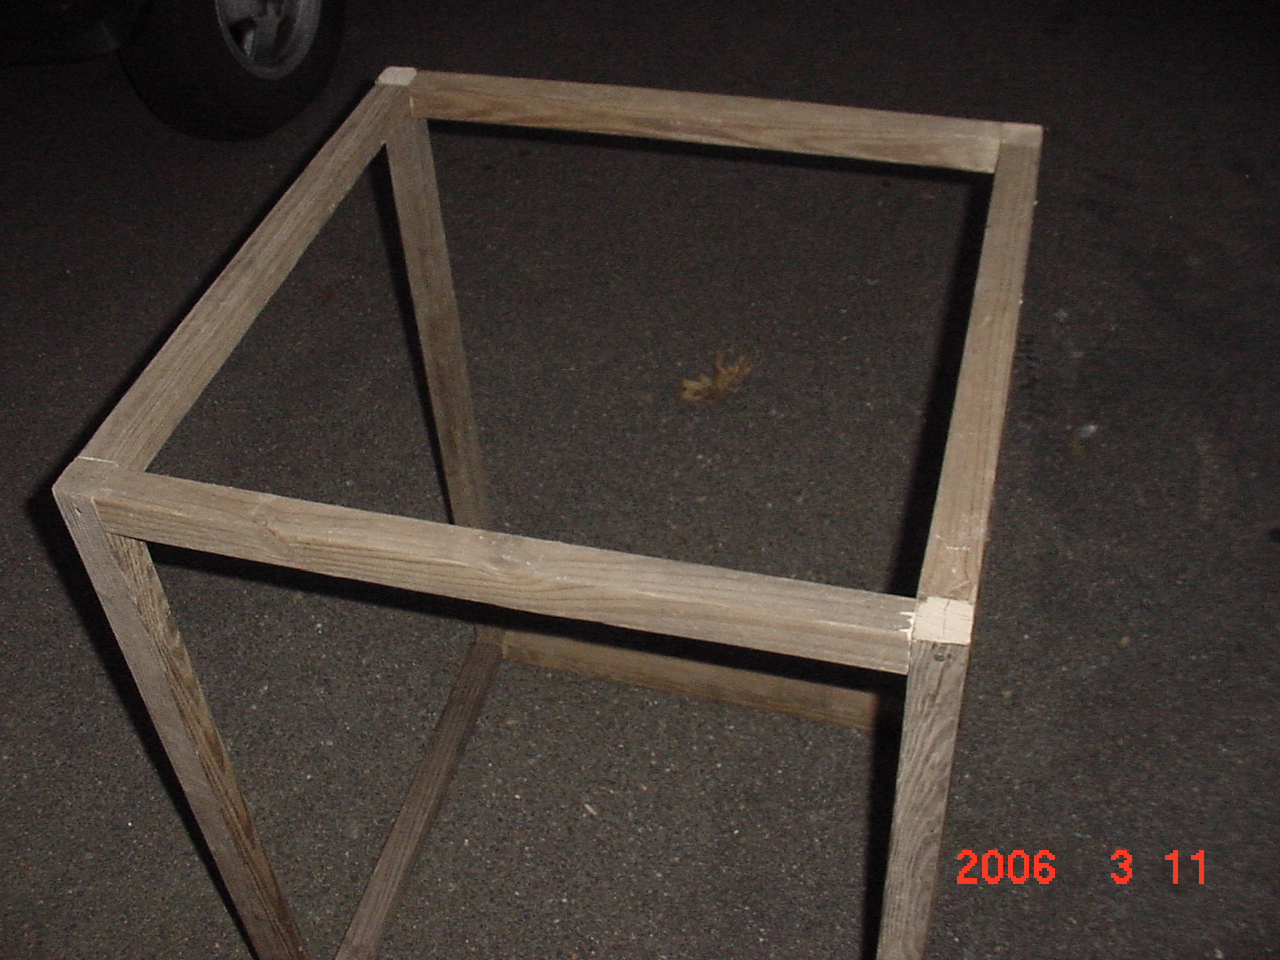
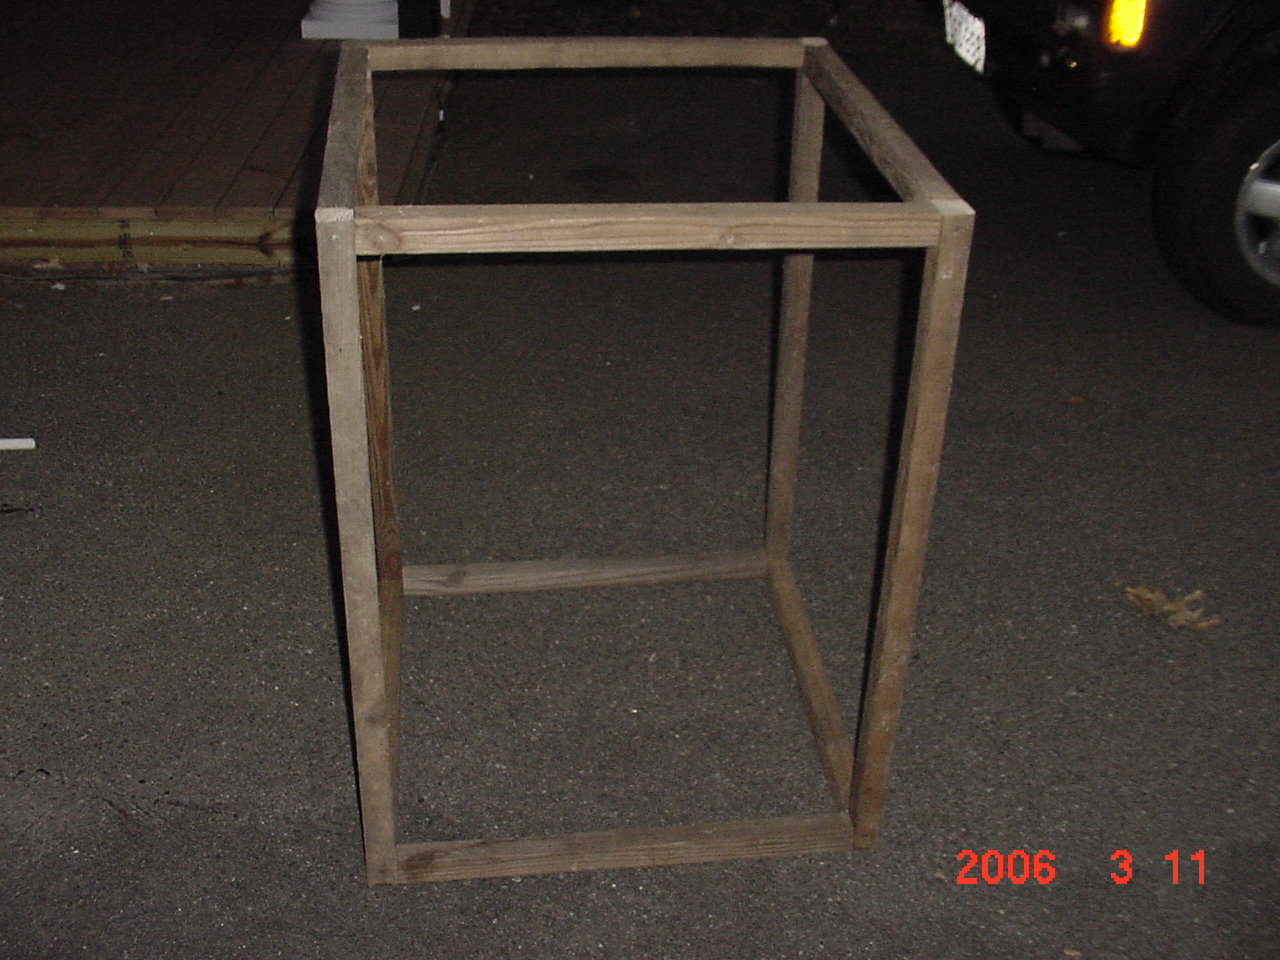
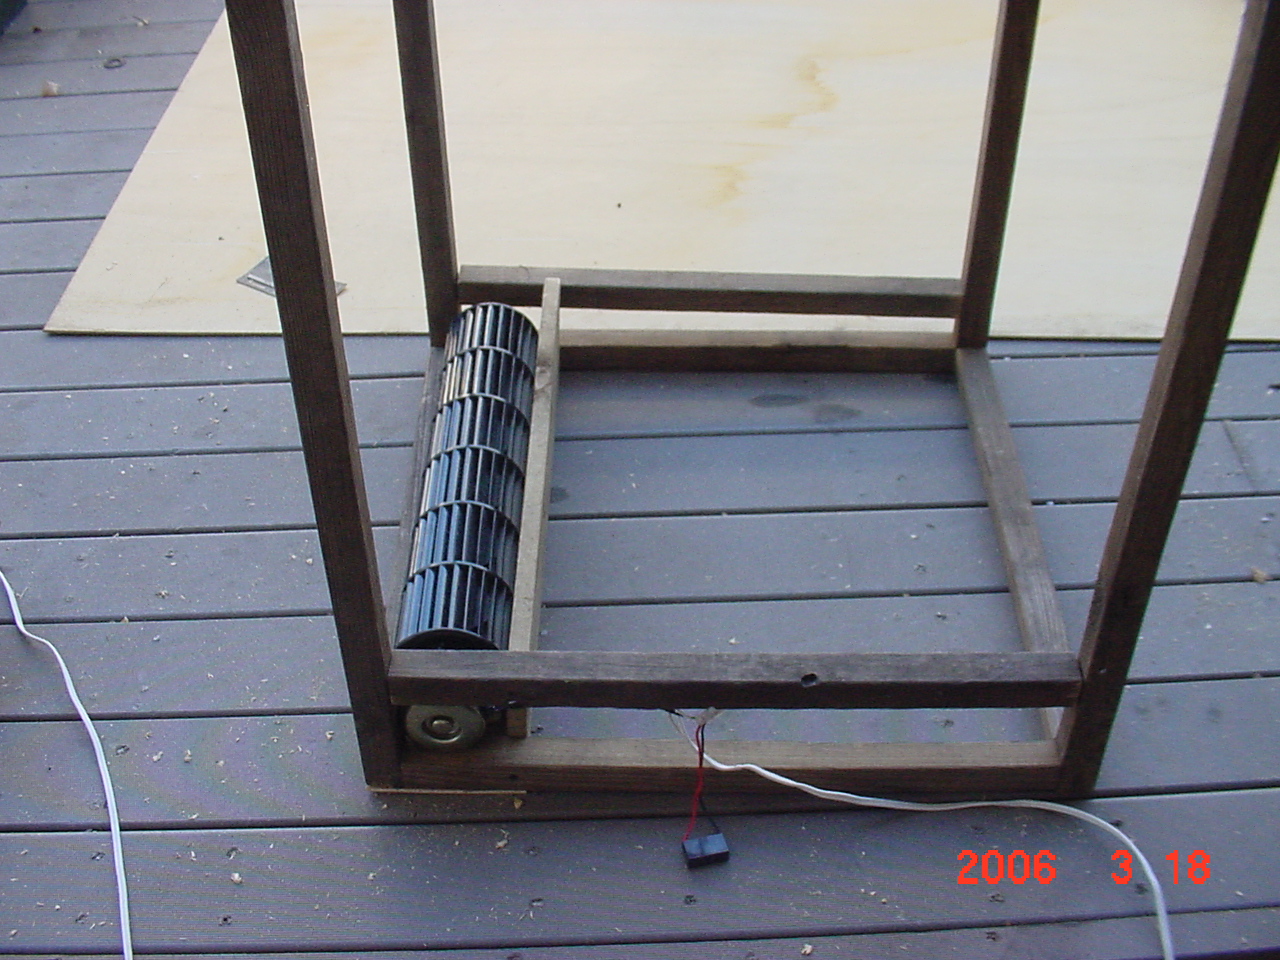
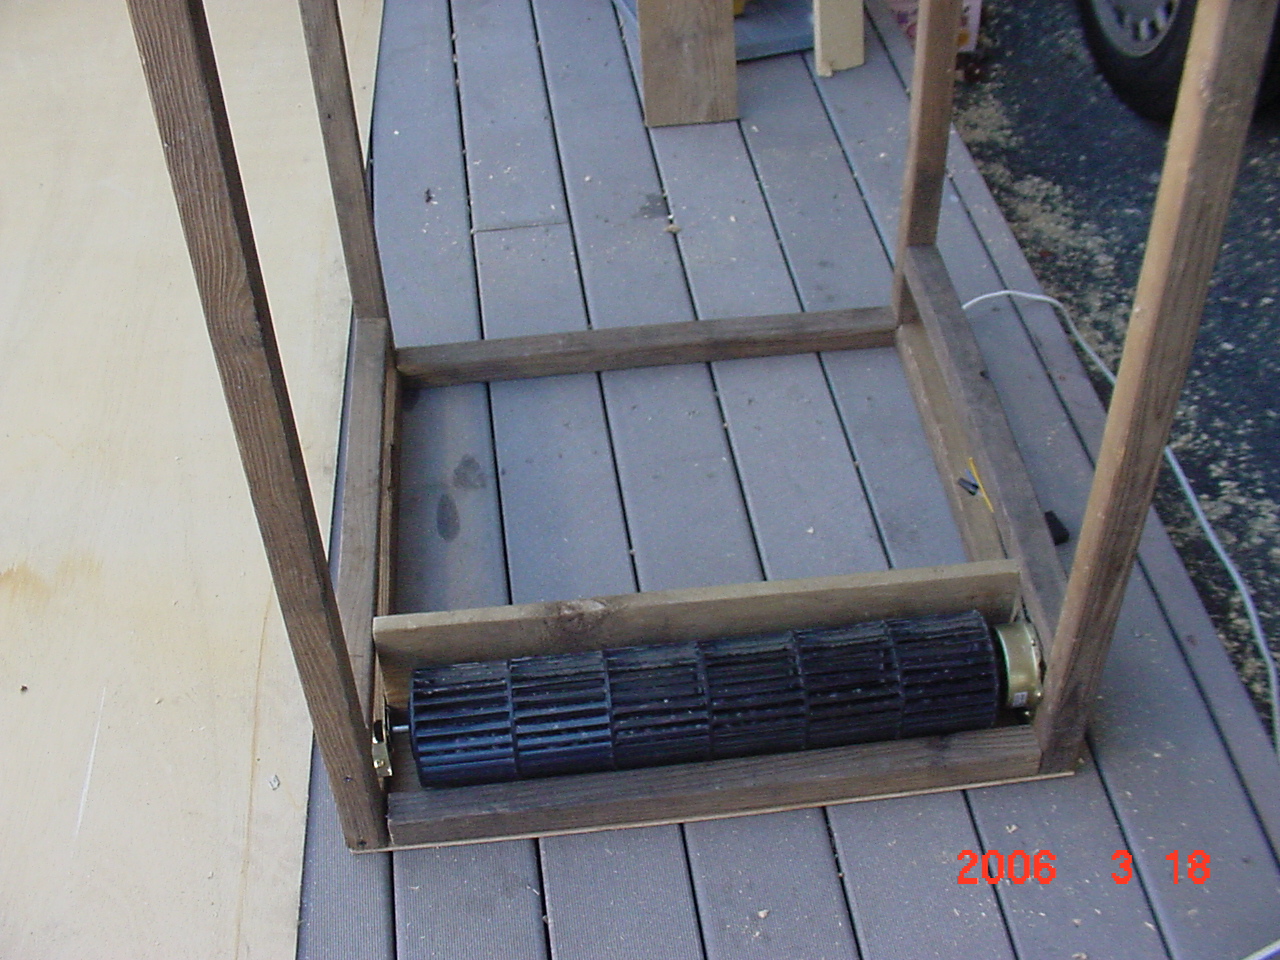
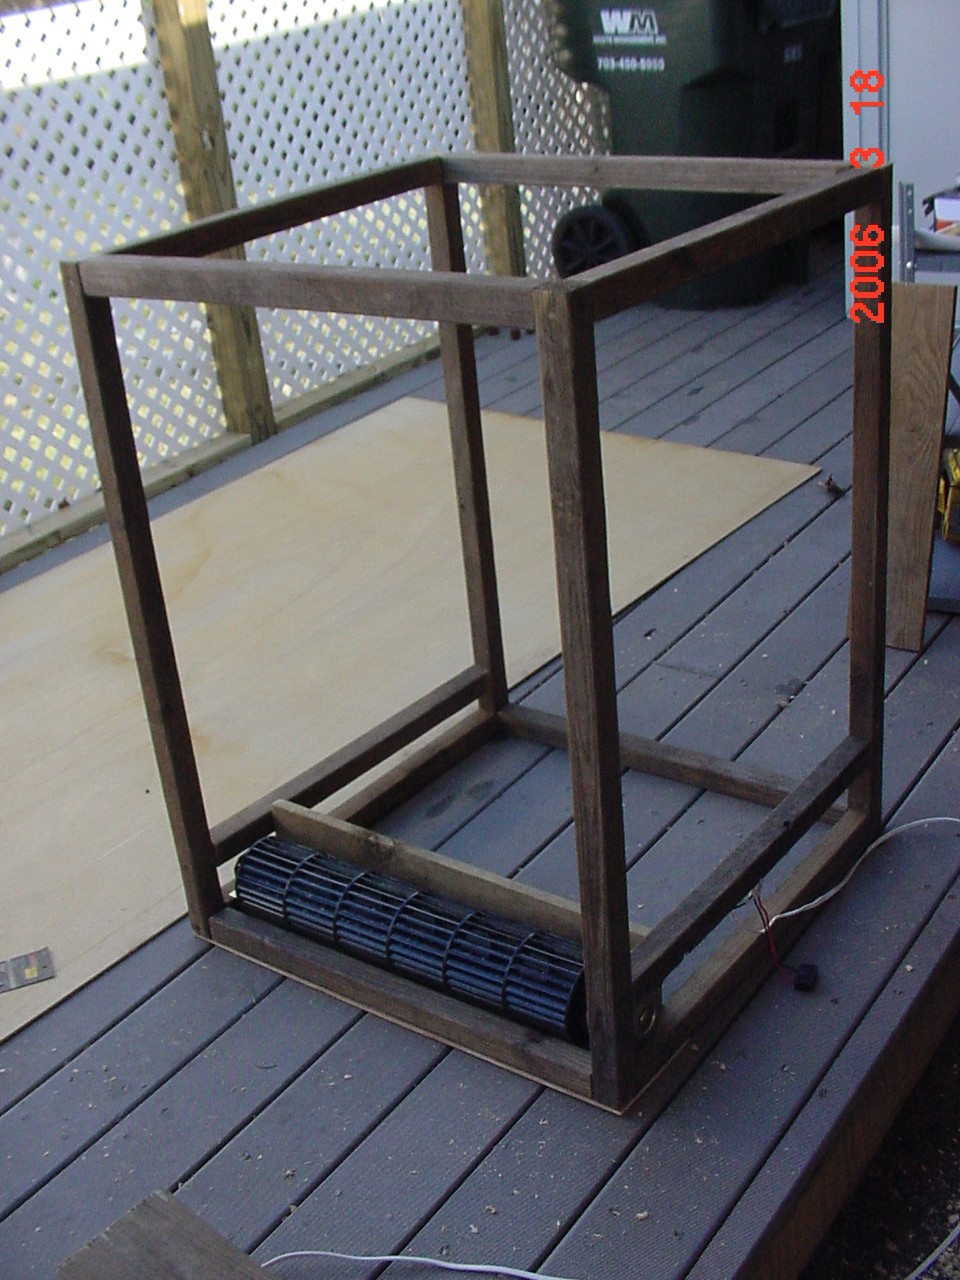
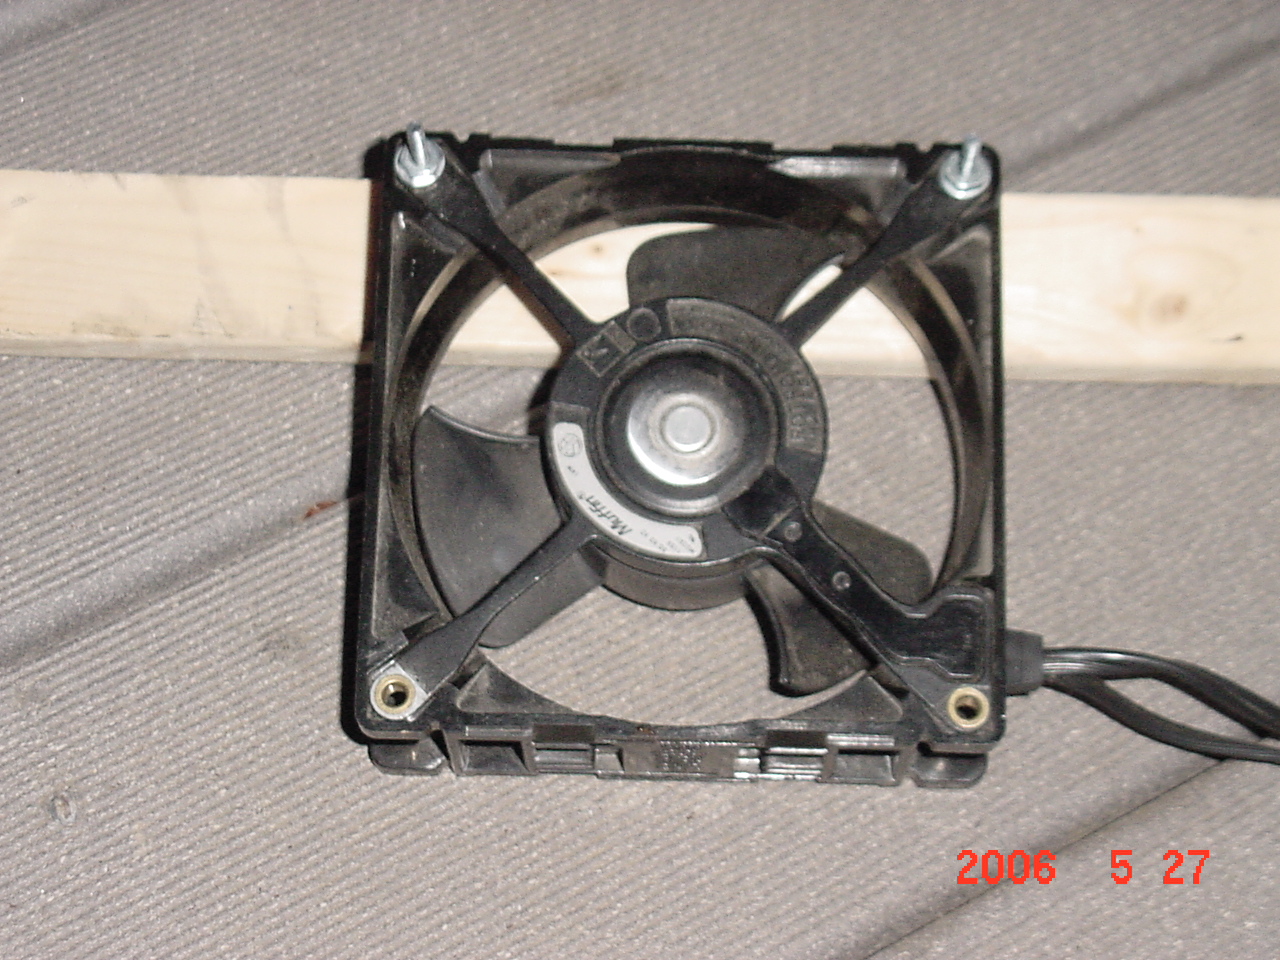
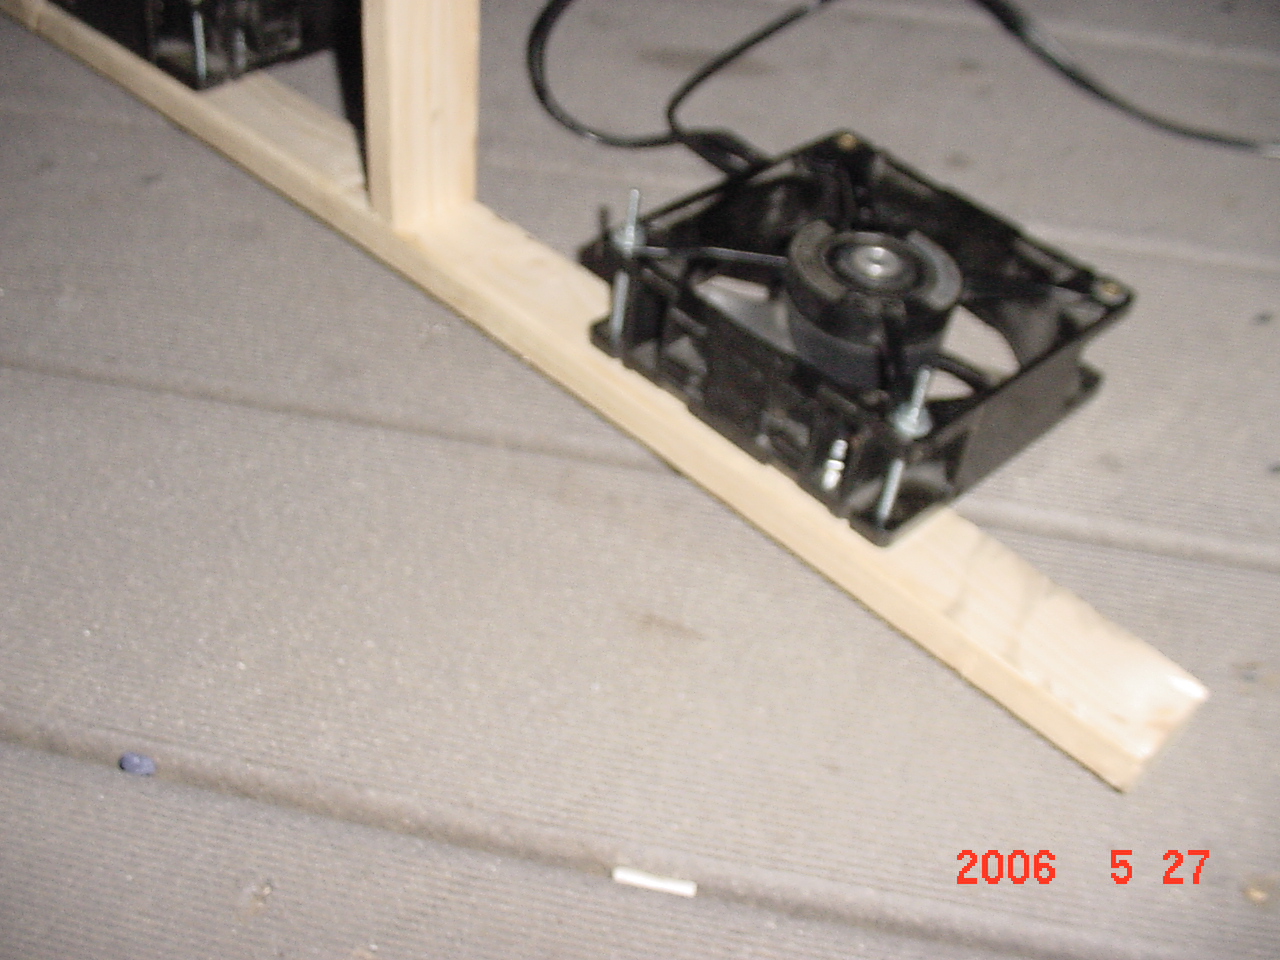
Now, when the PROP1 tells the RC-4 to close relay 1, the switch on the fog machine is triggered, and fog is generated for as long as the RC-4 is told to hold the relay closed! A simple test program on the PROP1 watches the PIR (motion detector), and when it's triggered, turns on the RC-4 relay #1 for 5 seconds. Works a treat - and startled the wife nicely. :-) Next comes some experimenting with fans to find a setup that will work... I will need a relatively high air-volume being blown up from inside the well, to make the "flames" (silk-ish material) jump and "flicker". Also working on designing the pneumatic rig that will lift the demon straight up out of the well, approximately 3 feet. We salvaged a fan motor and tines from a vertical rotary fan and fabricated a box to go around it. The motor seems to have enough power to blow some silk flames nicely... (fingers crossed). The motor extracted from the fan had a simple common wire, plus a separate wire for low, medium, and high speed selections. We'll only use the high speed setting here. (There was also a circuit board and other odd things attached which we didn't need, and just disposed of.) First, fabricating the box/frame from 2x2s. 3 feet tall, 27" wide on each side (a 24" 2x2 with outer 2x2s nailed to it).
Next step was to fabricate a mount for the fan motor. The fan lays on its side at the bottom front of the well, where a small opening at the base will suck air in, and a channel built inside the front wall of the unit will guide the air straight up, lifting and fluttering the silk "flames" we'll mount just inside the front edge of the well. The fan must be enclosed on all sides except the intake and exhaust in order to channel the air properly. In the pics below you can see how we mounted the fan, and began to enclose it with wood framing to channel the air.
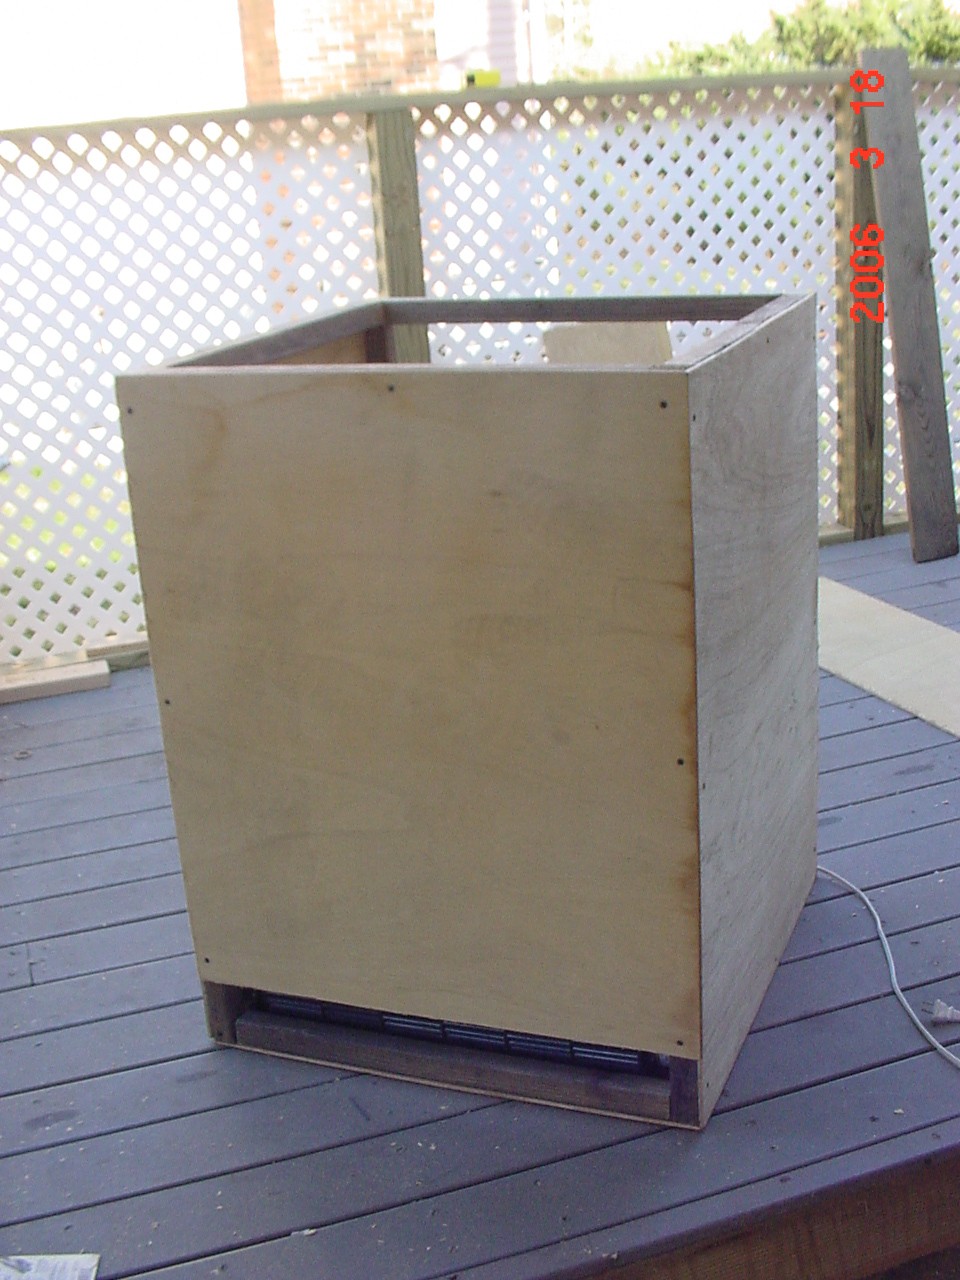
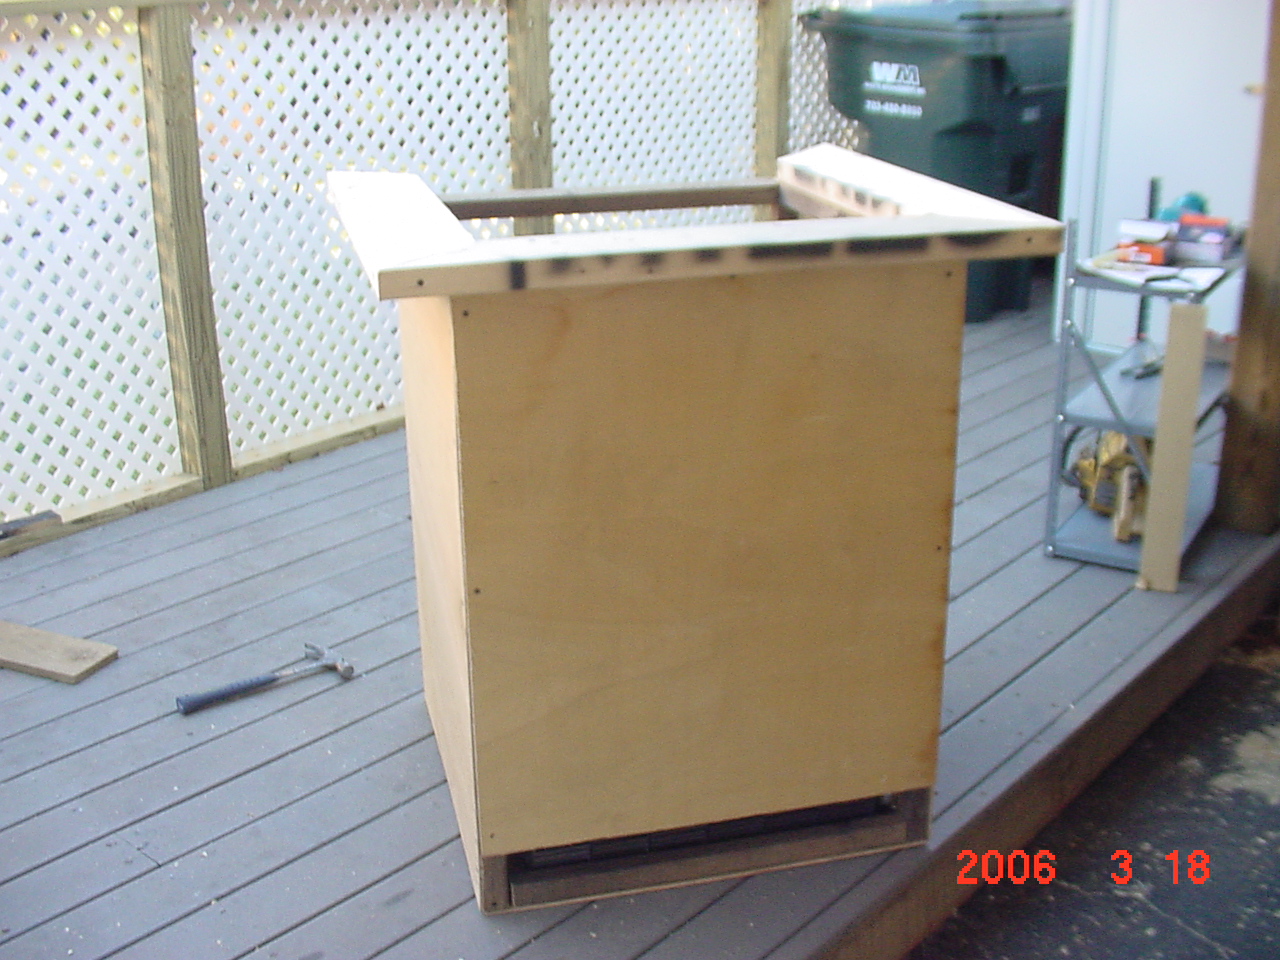
Next comes a thin plywood exterior for the well. This will be covered by faux stone material later.
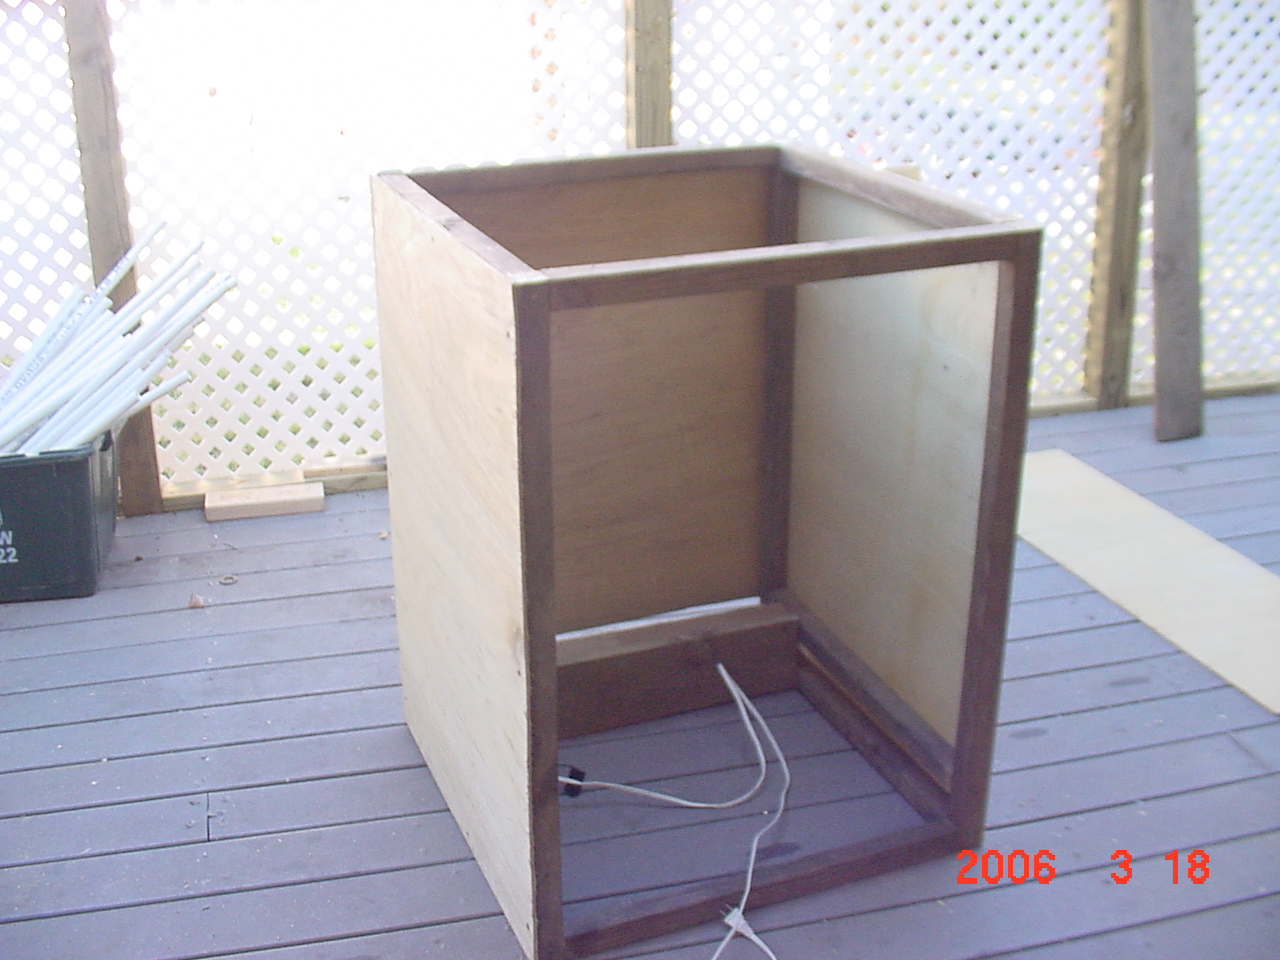
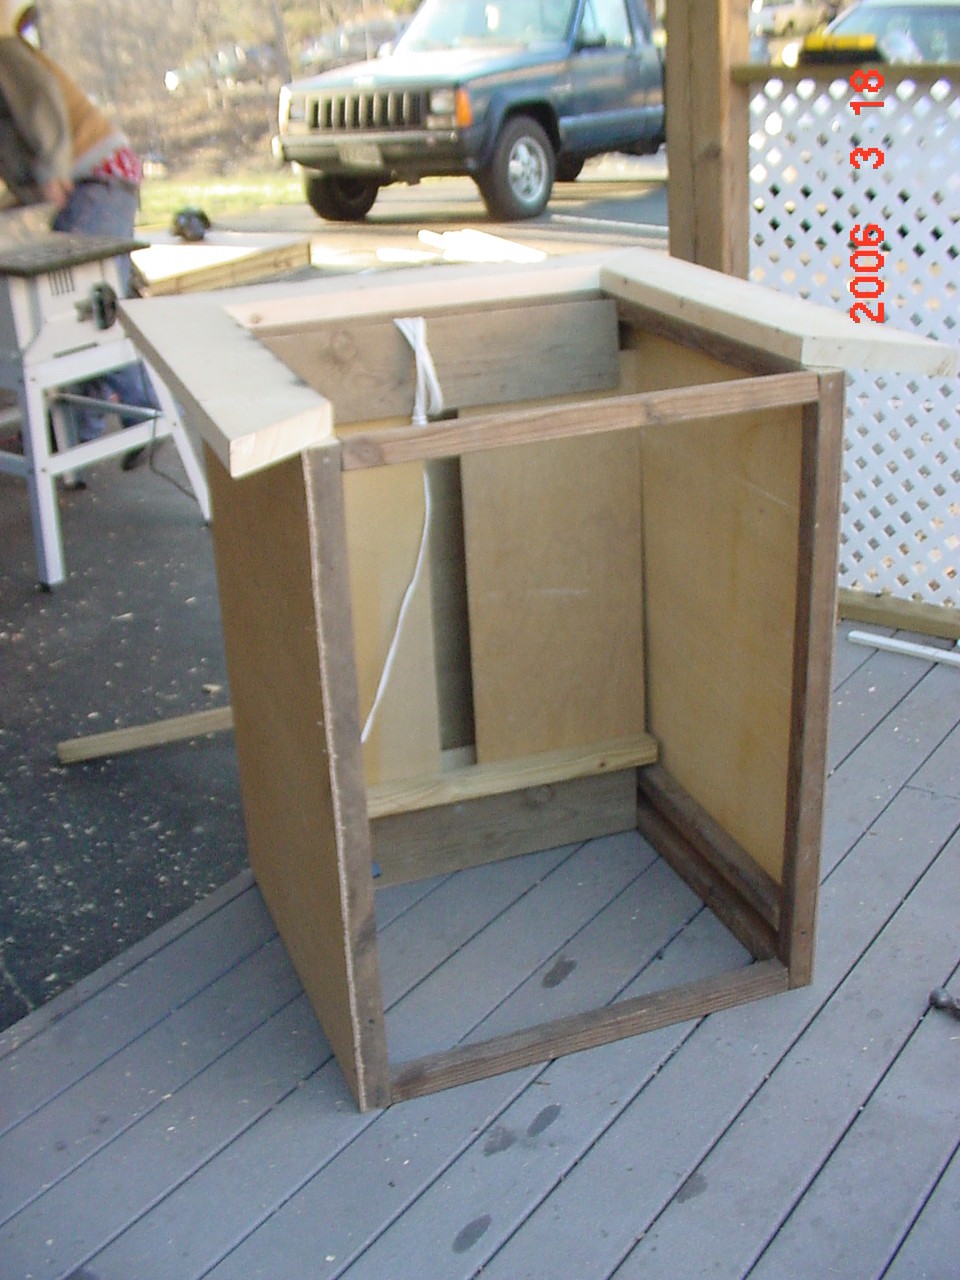
Next we built a drop-in wall behind the front wall that will channel the air up the inside front of the well. I left a gap in the middle of the inner wall (partly on purpose to route fog into the channel as well; partly because I used two scraps of wood I had leftover for the channel and they didn't cover the entire width.)
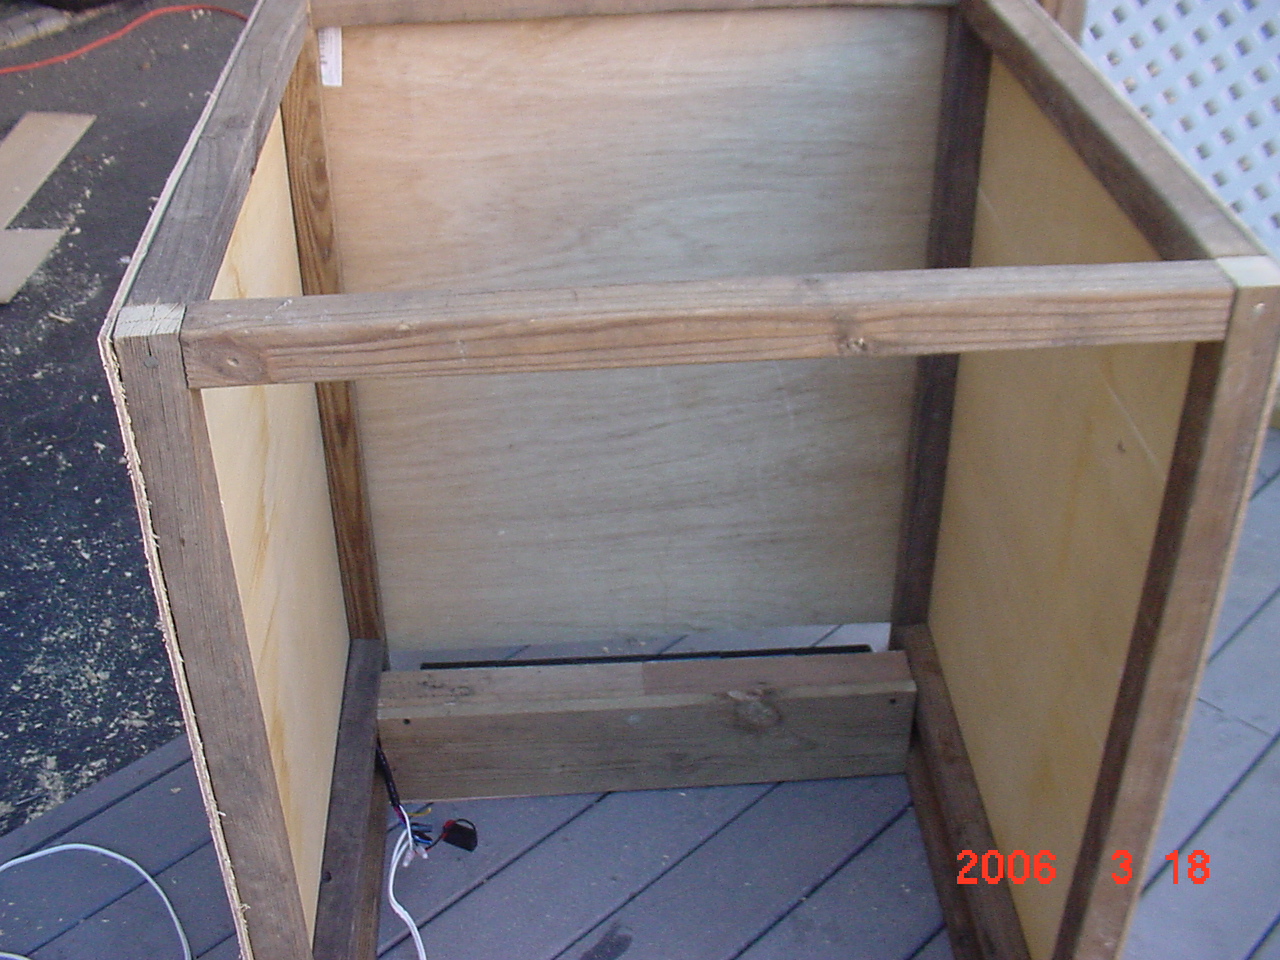
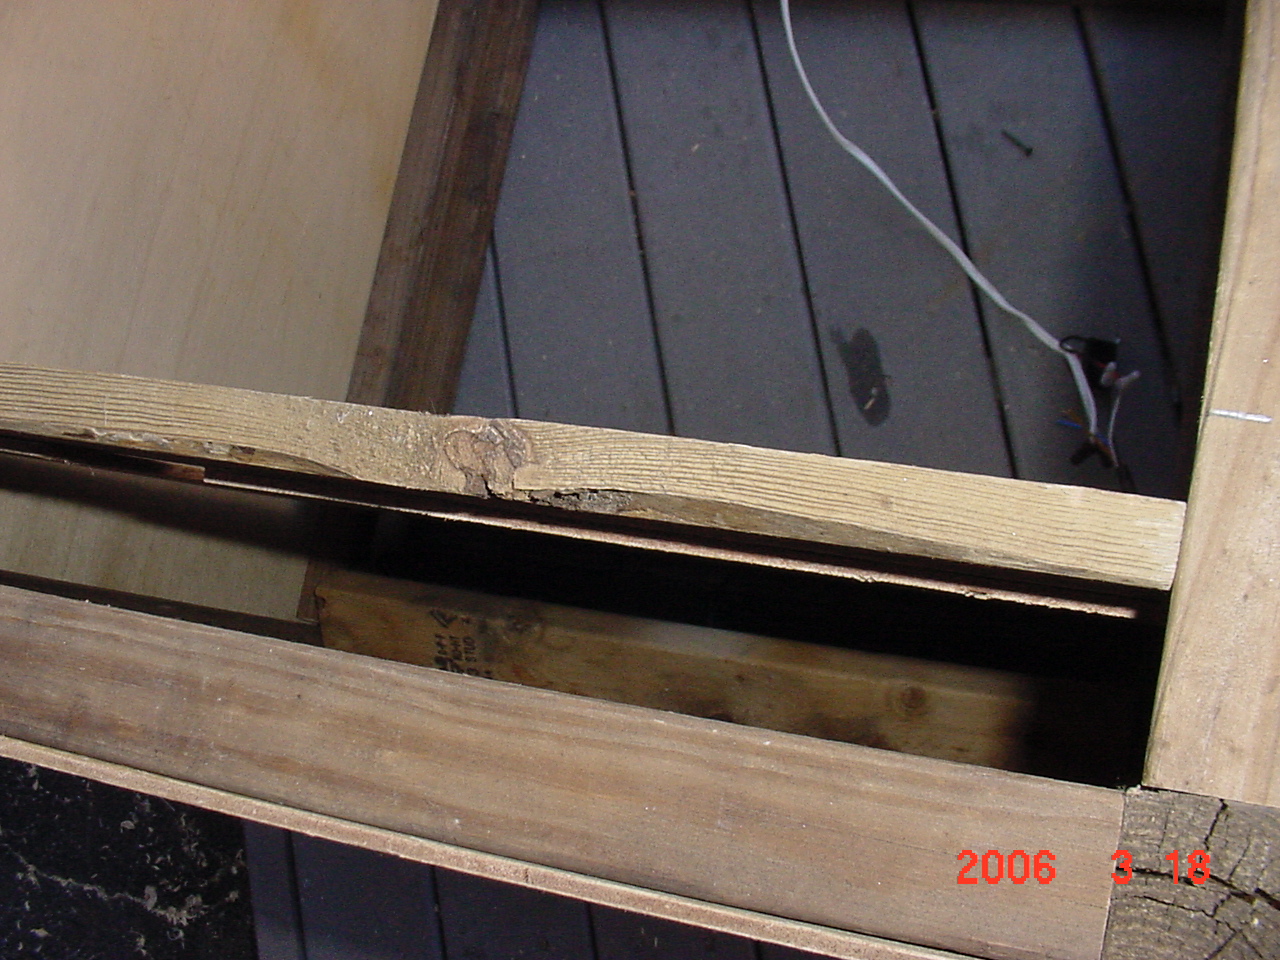
Last step in the carpentry phase was to build a lip/sill around the top of the well. We've left the back of the well open for the time being since we'll need to be inside there a bit mounting the electronics and pneumatics.
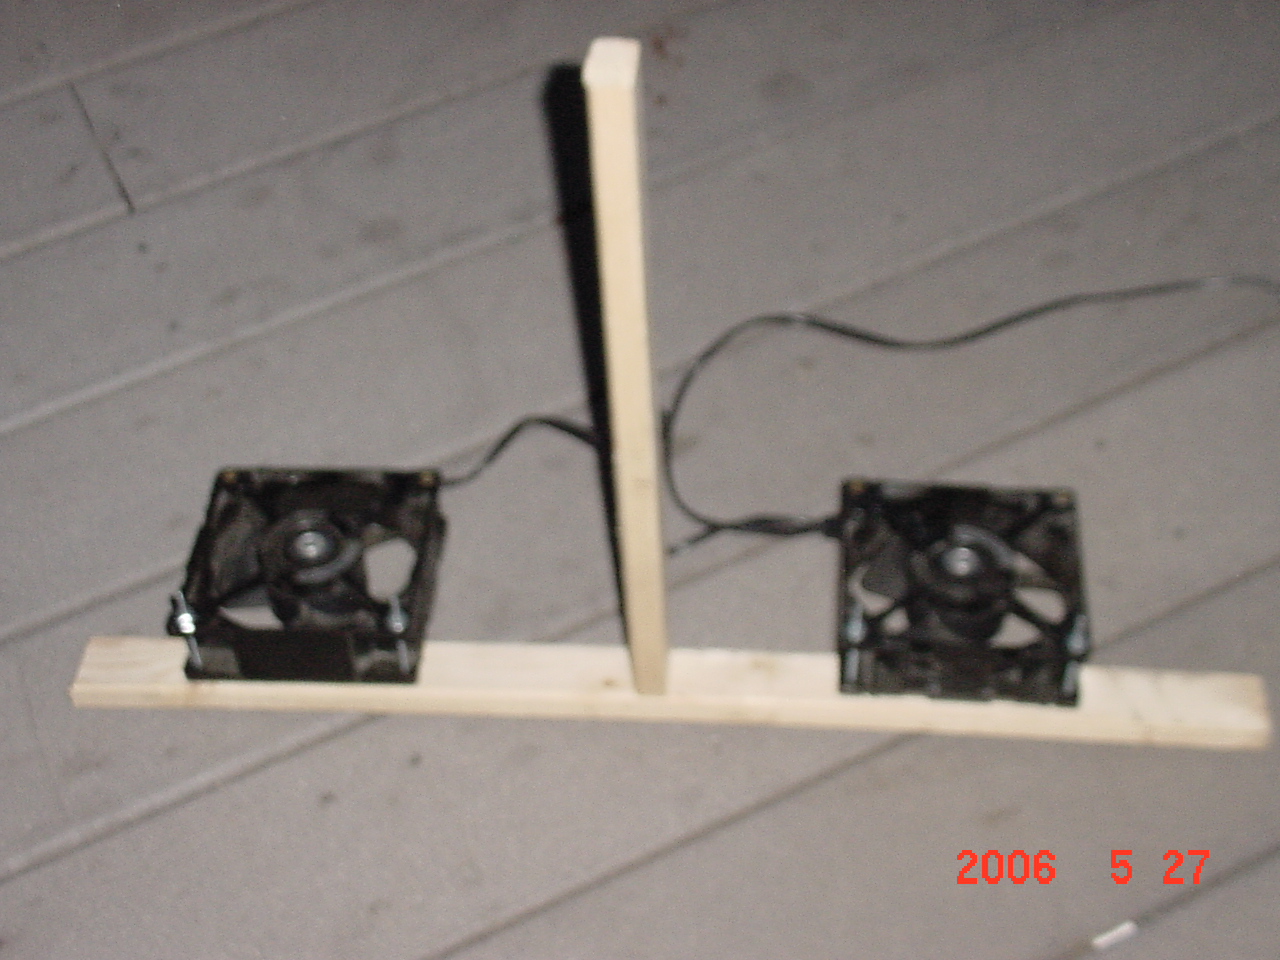
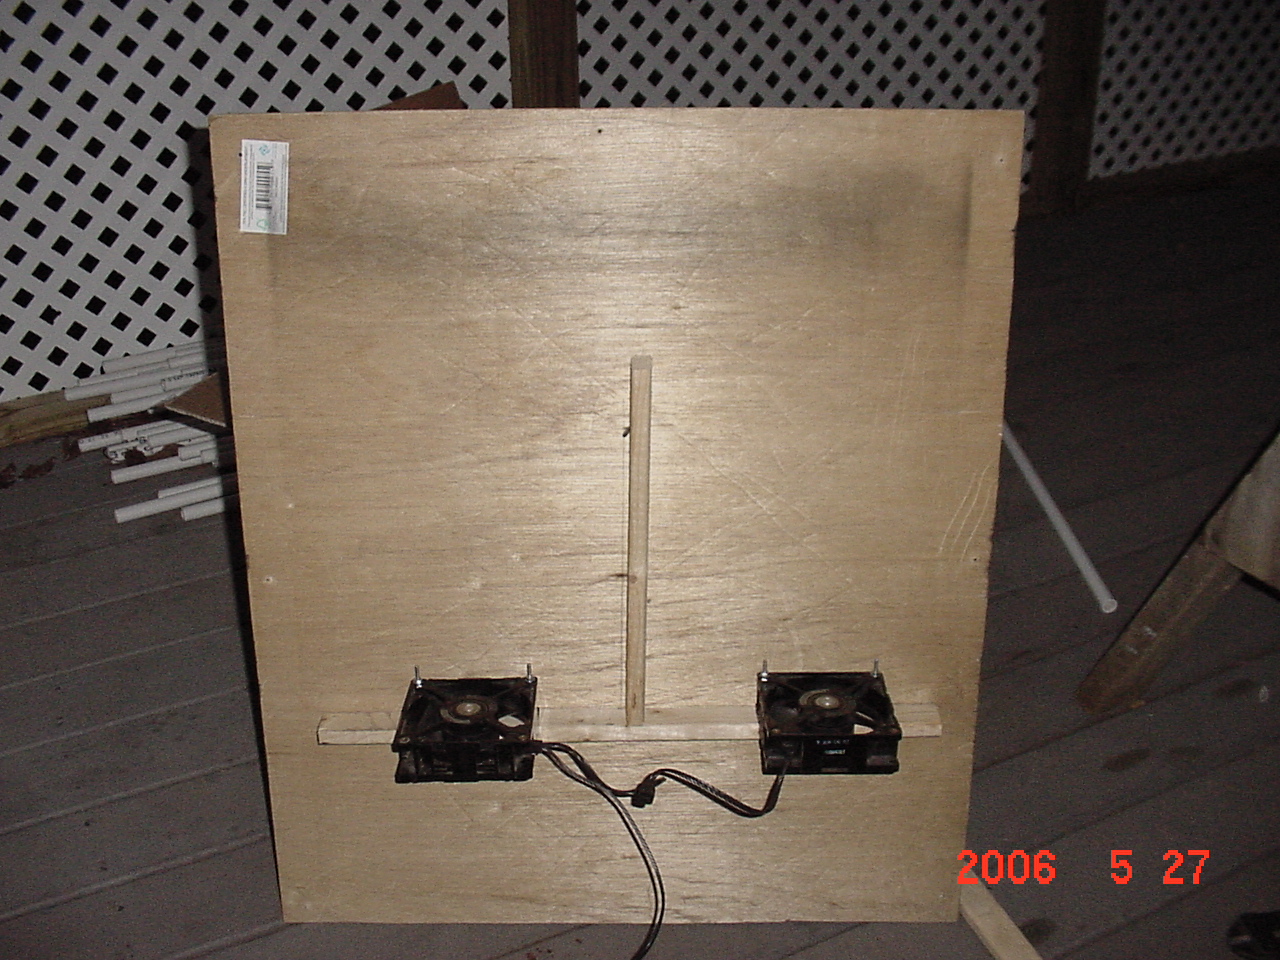
After testing the circular fan inside the cabinet, I decided I needed more "oomph", so I added two box fans.
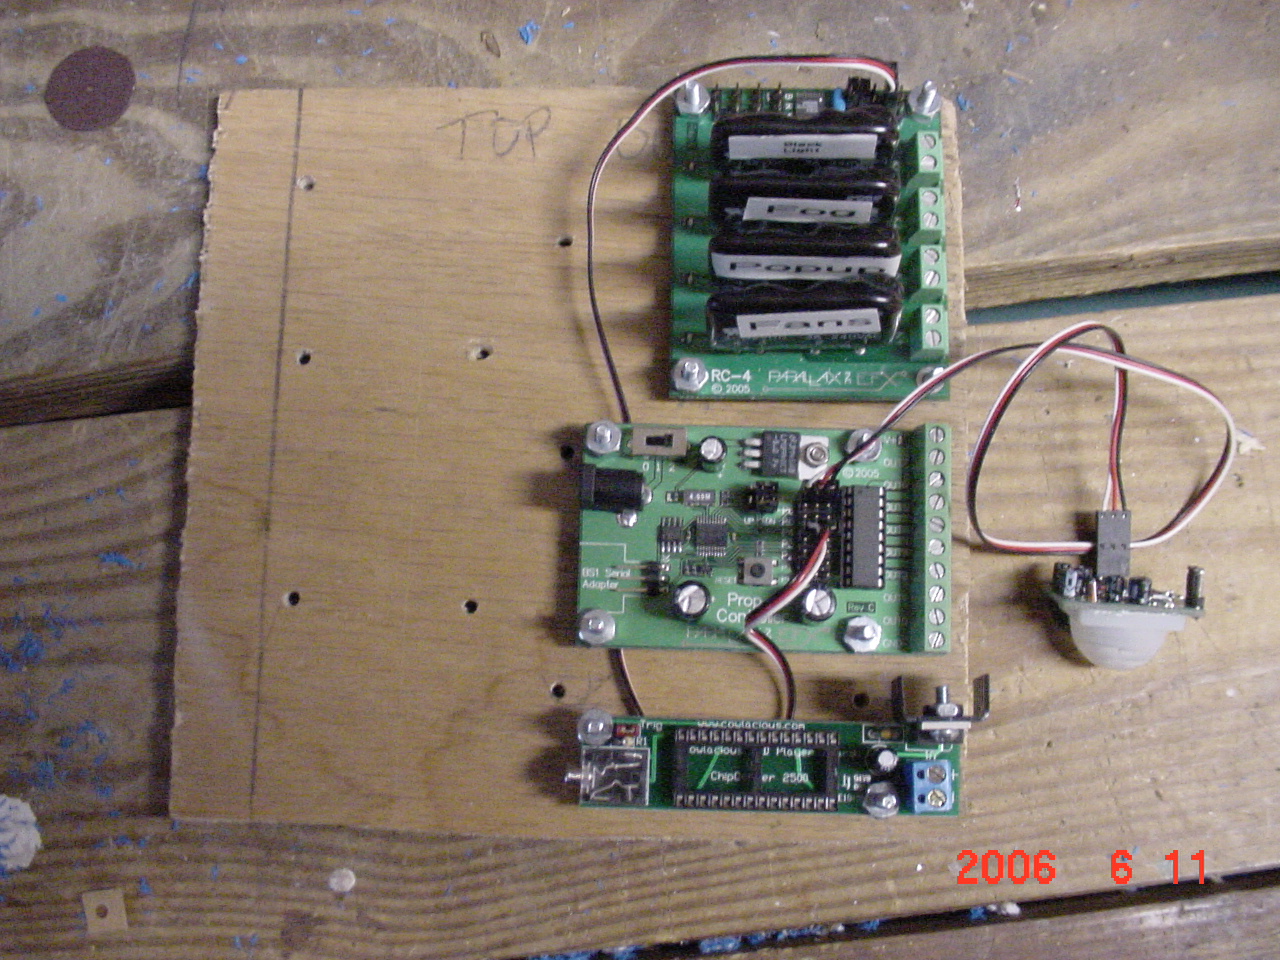
The box fans are mounted to a 1x2 frame screwed to the inside of the front panel, in line with the airflow so they help the airflow from the circular fan. I want a good breeze coming up from the box - since we're going to have silk "flames" flapping away when triggered. Next I began work on the electronics that would control all this. I wanted it as modular as possible, yet needed to have it enclosed in something waterproof (since it will likely be sitting outdoors most of the month of October). Here's the main electronics components, mounted to a thin piece of plywood. They consist of a EFX-TEK PROP1 controller with an infrared motion detector (PIR), a EFX-TEK RC-4 relay controller, and a Cowlacious Designs Chipcorder player board.
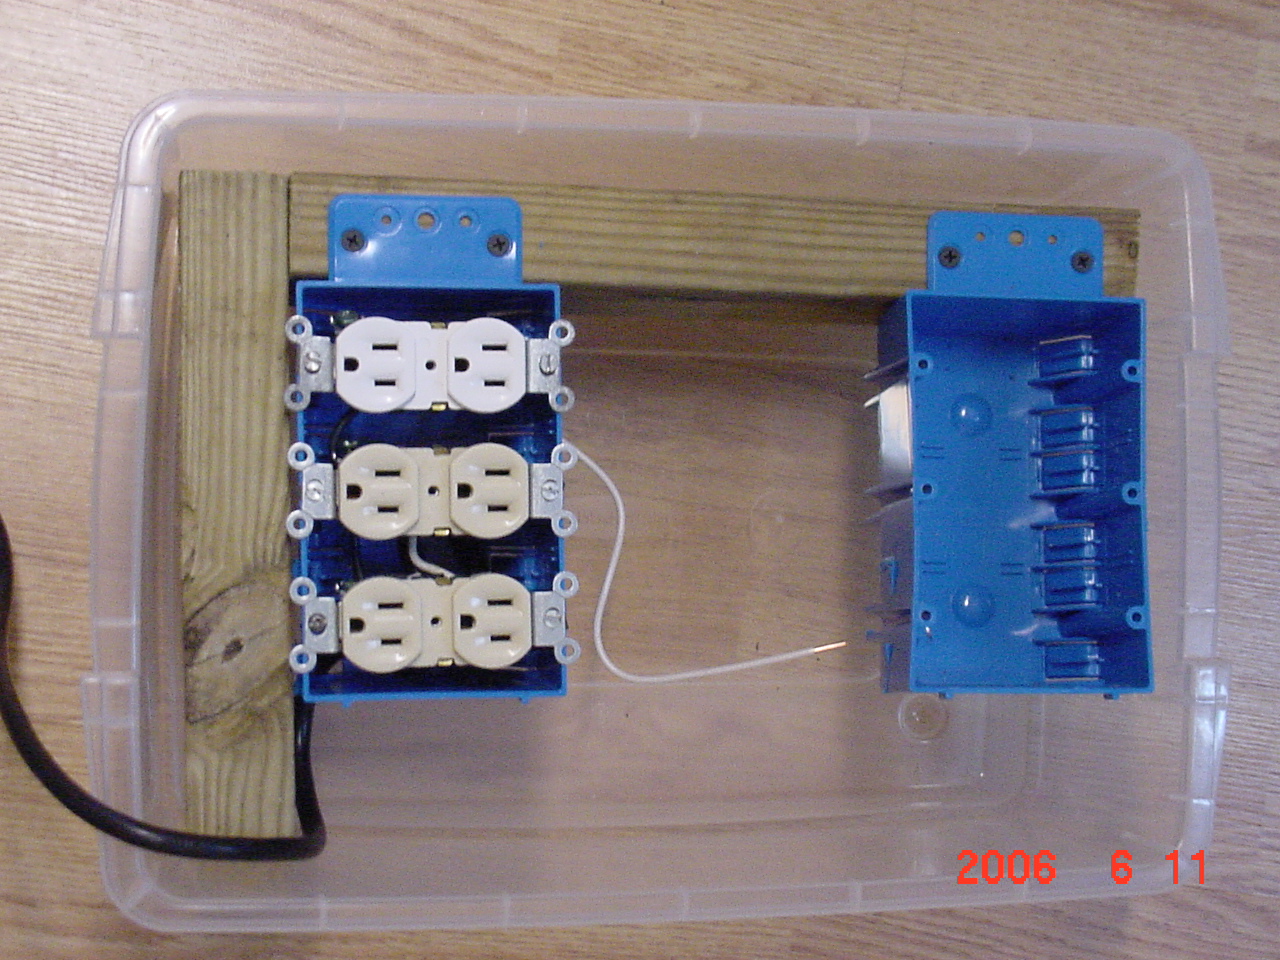
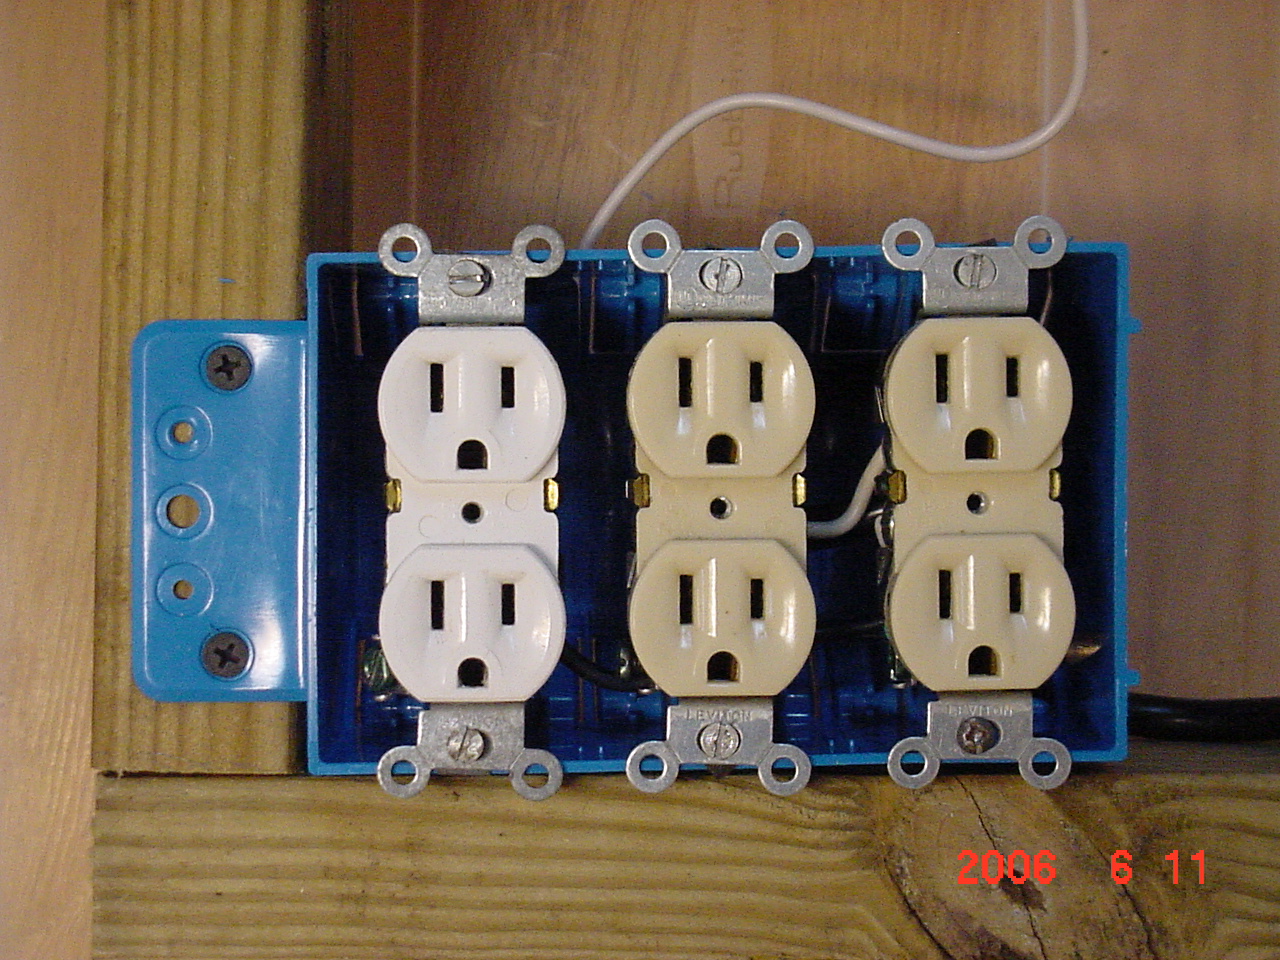
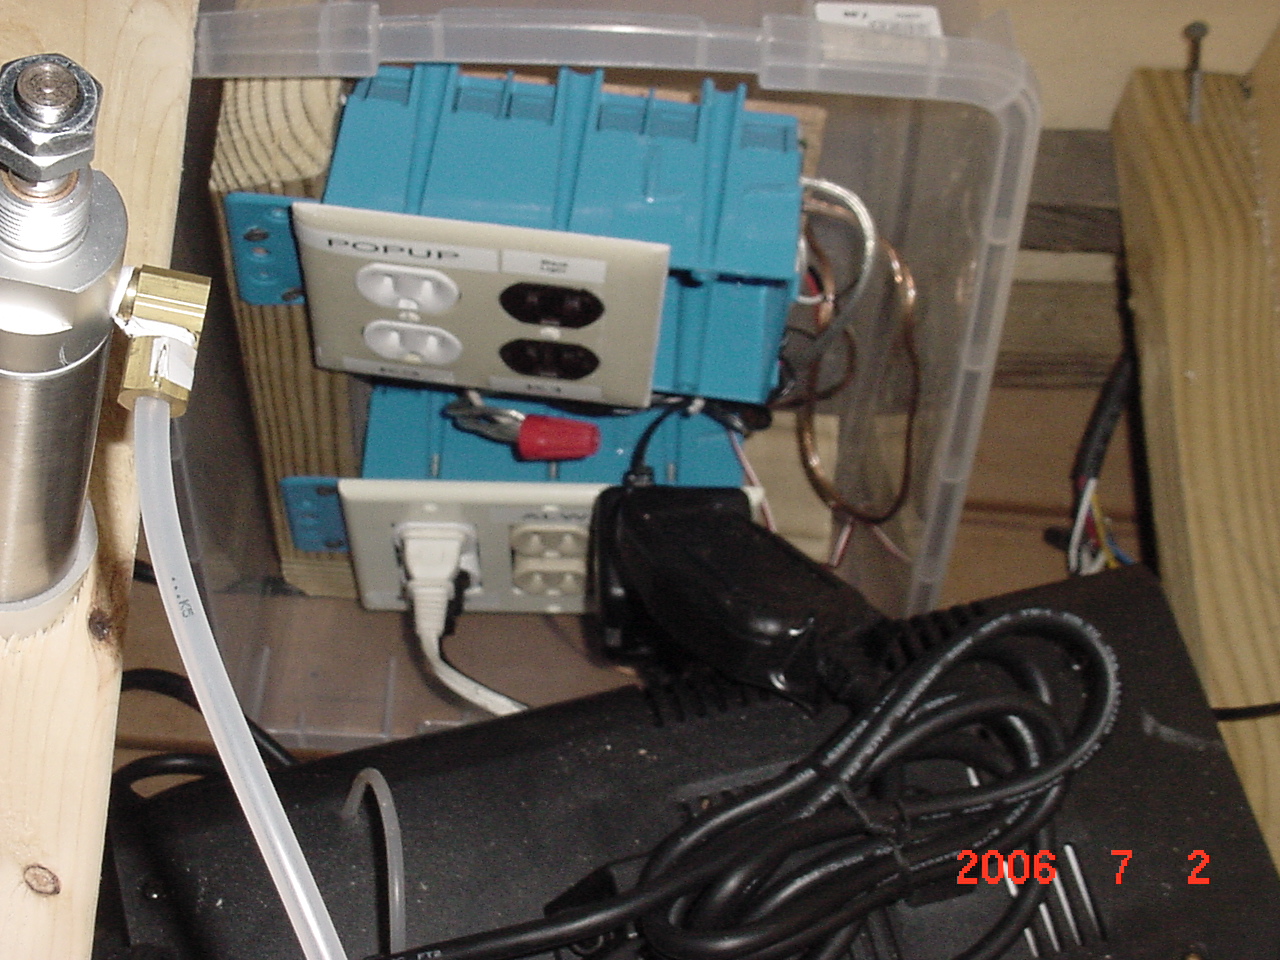
Next I built an L-shaped bracket made from 2x4s - sized to fit conveniently inside a plastic storage bin. To this I attached two triple outlet boxes to hold the 5 receptacles I'm going to need. Outside power feeds through a hole I drilled in one end of the bin, and permanently powers the two tan outlets. One side of the incoming power (black) also connects all the other outlets, but the positive side of the other three outlets are powered from three of the RC4 relay outputs. (The 4th RC4 output will be wired directly to the fog-trigger switch on the fog machine that will be inside the well.
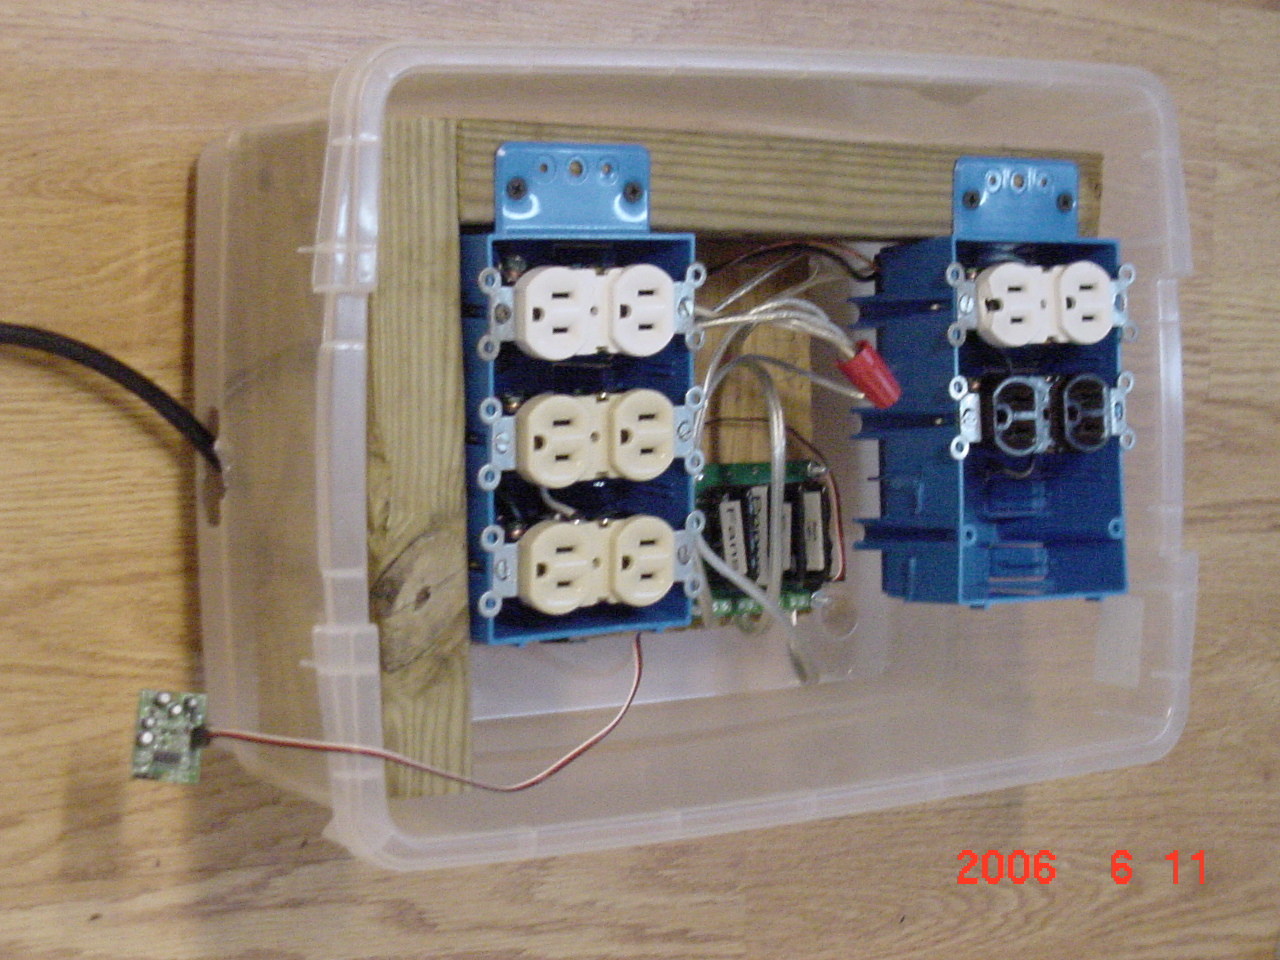
Here's the whole assembly tucked inside the plastic storage bin. The last picture is taken after I placed faceplates over the receptacles and labeled them.
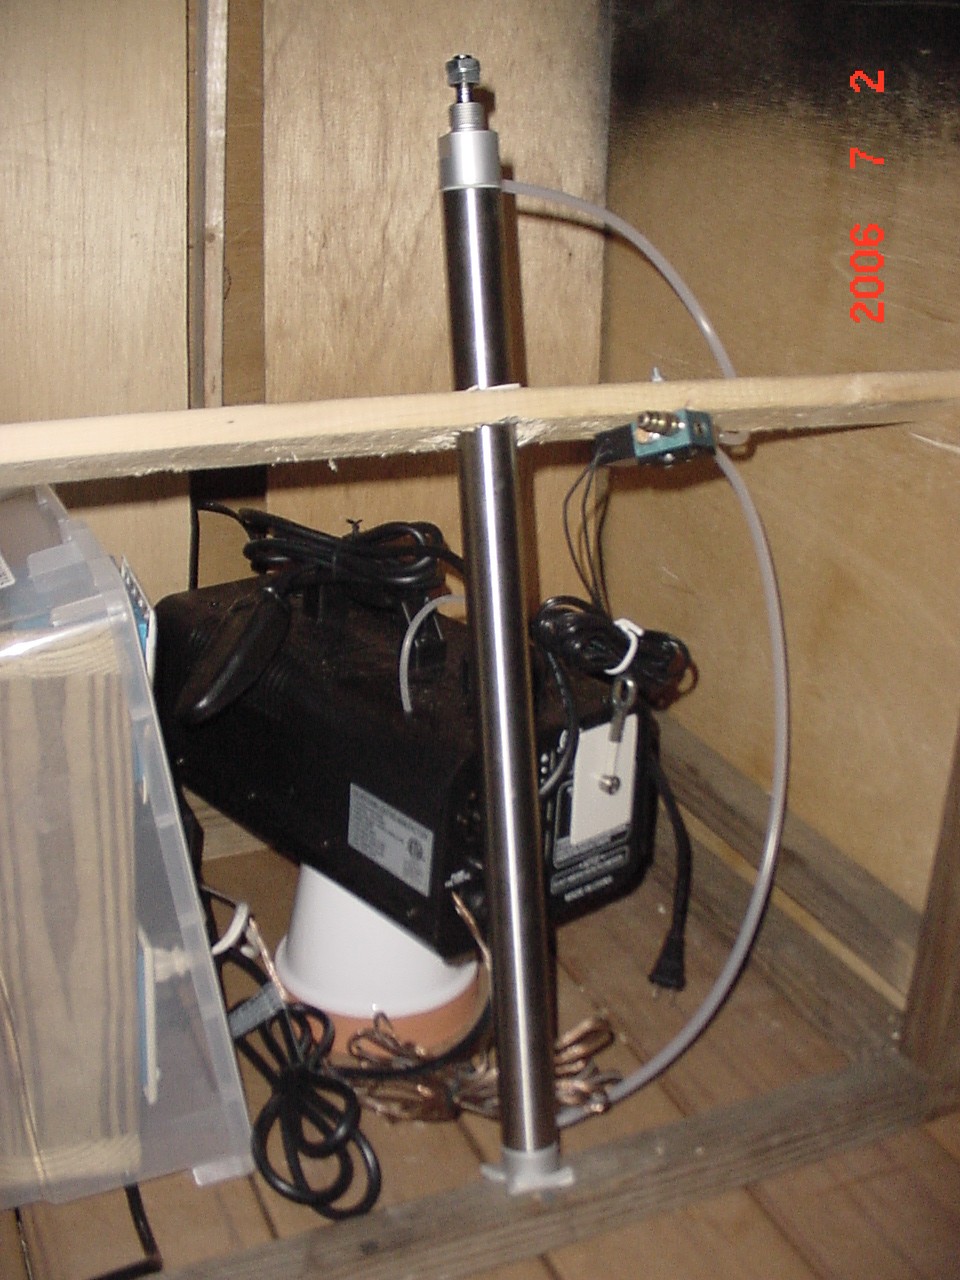
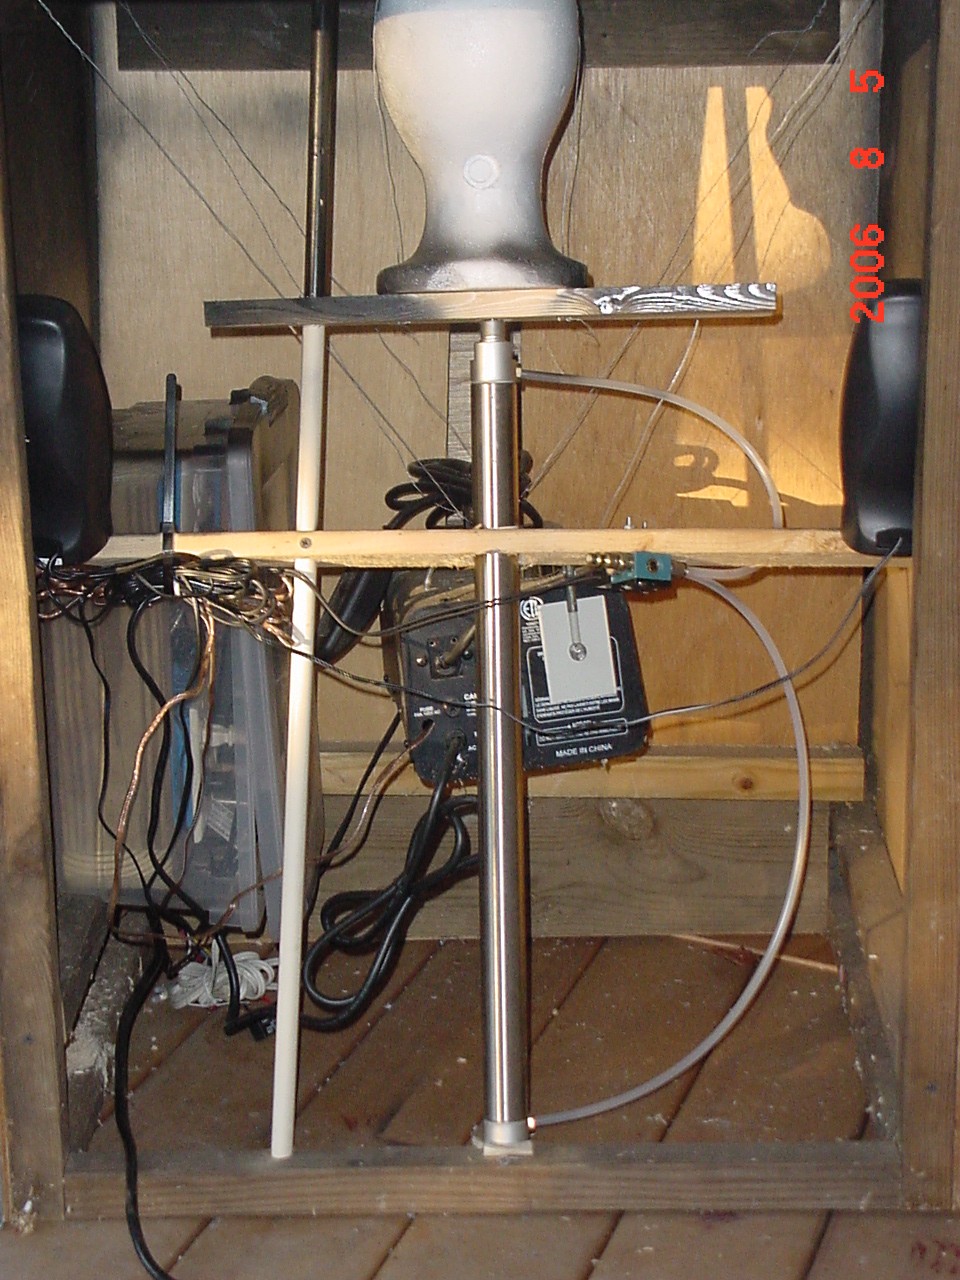
With the controlling electronics assembled (except for the external uMP3 I'm going to be triggering for initial story telling) I mounted the pneumatic cylinder inside the well that will be "presenting" the inhabitant to our TOTers. Here's a view from the back (still open) of the mounted cylinder (note the slight angle so it shoots up and slightly toward the front) as well as the solenoid and associated hose. You can also see the fog machine sitting inside as well as the electronics control box. The second picture shows a shot down into the getting-very-crowded innards. I haven't mounted the control panel or fog machine permanently inside the well yet, but I wanted to do a few quick tests to make sure things are working so far.
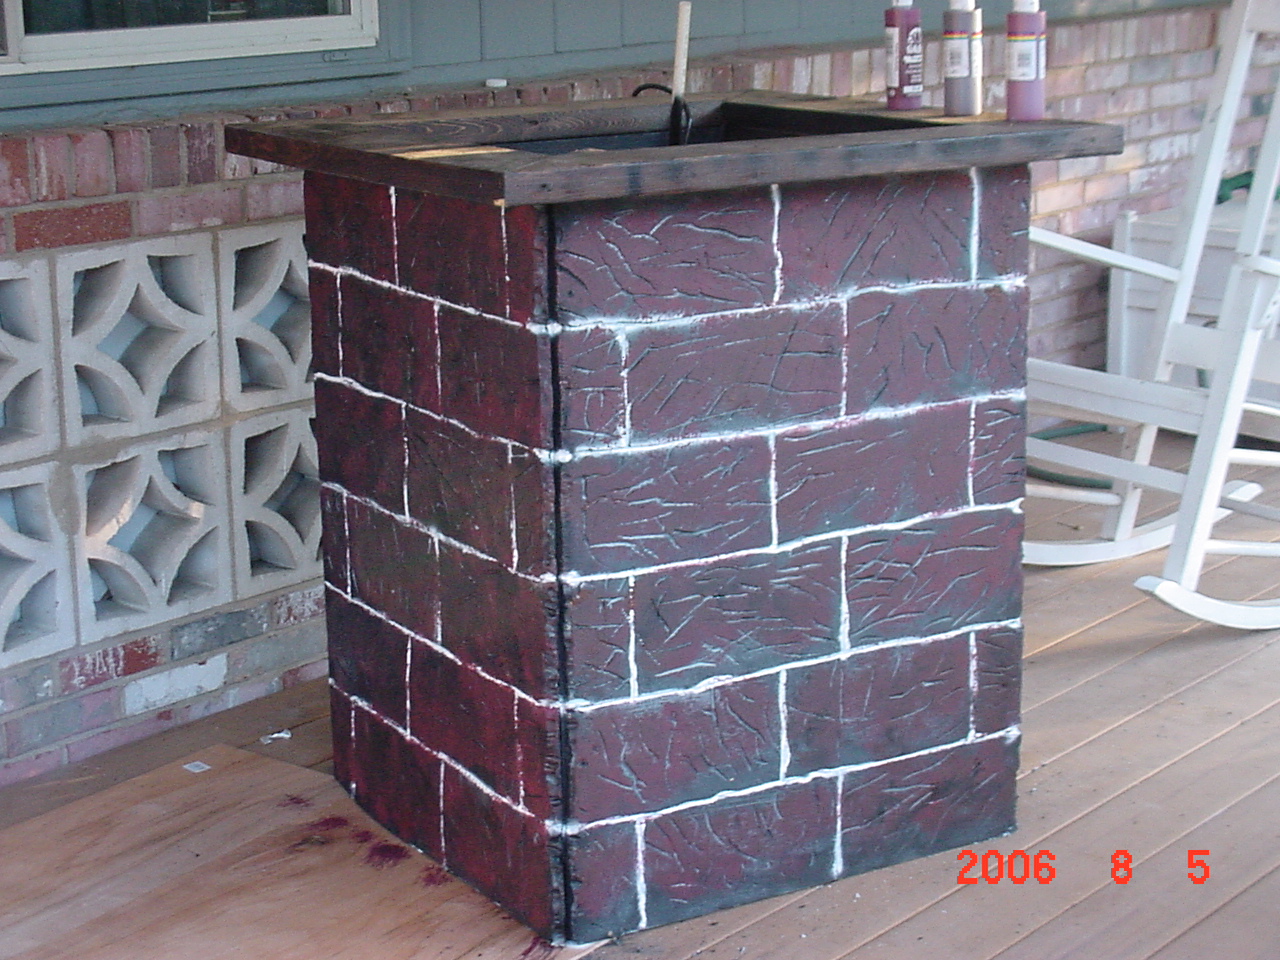
So far so good. A full test with air, power, and PIR hooked up and a quickly written program for the PROP1 gave the expected results. Click here to view the PROP1 program source. I don't have any sound recorded for the prop yet, and I'll need to adjust the timings in the PROP1 program as I get a better idea for the duration of the sound bites, but the mechanics are working. I just picked up several sheets of foam insulation board, which I'll be working on next to get the "texture" for the outside of the well; and some nice dark stain for the wood lip around the top of the well. Still looking for a good "pumpkinhead" type mask to mount to the cylinder. Here's what the outside looks like with the finished foam "masonry". We used the standard 1/2" sheets of blue home insulating type foam boards, dremel'd the mortar lines, painted the whole panel black, then airbrushed the white mortar lines, and followed up by dabbing (with a sea sponge) the red/brick hues onto the brick. The panels were secured to the wood panel frame with construction adhesive and a few wood screws at the corners.
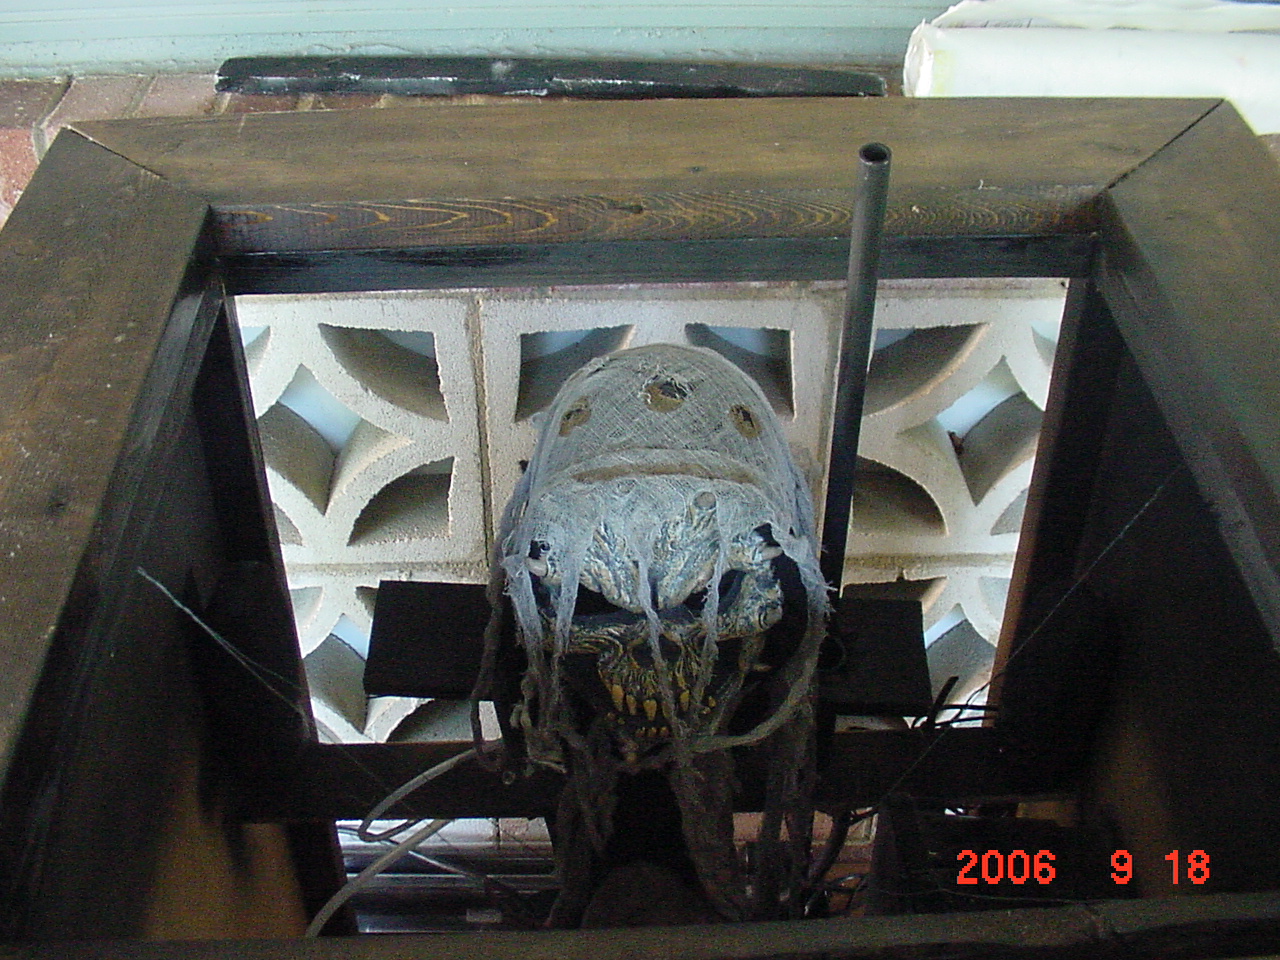
And here's a couple shots looking inside the unit now that everything is mounted in it.
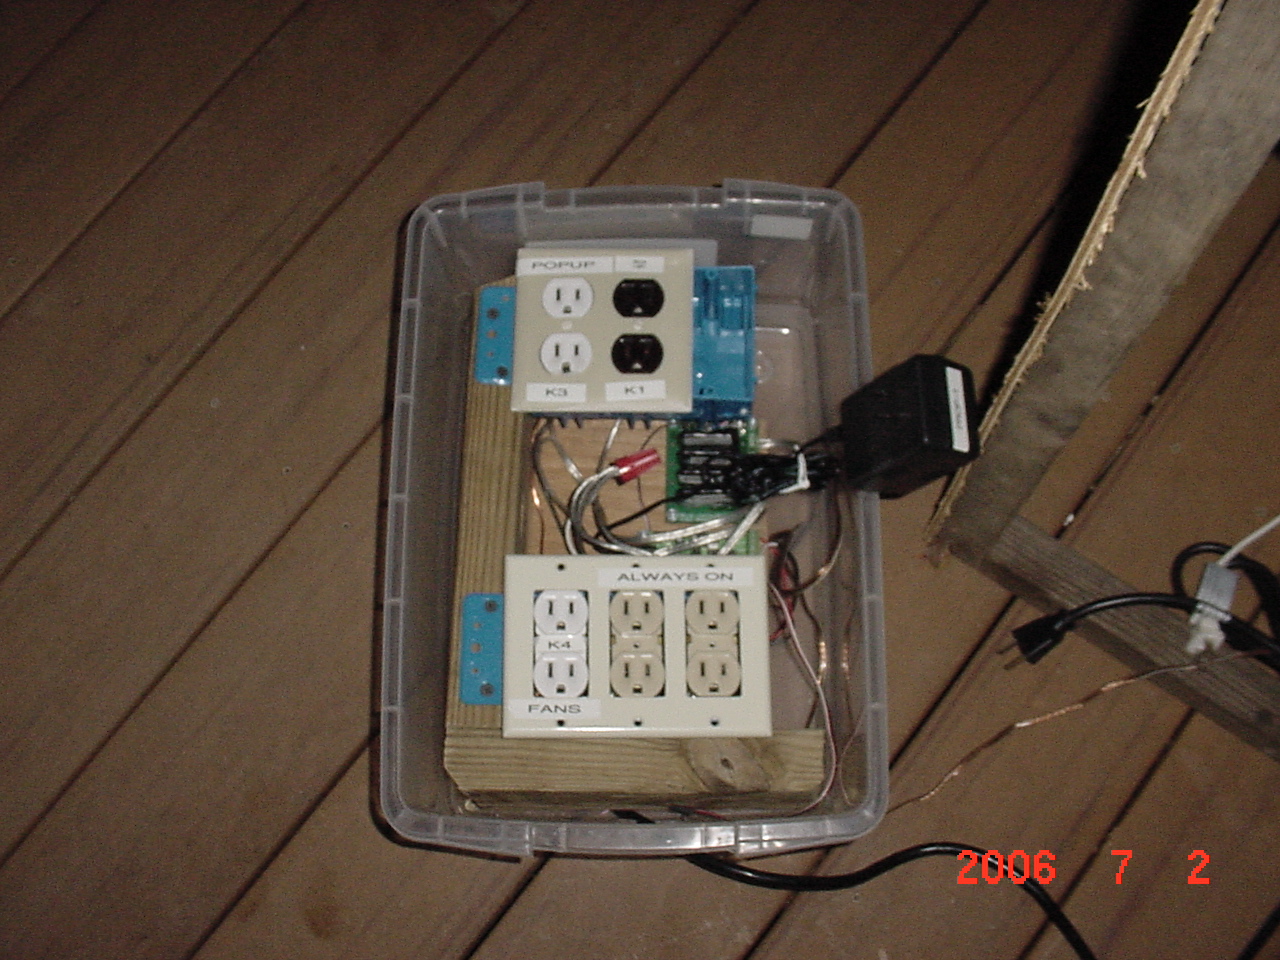
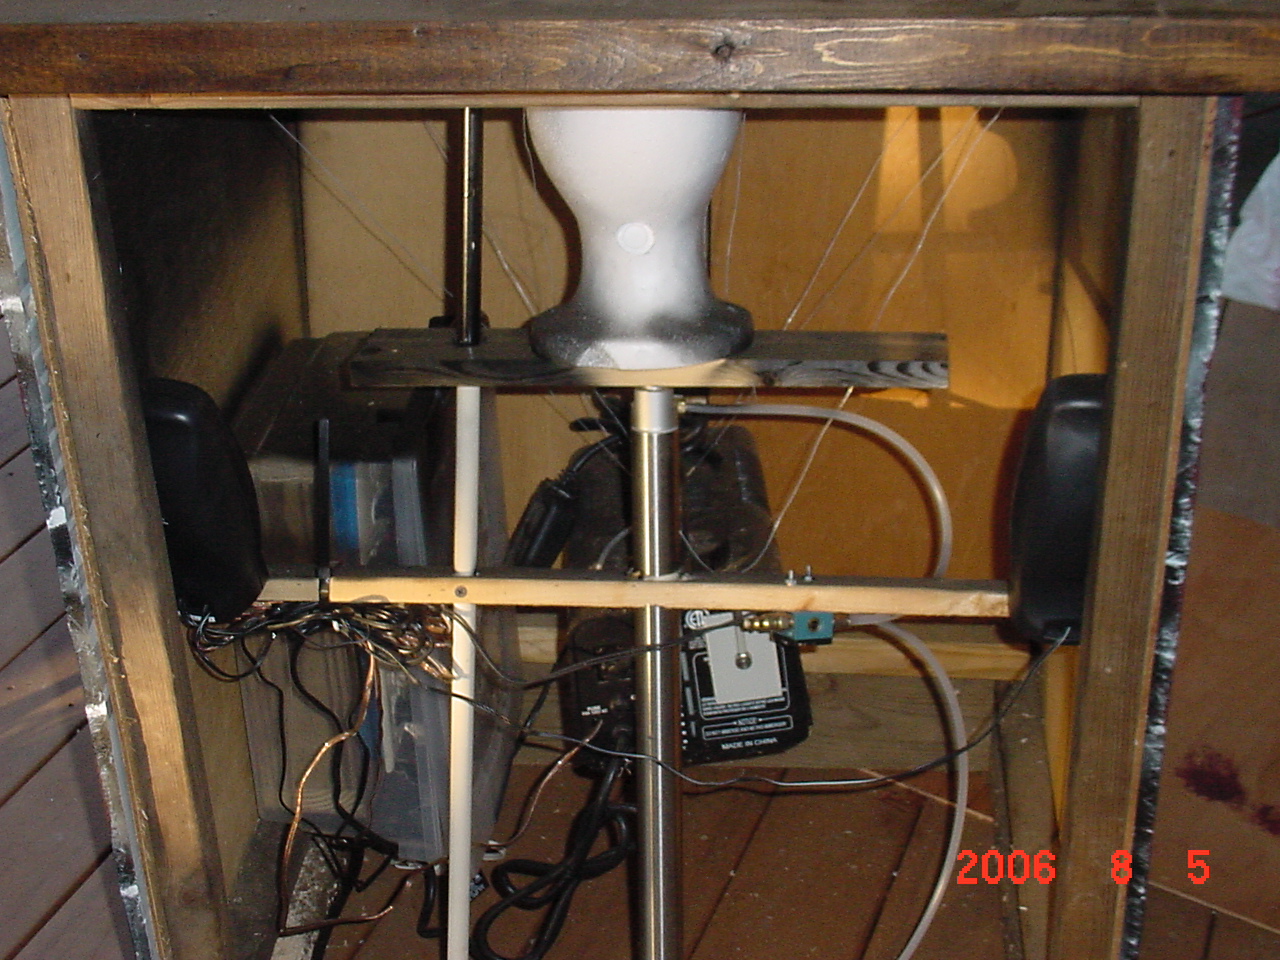
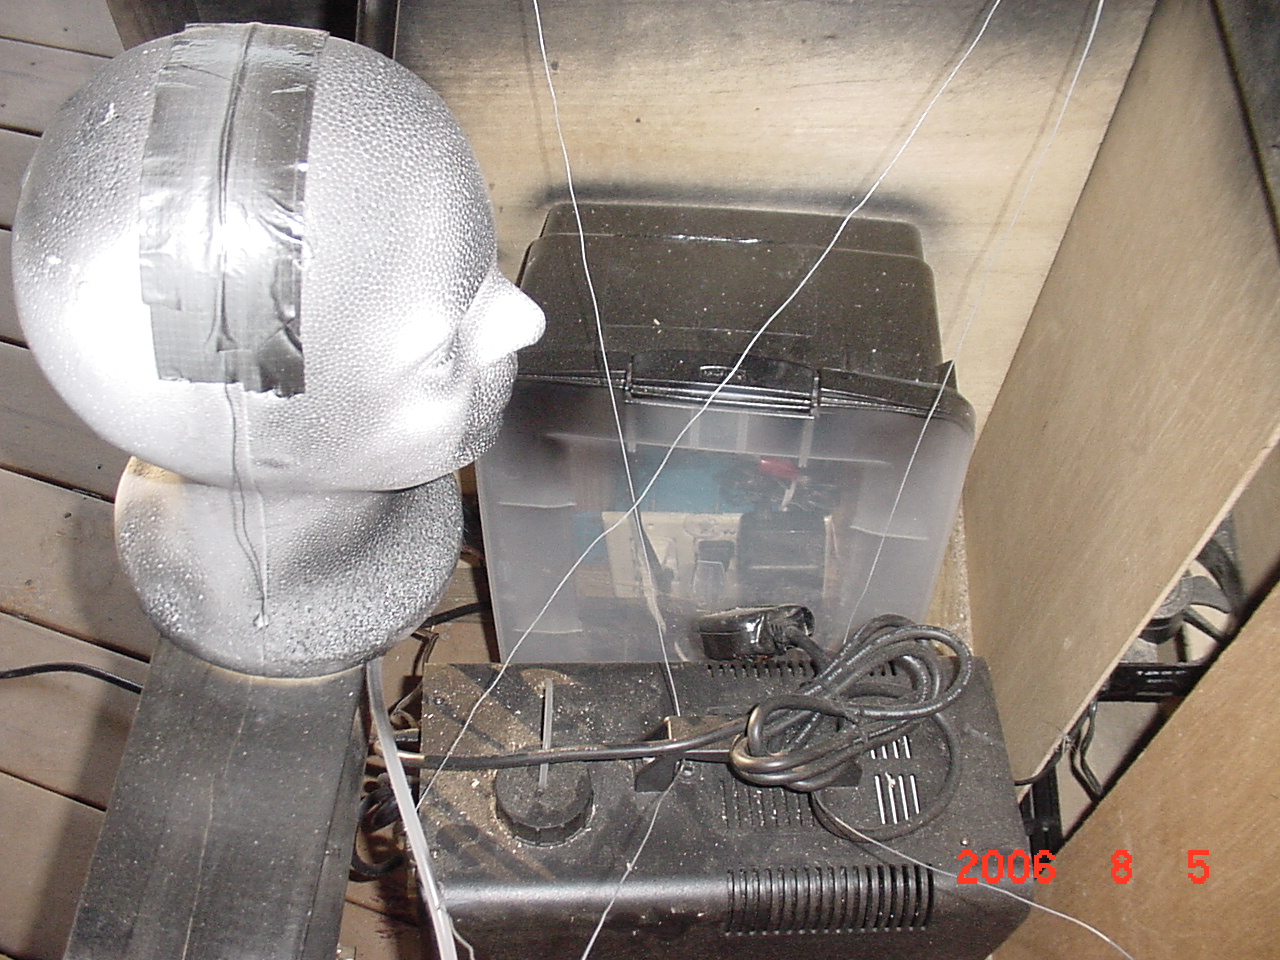
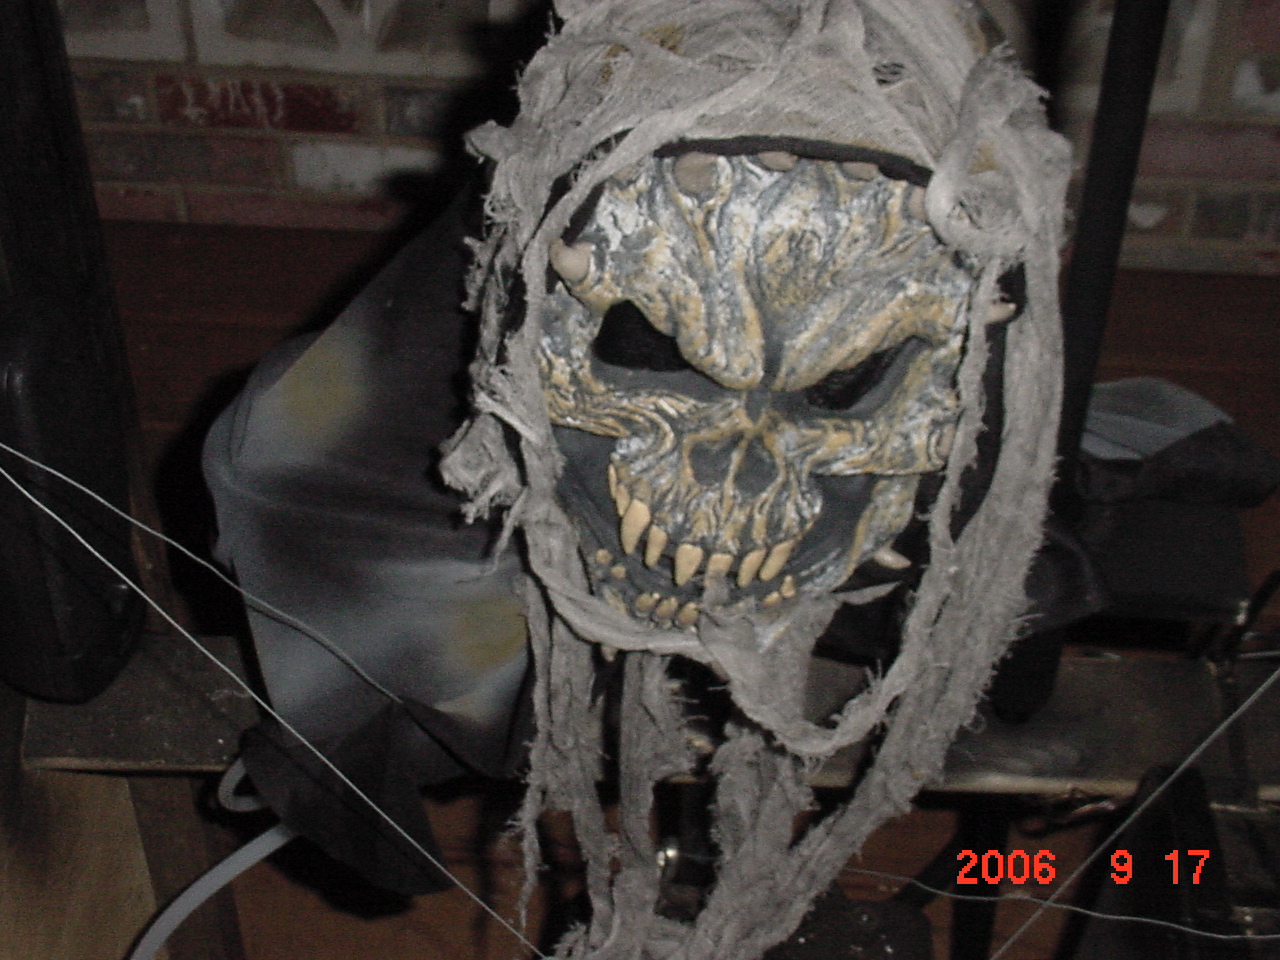
in these pictures you can see the cylinder mounted through the 1x4 along with the solenoid for the cylinder (just to the right of the cylinder mounted to the underside of the 1x4). You can also see the 1x4 mounted onto the top of the cylinder, to which I attached the foam head (wire wrapped over it and secured to staples under the board; a strip of duct tape under and on top of the wire protects the foam head). Also note the thin PVC tube I mounted to the left of the cylinder; it is secured at the bottom and provides a "guide" so when the head/platform raises and lowers, it won't twist or turn to either side. You can also see the connector for the air hose which will feed the unit on the solenoid. A quick attach connector will be hooked up and run through the single cord access hole in the back panel of the well. The electrical control box is mounted to the inside of the well (lower left in the photos). The fog machine is suspended (using wires strung from the corners) so it discharges its fog directly into the channel in the front of the well - which is fan powered to blow the "smoke" up and out of the well. A pair of PC stereo speakers (left and right in the first two photos, sitting on the horizontal 1x4) provide sound, and are hooked up to the (Cowlacious) Chipcorder player mounted inside the electronics panel. In the rightmost photo, you can see the fog machine positioning, along with one of the 3 fans installed inside that inner front panel of the well. The electronics panel is enclosed, with all cords entering from the bottom, leaving the enclosure virtually waterproof. 09/17/2006 Update: All electronics and air has been tested and is working nicely! Fog comes out right on queue, black lights light up the background just right (awaiting black light illuminated paints which are on order to draw the background that's going to illuminate as the witch casts her spell. The witch was also built, and is only awaiting a sound file on a memory card before she's dressed to kill... Some fine tuning of the cylinder
took place - it now moves smoothly. Had to replace the standard 1/4"
outer-diameter tubing with 3/8" tubing to give the cylinder enough "oomph" to
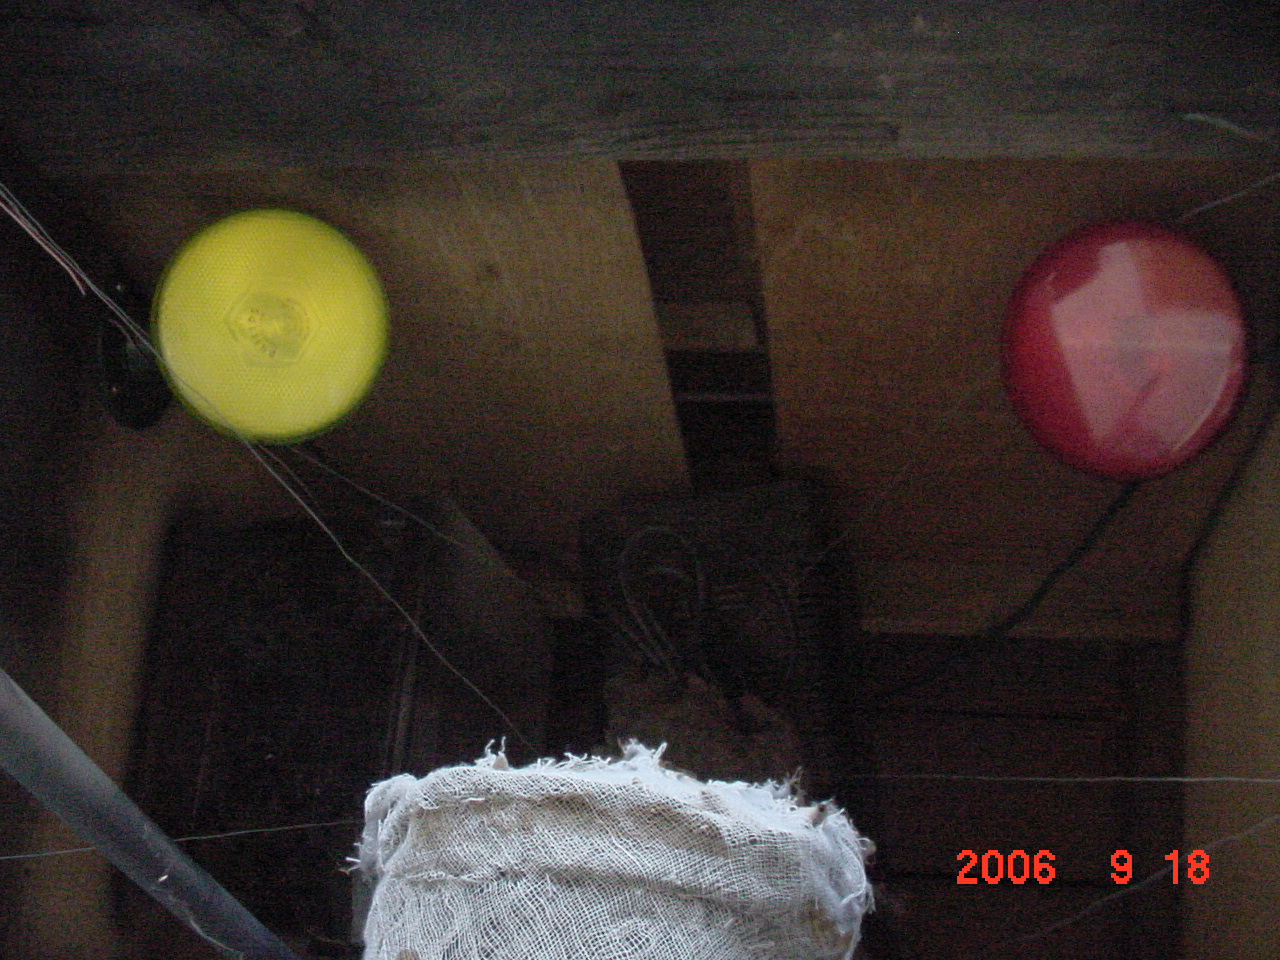
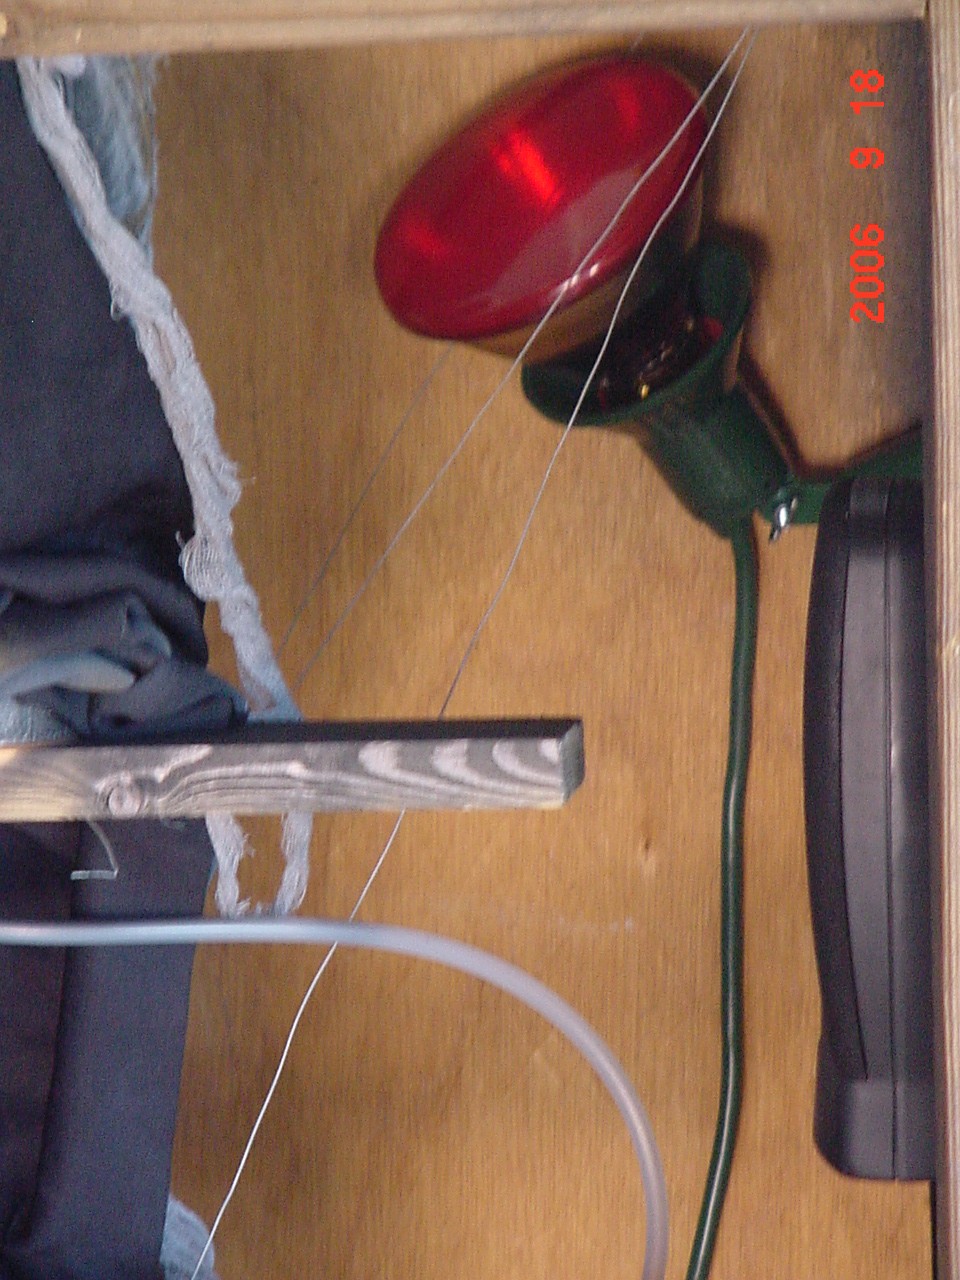
really throw the creature up and out. Lighting was added; a pair or red and
yellow floodlights mounted inside the well point upward and illuminate the
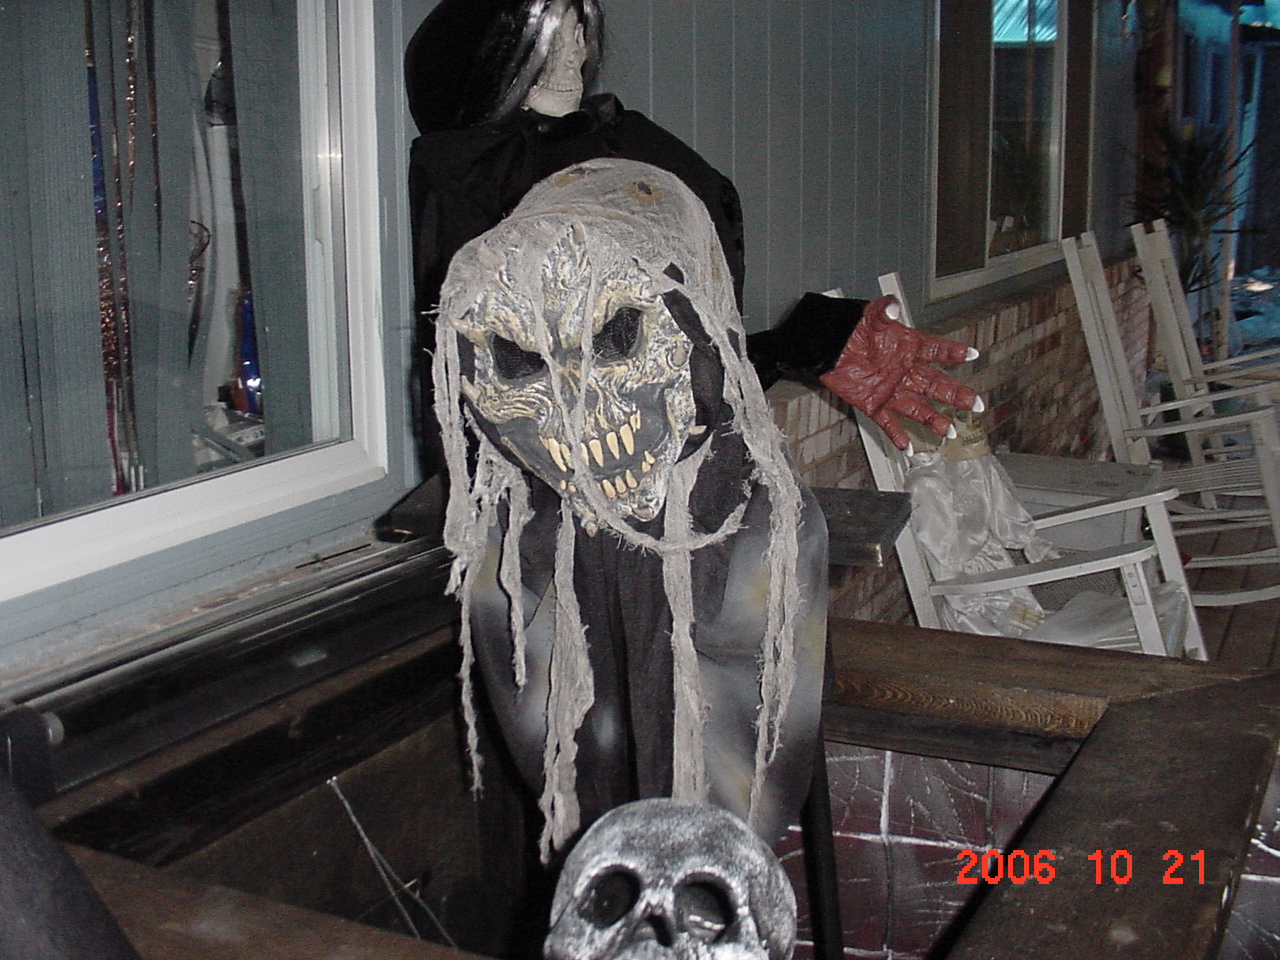
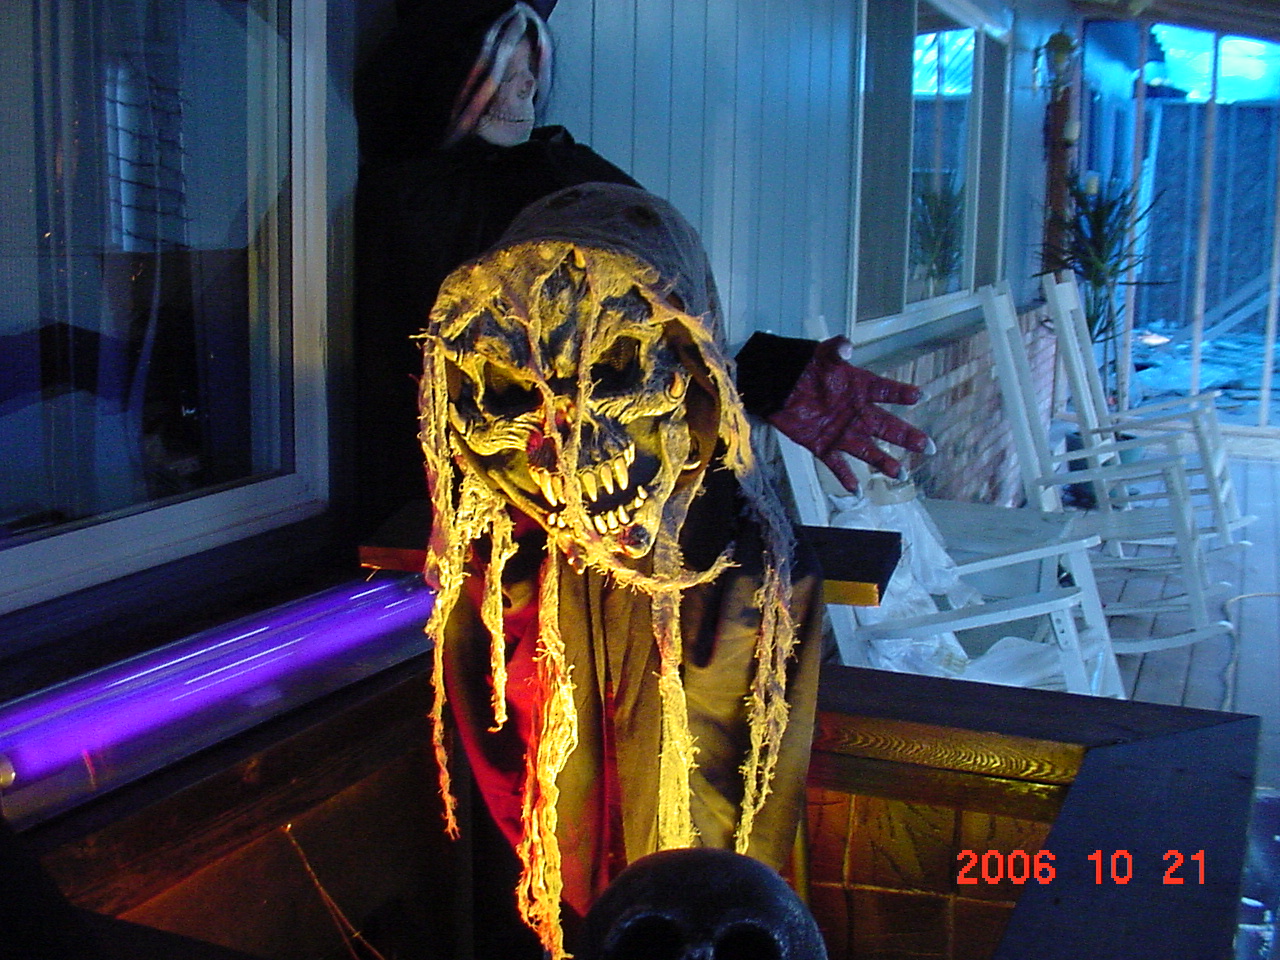
creature and the fog in an eerie and evil hell-fire. 10/19/2006 Update: We have sounds; the witch now sings a gruesome little Halloween song when the well is first powered up, and chants her mystical spell (with jaw moving and green eyes flashing) when she detects victims approaching. She's much better dressed now (see her page here). The well will be moving out into the yard this weekend and final setup will take place. More pictures to come then... Our well demon is dressed for
success as well: A sad postscript: We finally placed the well in its final position on Saturday afternoon, 10/28. We ran it part of that evening during our pre-Halloween walkthru. However, the well was damaged by construction work sometime on Monday the 30th (the guide rod for the cylinder was bent when someone dropped something onto the well), and only lasted through part of the evening on Halloween before the cylinder tore itself from its mount after jamming on the bent guide rod. We will have it repaired and improved in '07 though! And hopefully all the construction work on the house will be done by then! Link to the 2007 Well to Hell upgrade!
|