Civil War Cannon
|
The Yankees Don't Stand a Chance! We're starting on a new theme area this year. First we thought we'd start with a bang. And a whoosh. And lots of smoke. Click on any image below to see a full-sized version. Click here to see a short video of the cannon in action! Loosely modeled after civil warn
cannons like this:
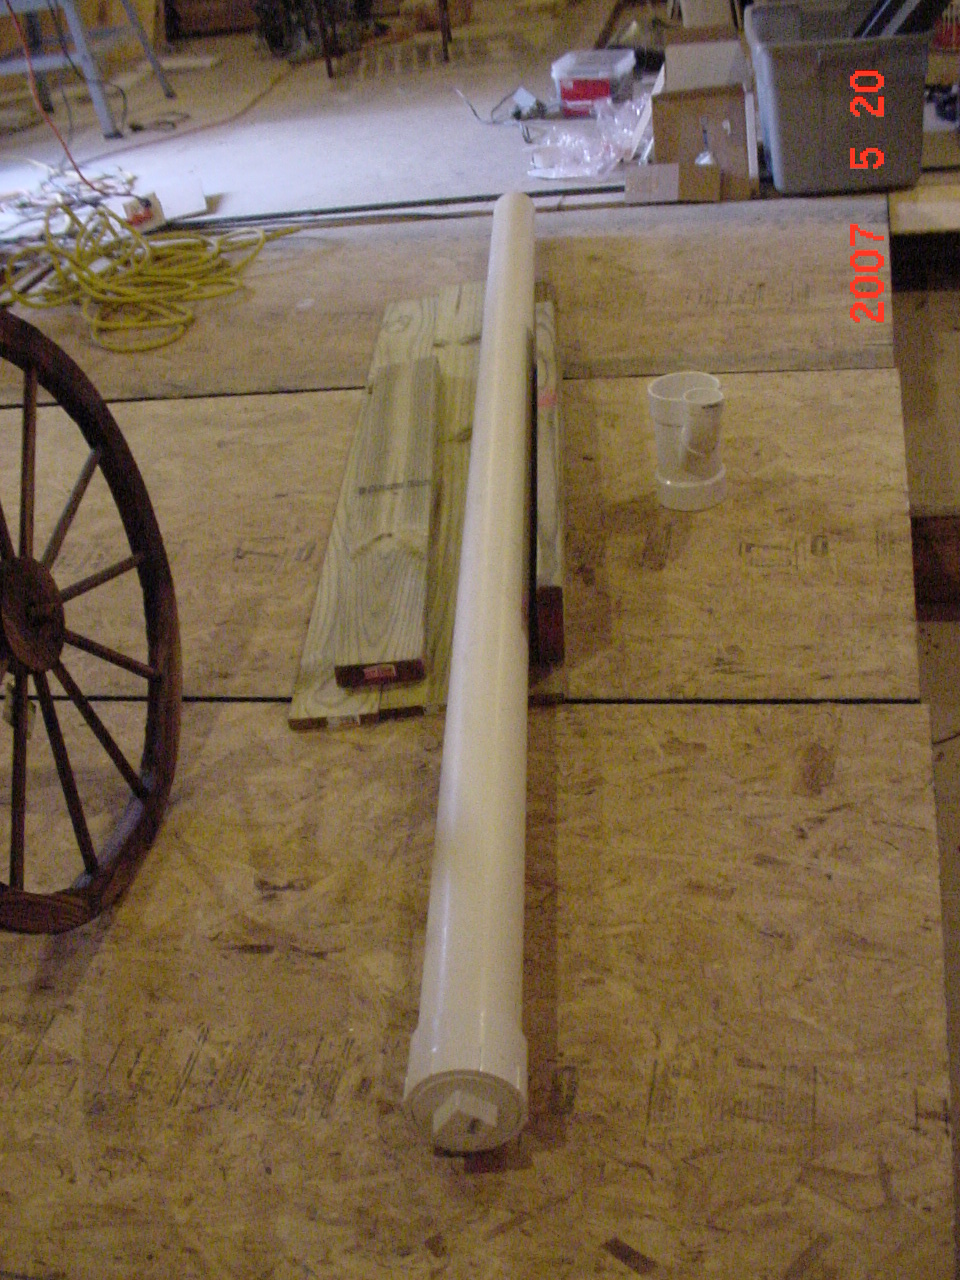
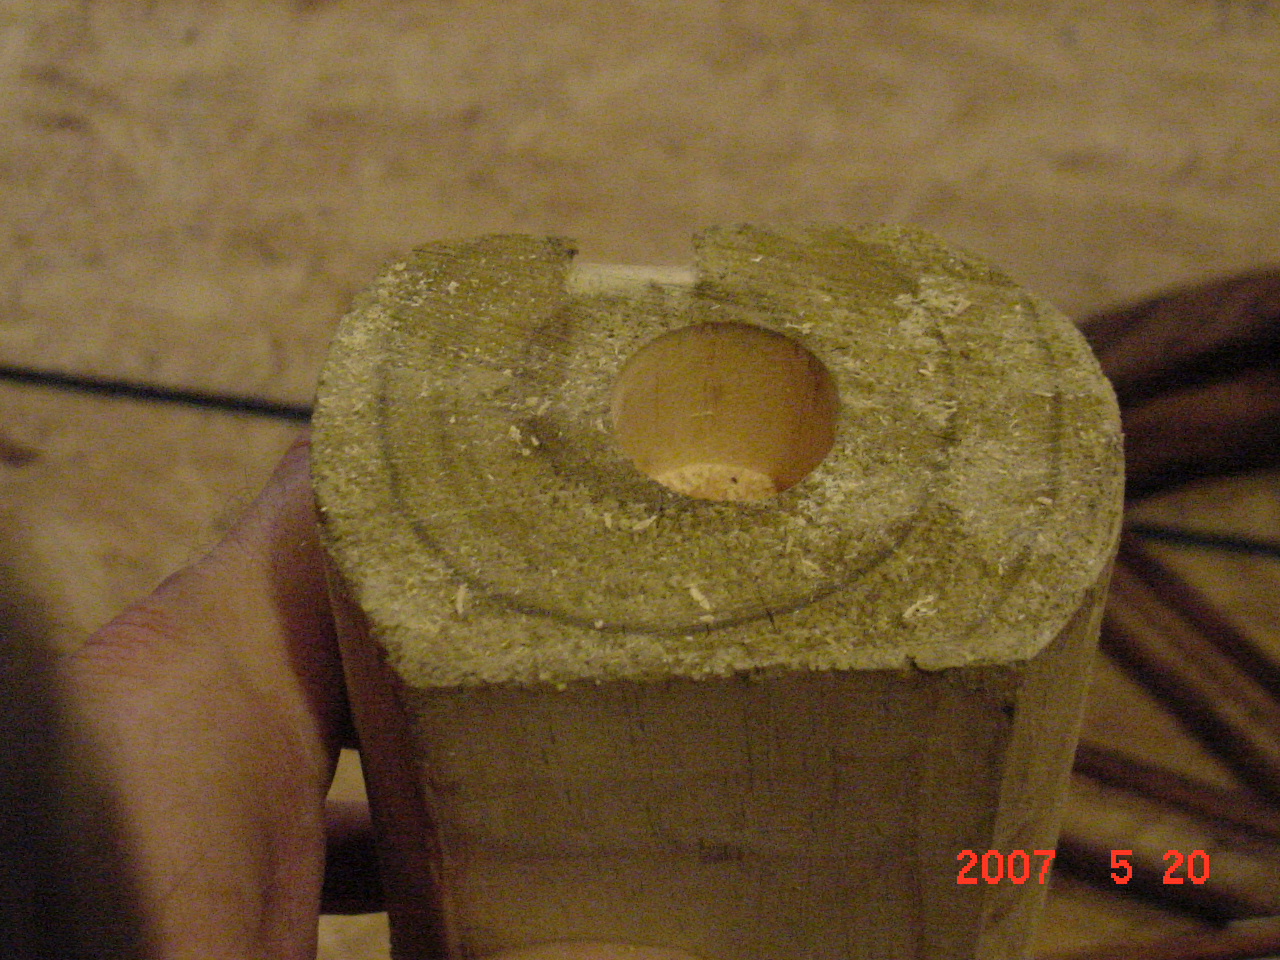
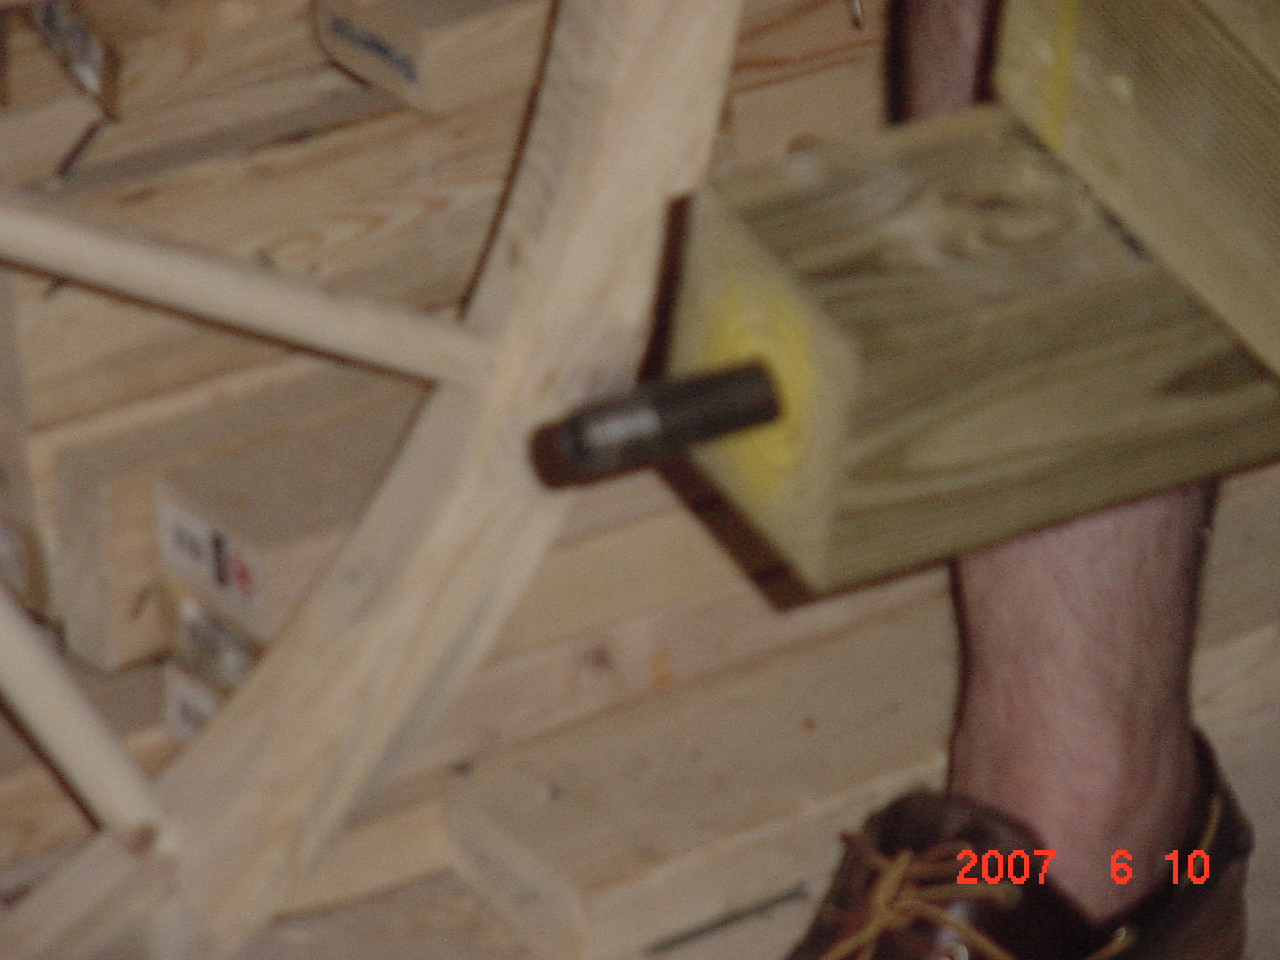
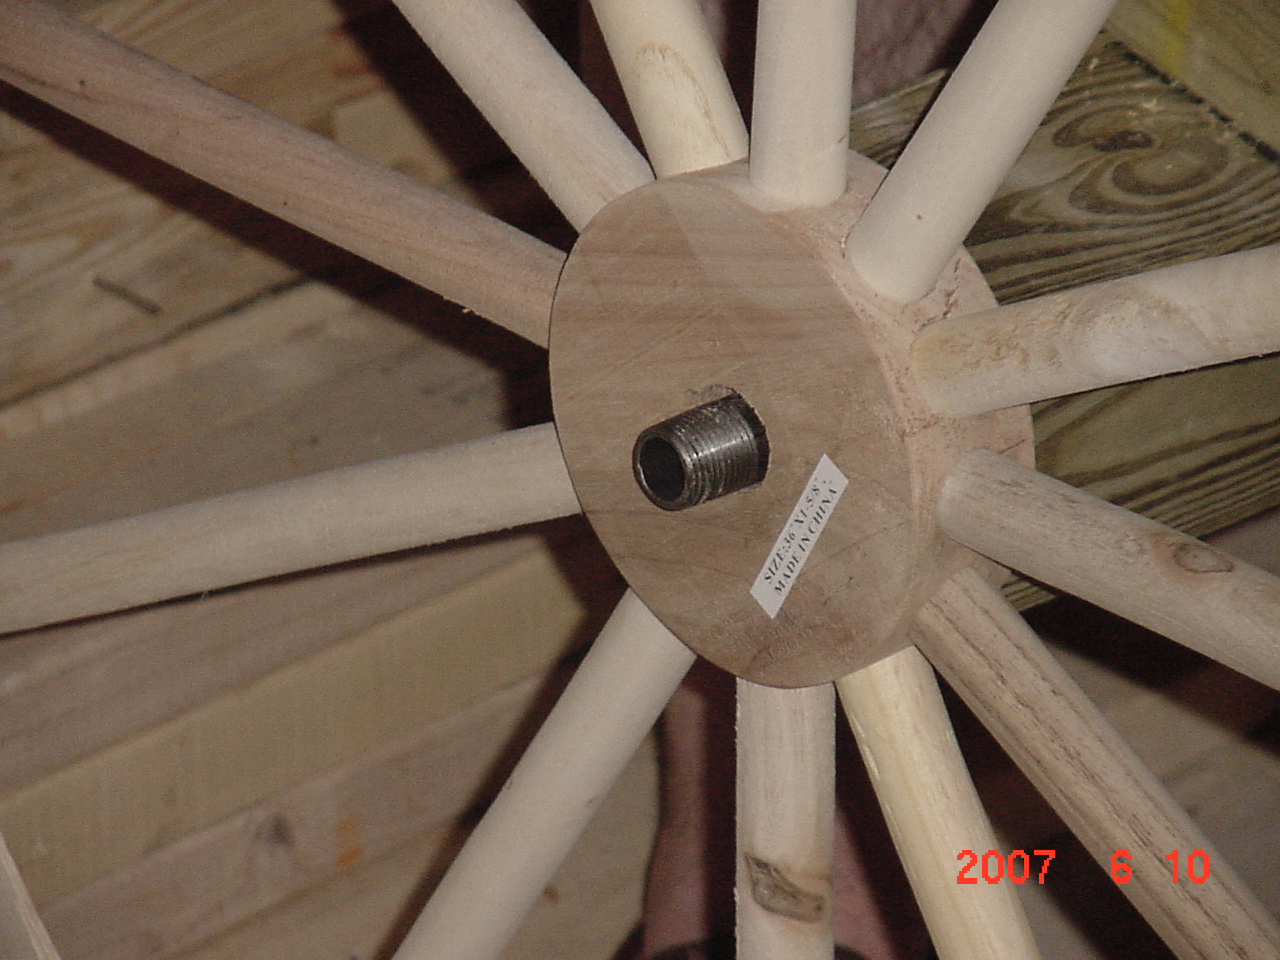
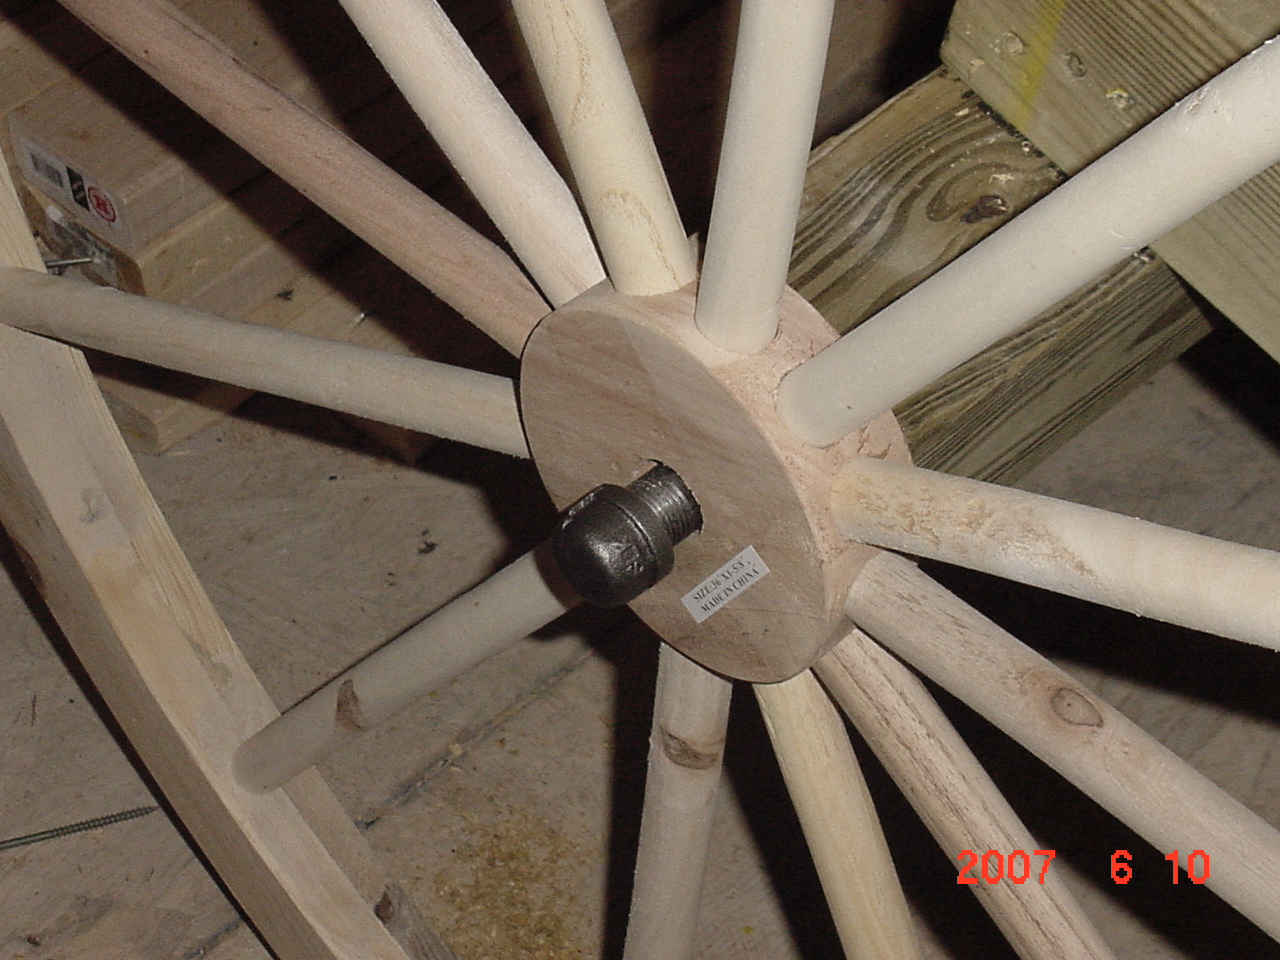
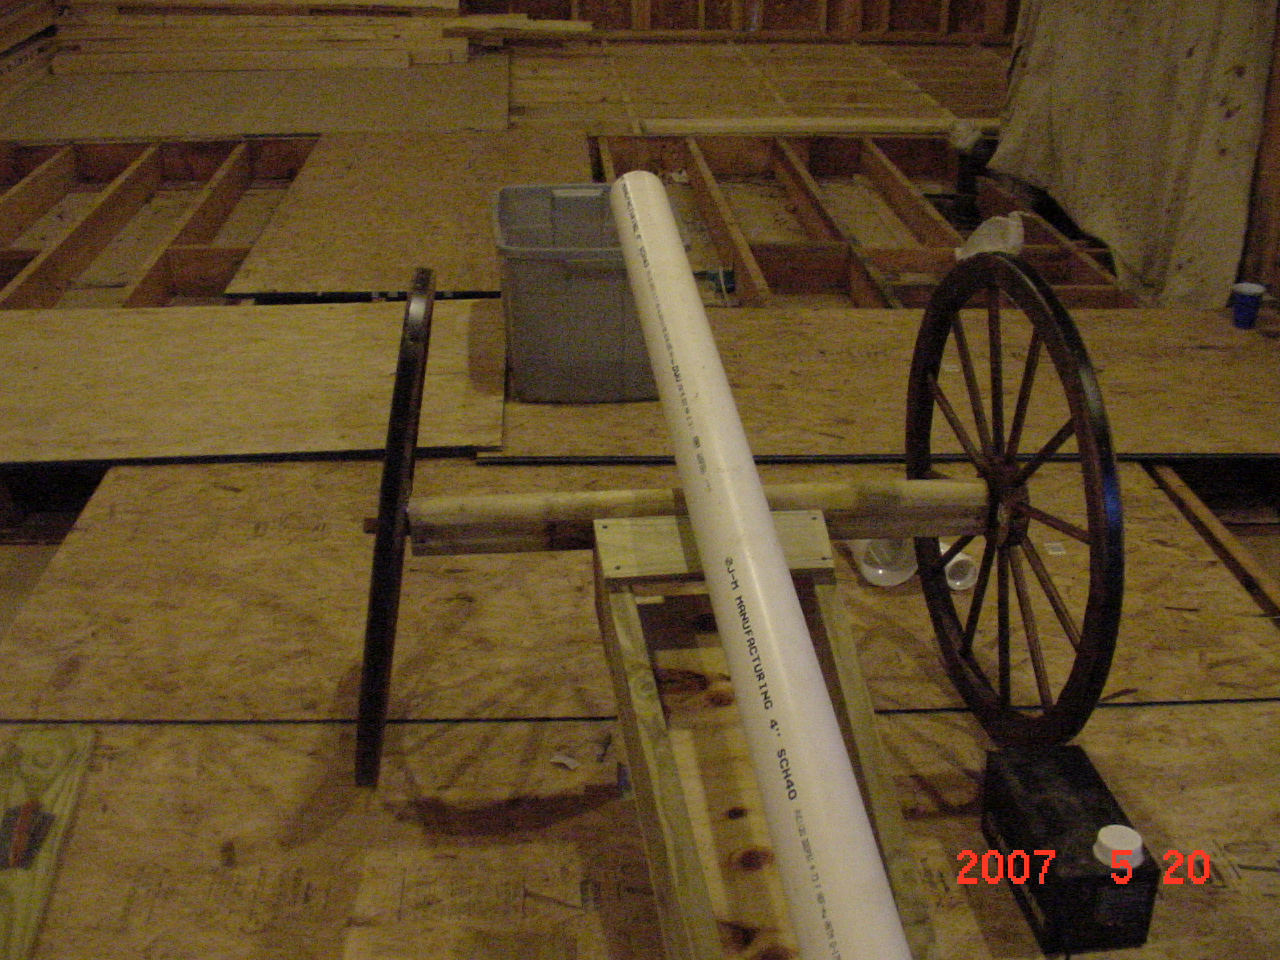
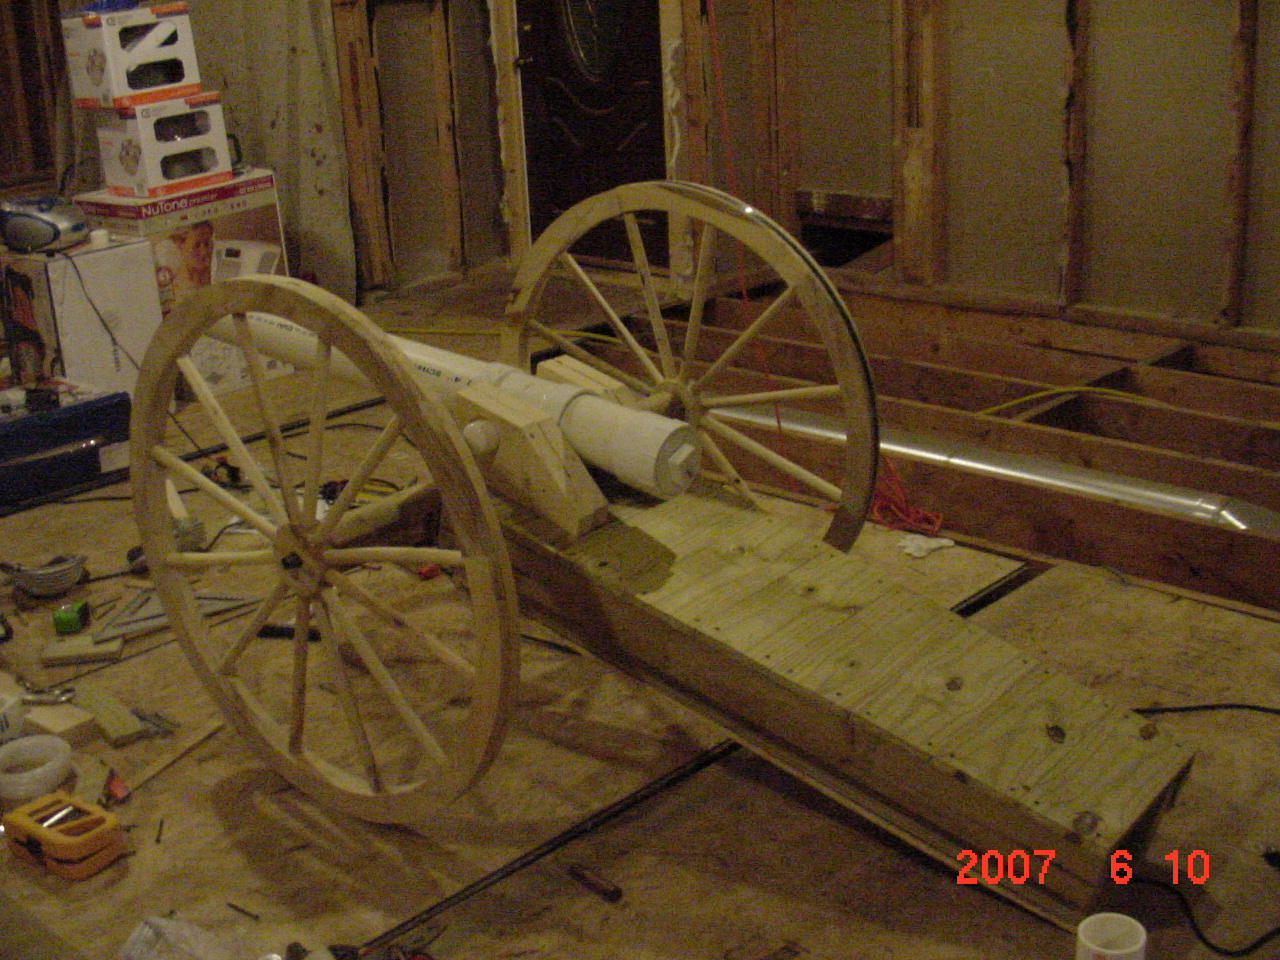
The idea with this cannon is that it will look and act as close to a real cannon as possible, though rather than launching a cannonball, we're just going to send a cloud of smoke out with a loud bang. Hidden inside the undercarriage is a fog machine and two joined sections of steel pipe which will act as our air tank. Attached to the air tank will be a Quick Exhaust Valve (QEV) tied to an electronic trigger. When activated, the fog machine will turn on, filling the barrel with smoke. Very shortly thereafter the "air cannon" within (the QEV) will blast the smoke out of the barrel (which is a 4" diameter PVC pipe). First we mounted the two wheels on a 4x4 axle. The wheels came with wood dowel inserts which we inserted into drilled out holes in the ends of the 4x4. After testing this we decided a sturdier axle was needed. We purchased 12" lengths of 1/2" black pipe and cut them in half (two 6" long pieces). We then drilled a 7/8" hole into each axle to insert the pipe. A 1/4" x 4" bolt with nut run through the axle holds it in place. 1/2" pipe "end caps" screw onto the end of the axle to hold the wheel on (which will have washers added later). We decided on 36" for the length of the axle based on the size and scale of our cannon.
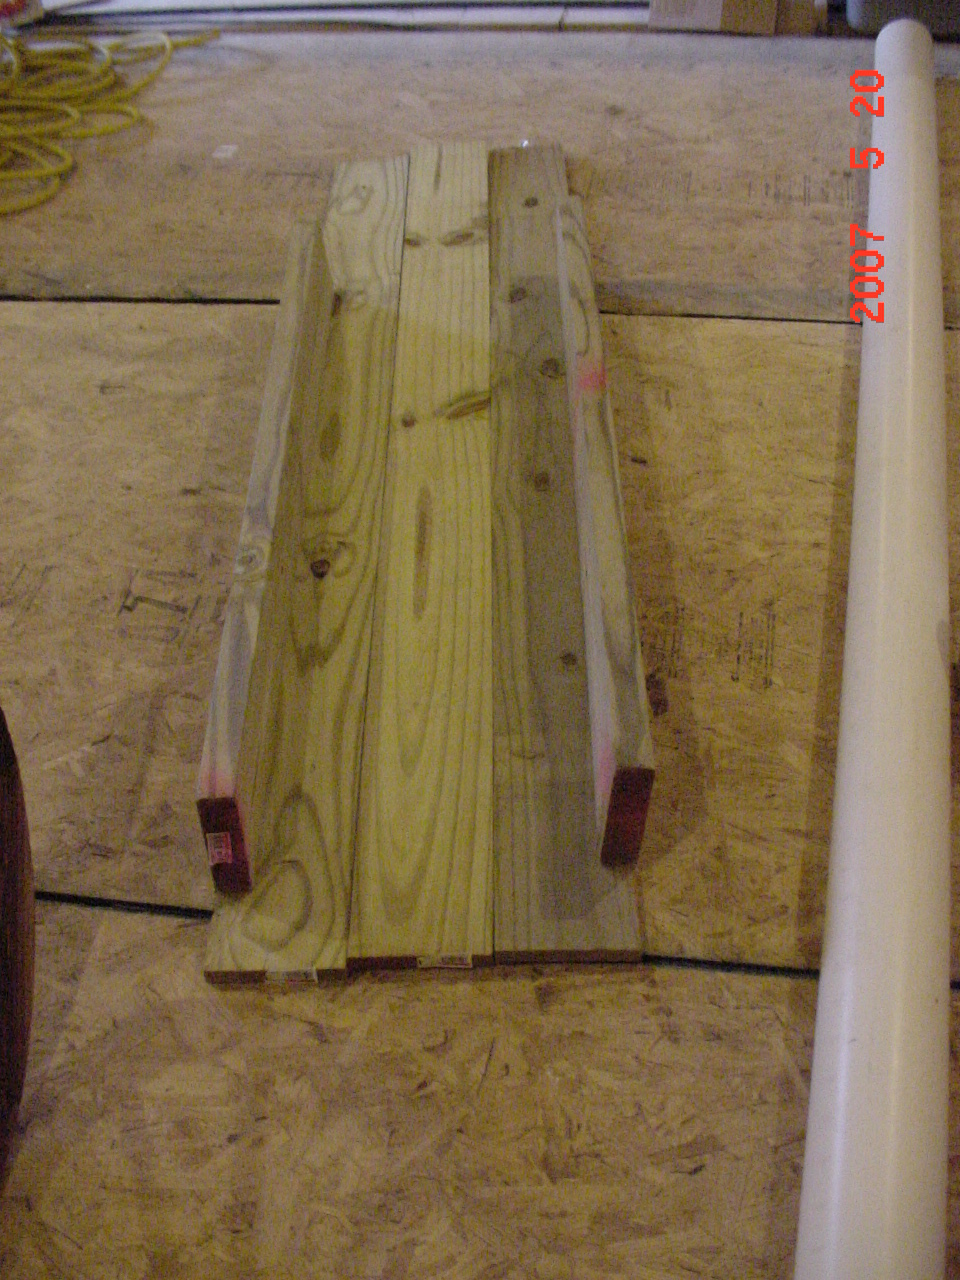
Next we started assembling the undercarriage. This had to be wide and deep enough to hide the fog machine and a pair of 2" wide steel pipe inside it, yet still look as realistic as possible. By test fitting the pipe and fogger, we decided on a width of 14" nearest the barrel, tapering off to 11" at the base; the undercarriage is 4' long. We cut a sheet of plywood to cover the bottom, and cut one of the planks that will cover the top just to hold things together while we sized everything up.
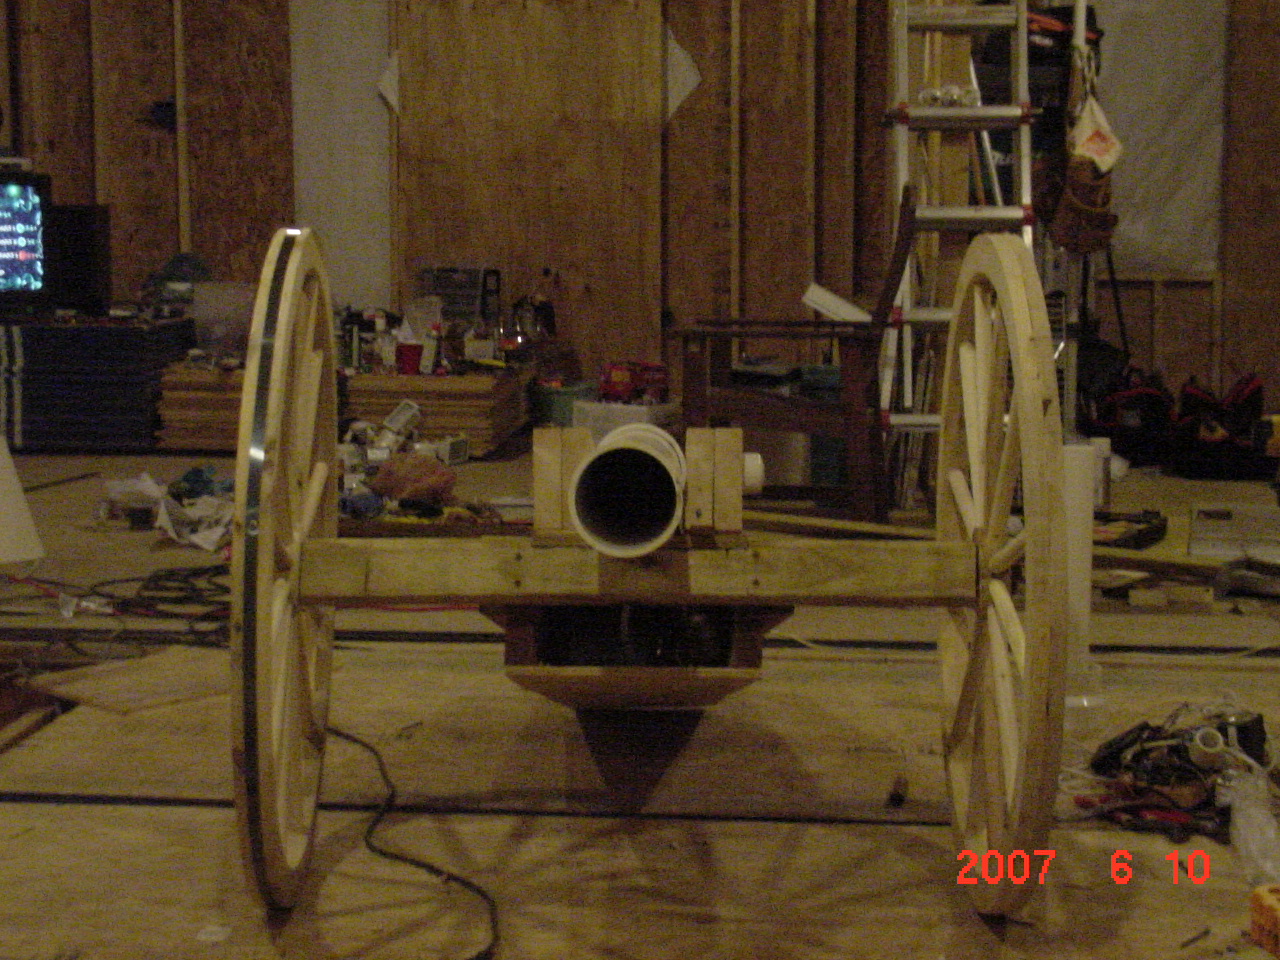
We fastened the undercarriage to the axle using 4 4" galvanized deck screws. We couldn't resist laying the future barrel on top to get an idea what it would look like:
The cannon barrel itself is made of 4" PVC piping, just over 4' in total length. On the back side we fitted it with a cap and plug that we felt resembled a cannon breech anyway.
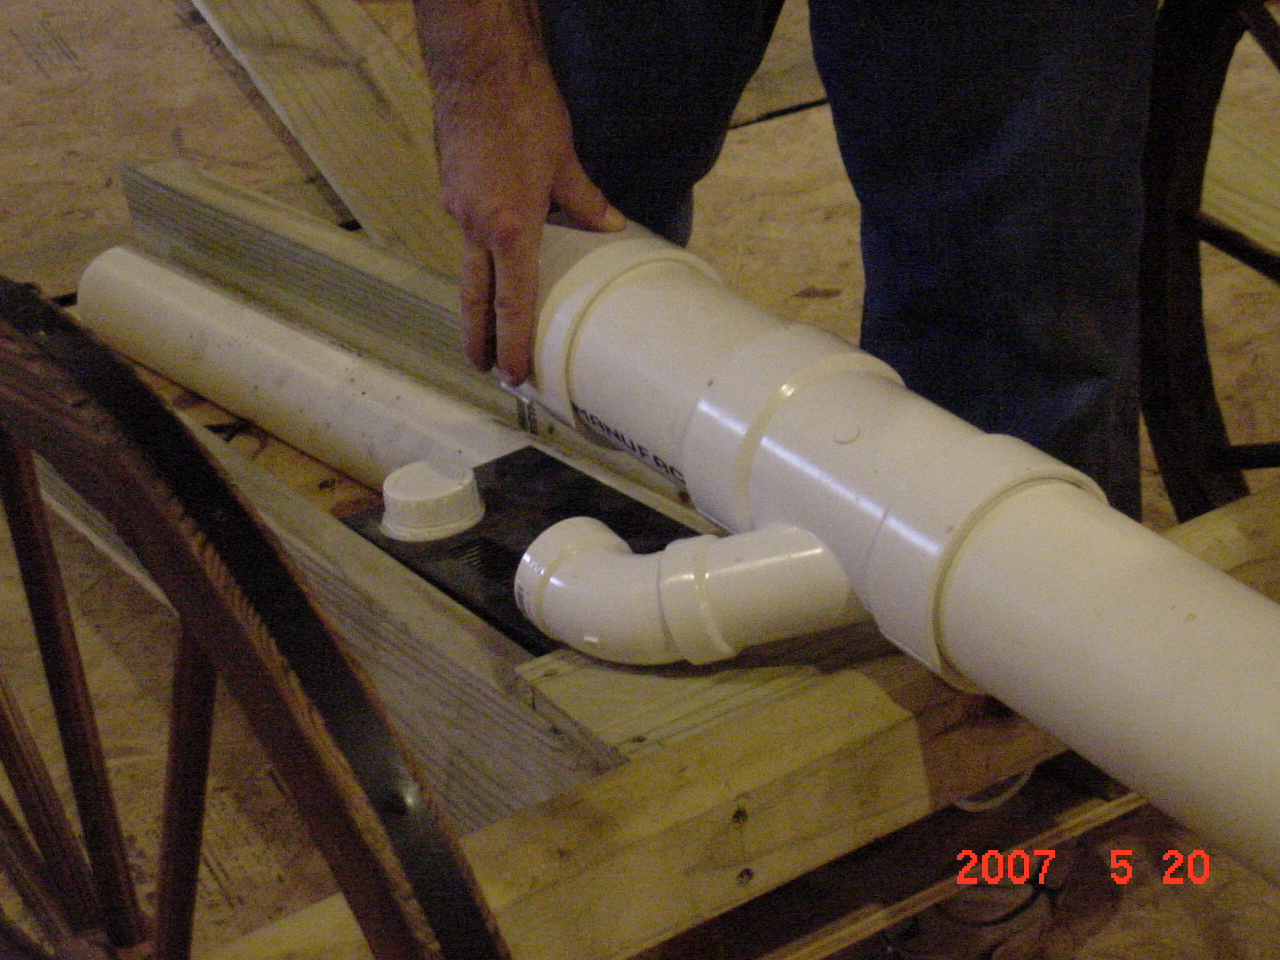
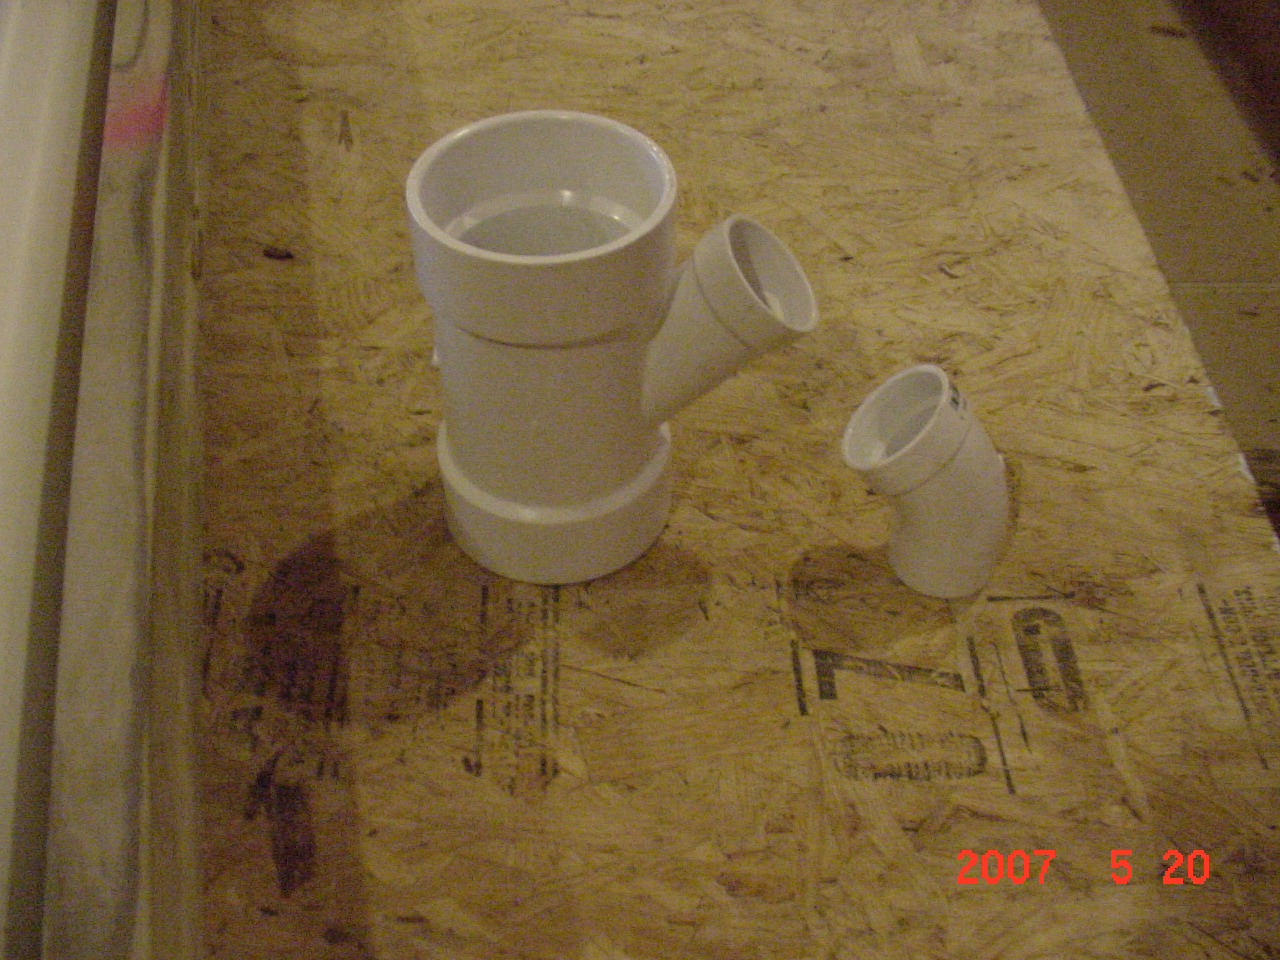
Where the barrel "sits" on the undercarriage, we fitted the cannon barrel with a junction pipe and an angled fitting. This is where we'll be piping in the fog from the fog machine mounted below:
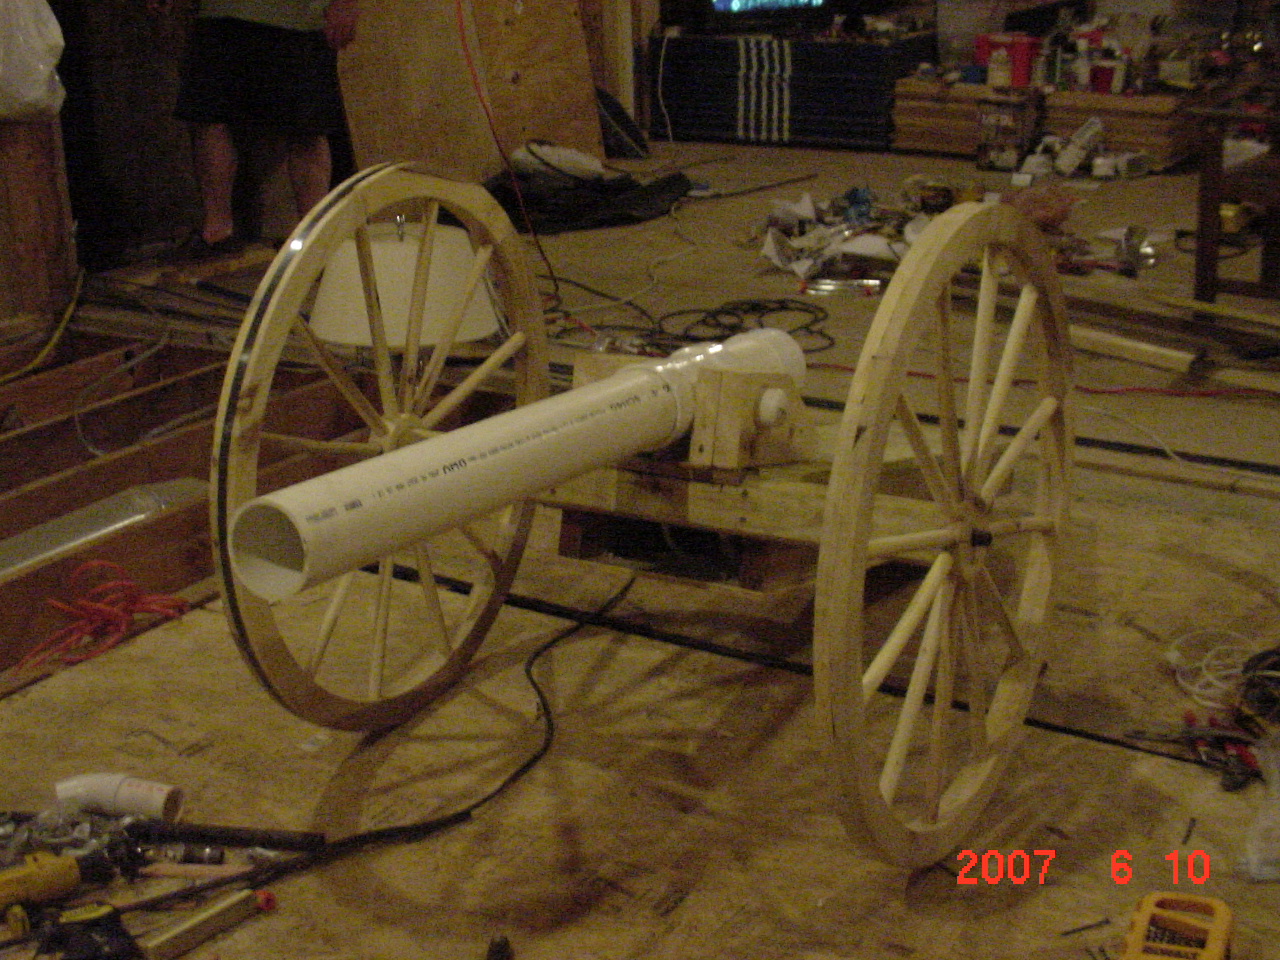
And finally another test fitting with the semi-finalized barrel.
After fitting all that together, we scored some WAY nicer wagon wheels at Harbor Freight. Regularly $29 each, they were on sale for $12! Now we're going to have to create some accessories to go with the cannon! I decided to go with black pipe/galvanized pipe to hold the pressurized air in the cannon. I have the Quick Exhaust Valve (QEV) I picked up from Evilusions (where I also got most of my pneumatic parts). Here's where I dry fitted some of the parts together to get a feel for how they'll fit. I'm using 2" black pipe as my holding tanks; they'll eventually extend all the way to the tip of the cannon undercarriage- for now I just test fitted with a 6" length of black pipe. You can also see the much nicer wagon wheels we're using now.
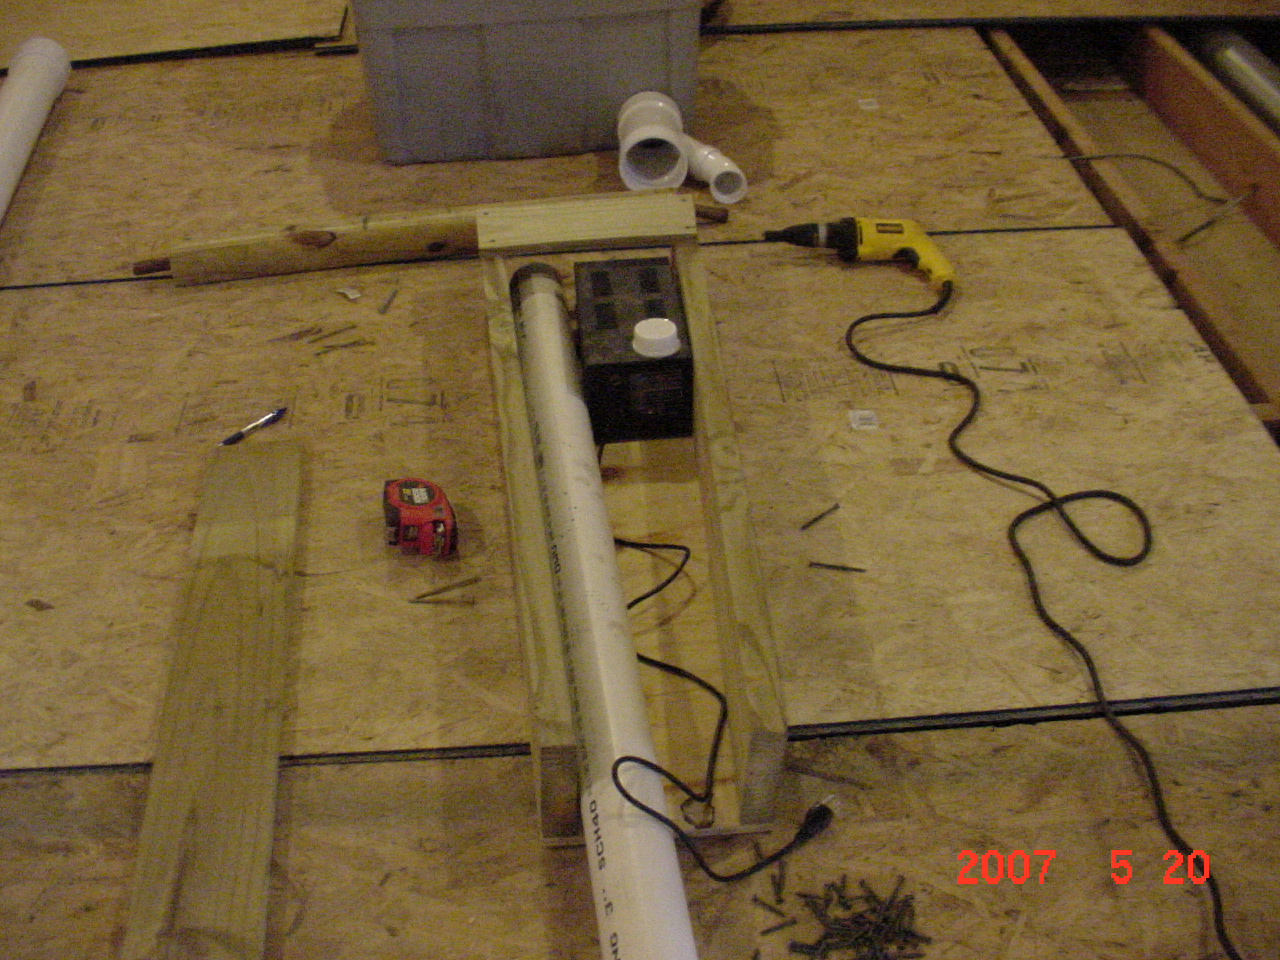
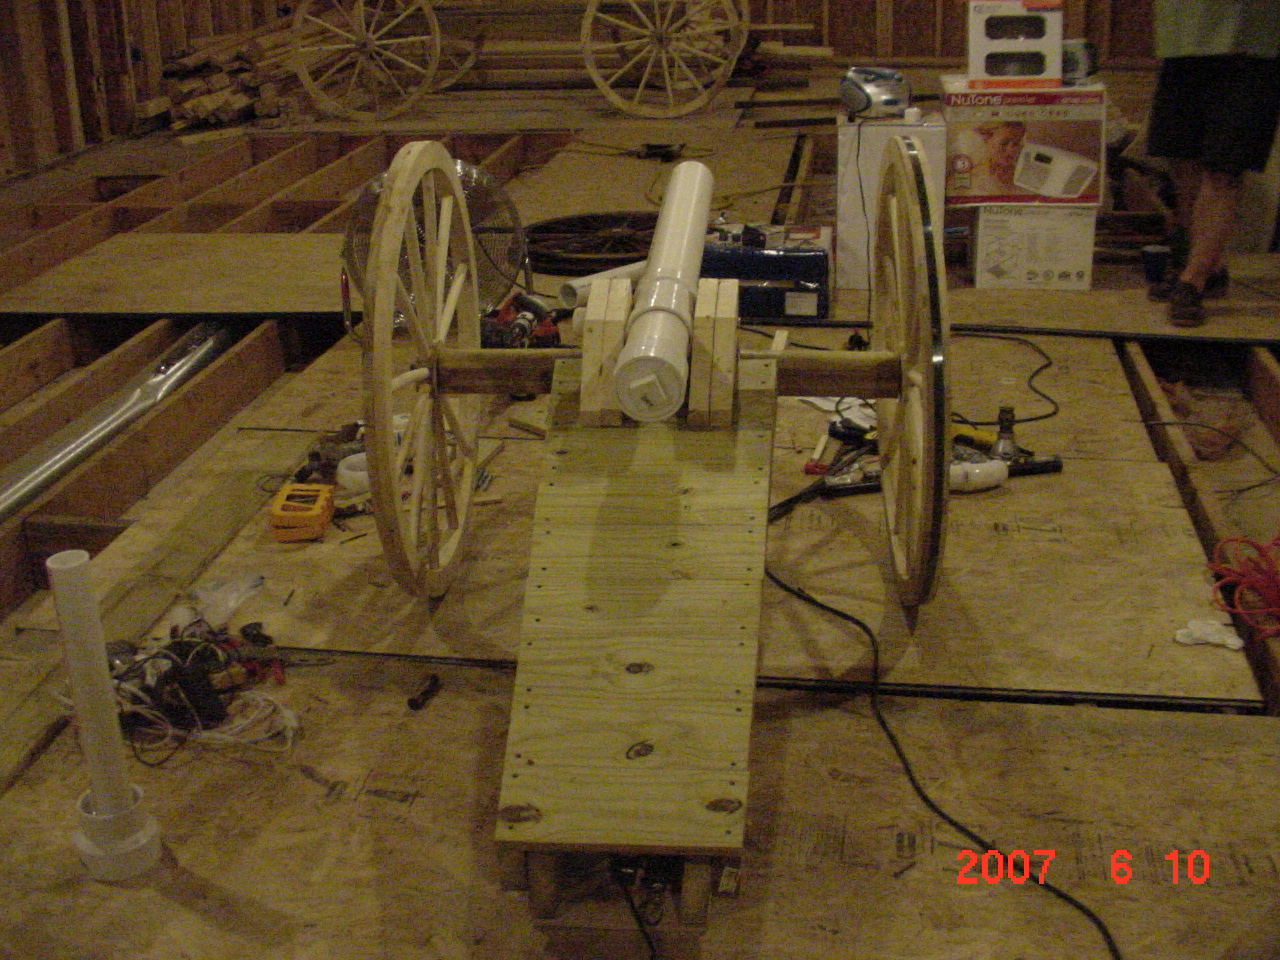
You can see above roughly how the pneumatics will sit in the cannon. I have 2 2" pipe (tanks) joined together at a 3/4" "T" fitting (the two pipes were used to maximize the amount of air we could "store" in the pipes to be released then the cannon "fires"). The fitting pointing up is the QEV, which will be hidden inside the cannon barrel. The pressure gauge is sitting at the base of the undercarriage, where the incoming air feed will be hooked up (via a quick-connect coupler attached to the gauge).
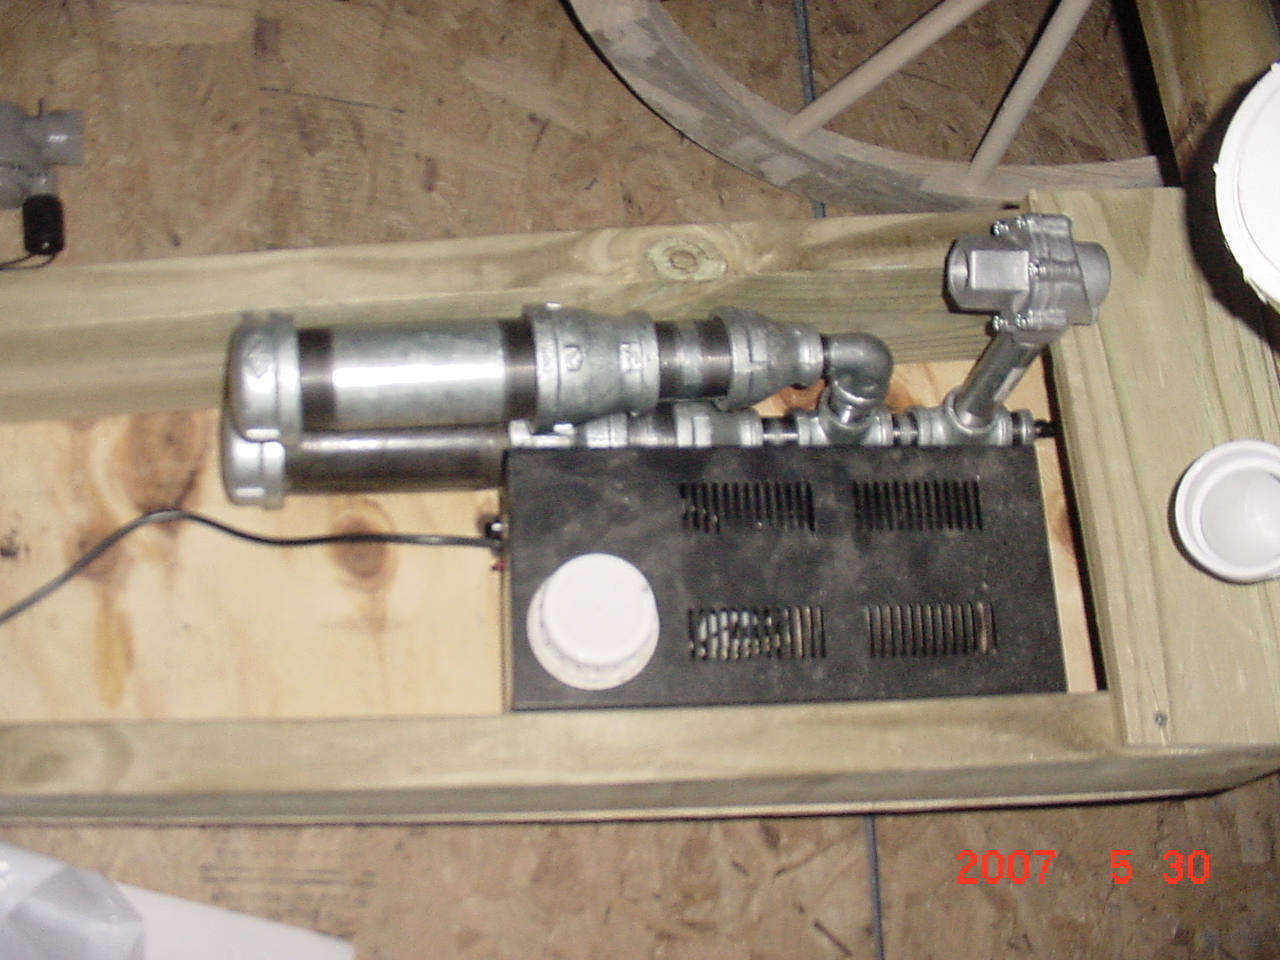
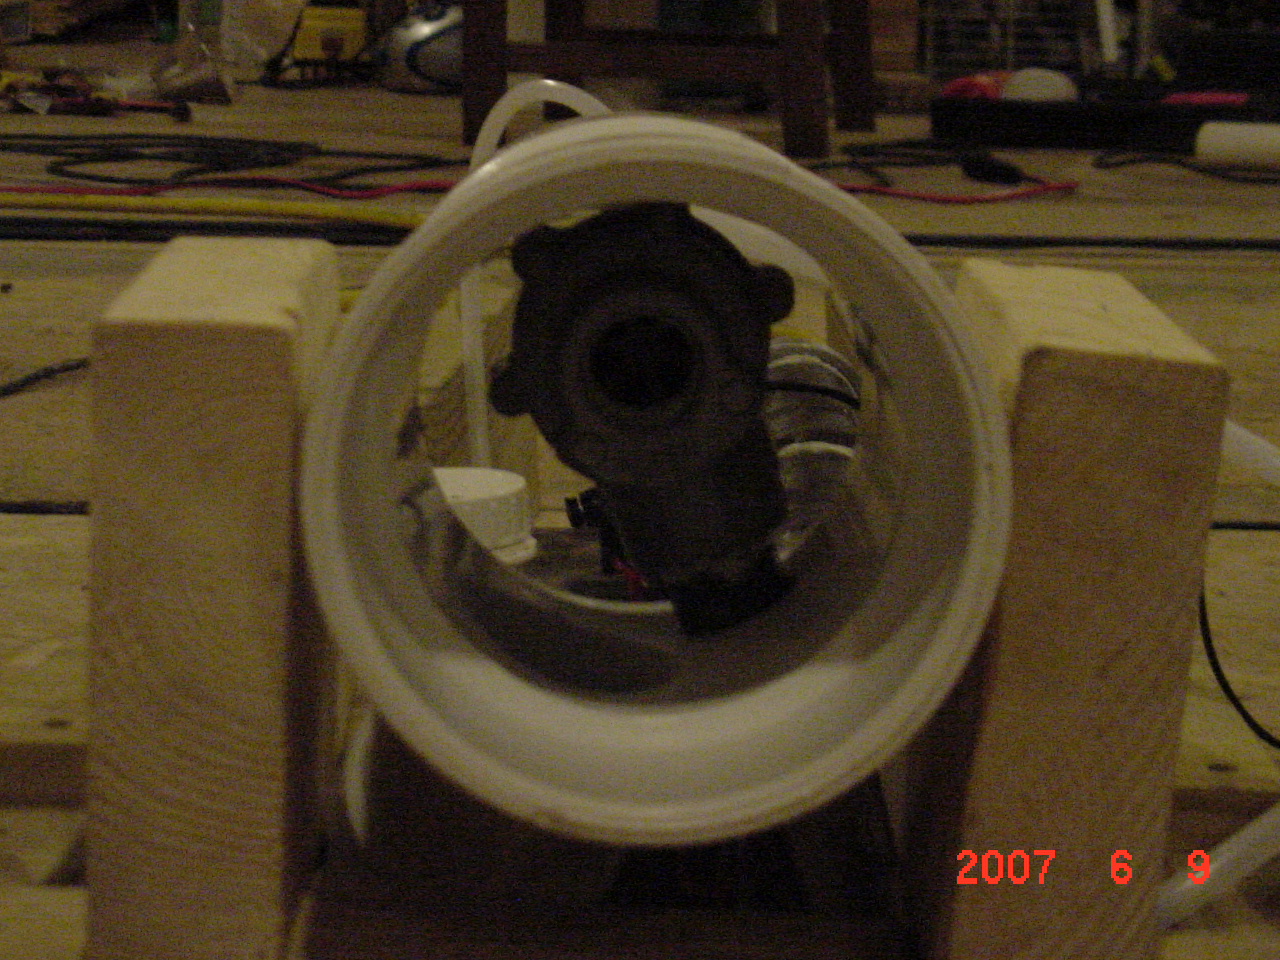
In the pictures above you can see a close-up of the whole pneumatic assembly (with shortened tanks for the time being). Air lines will feed into the nozzle bottom right to fill the tanks, and to another nozzle which will be attached to the valve (not pictured). Here's a couple pictures of the assembled pneumatic assembly - tanks and valve (which had to be assembled inside the PVC barrel section).
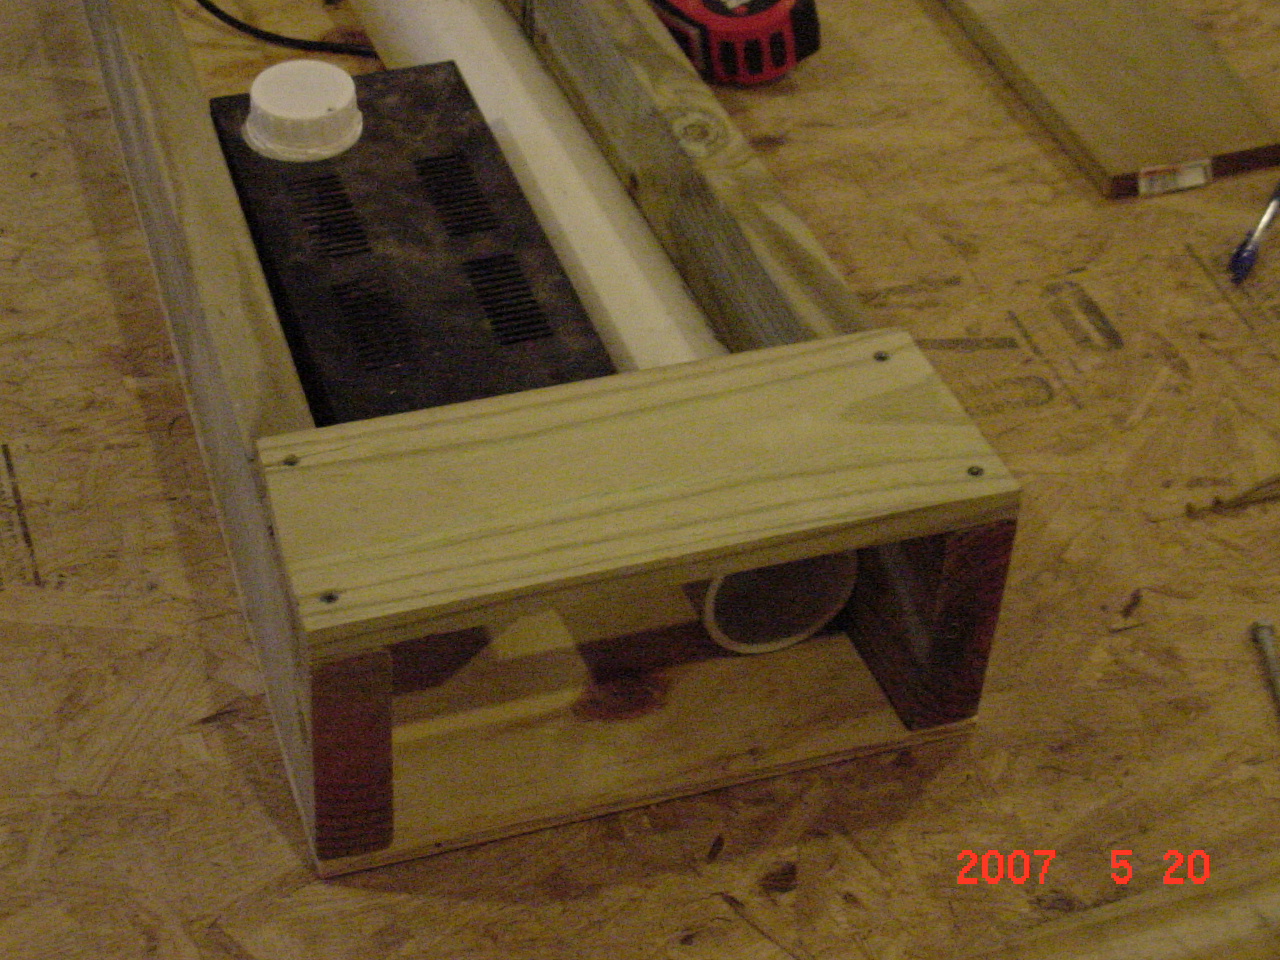
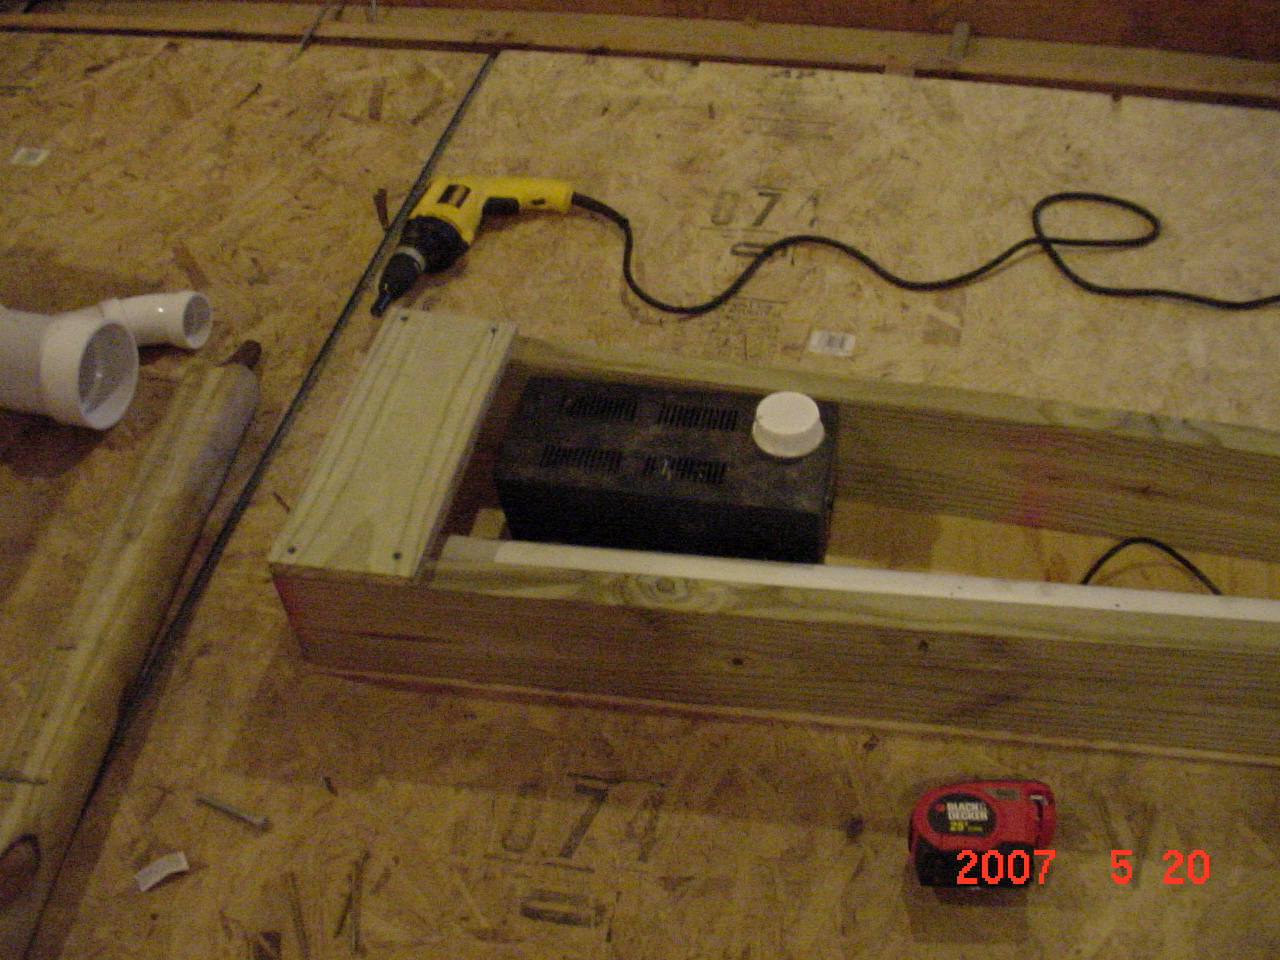
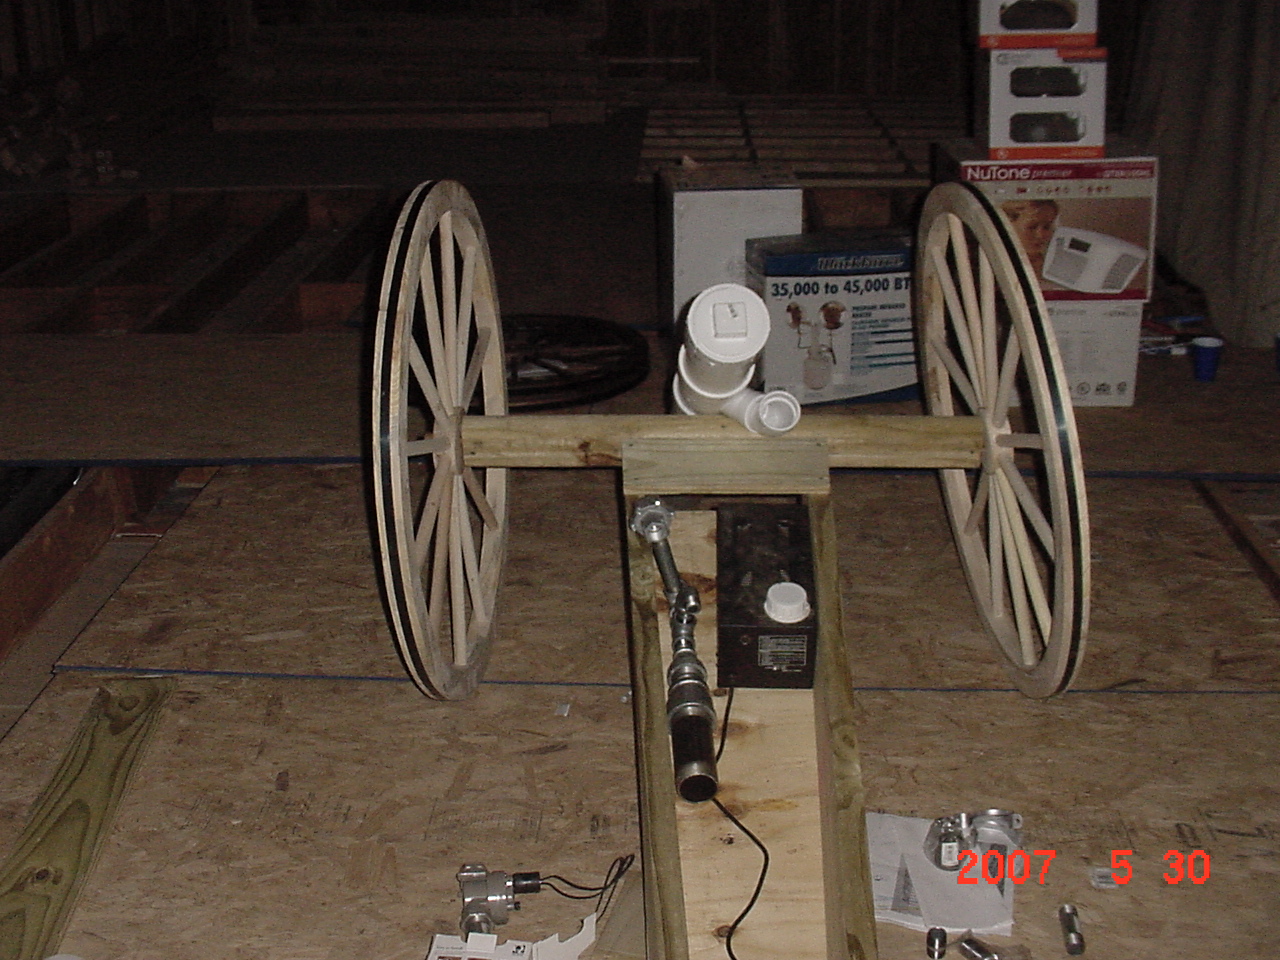
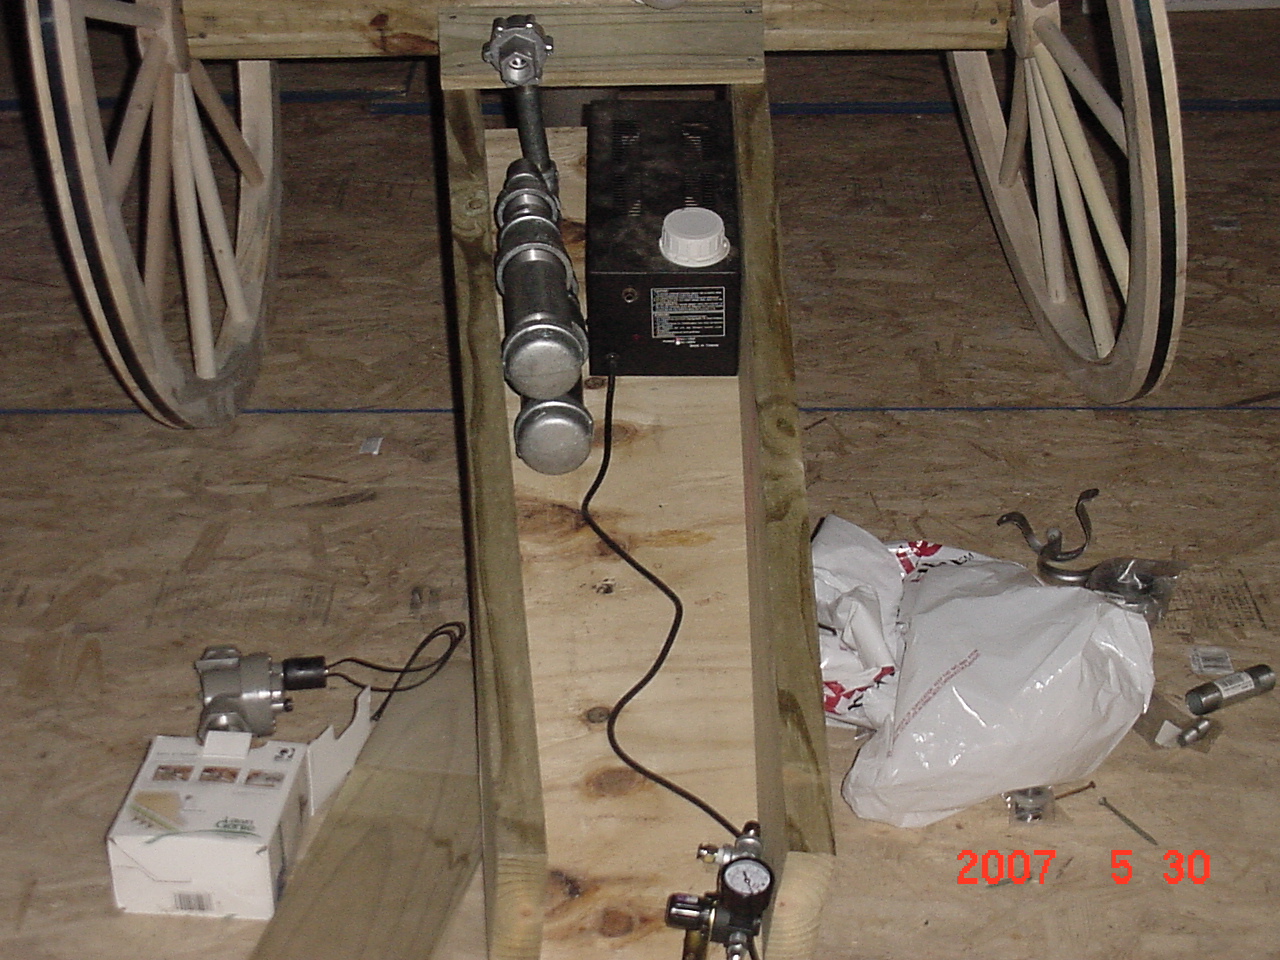
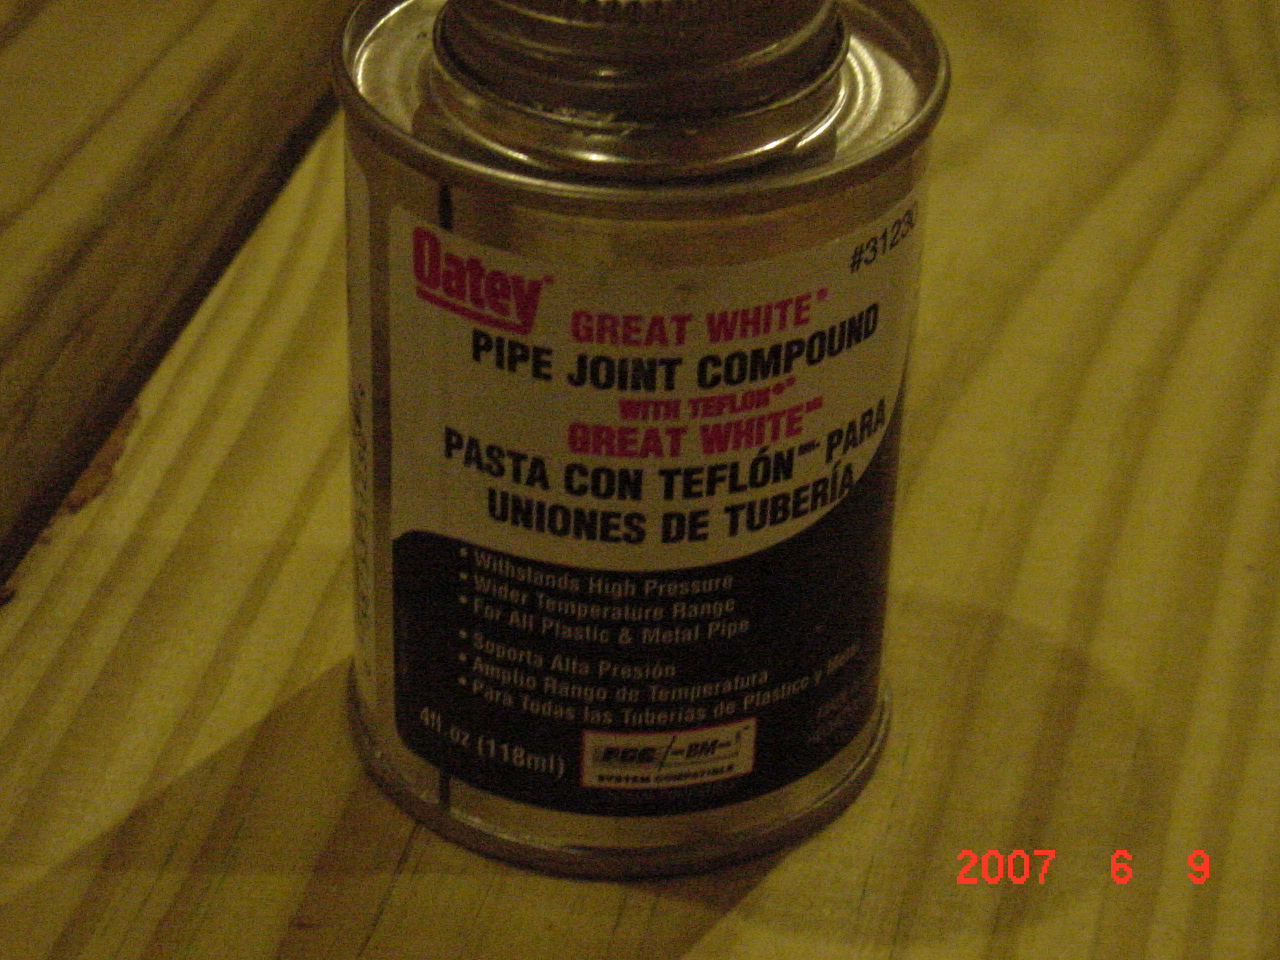
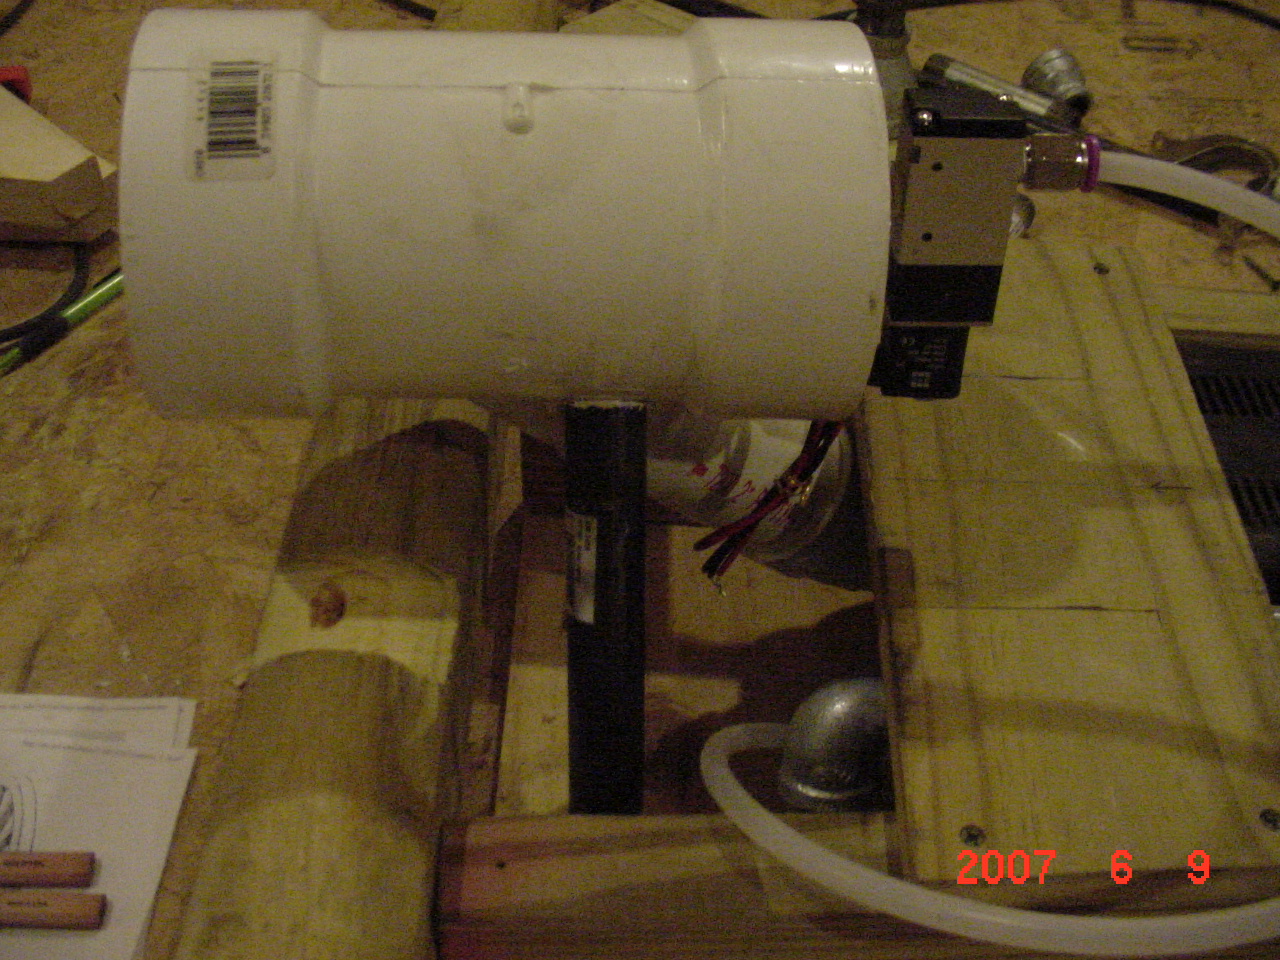
Below, we've assembled the entire pneumatic assembly. From the back you can see the dual 2" black pipe holding tanks (one on top of the other) and the fog machine mounted up front. The air pressure gauge at the back regulates the incoming air pressure. The longest 2" pipes I could get at the local hardware store were only 6" long, so I had to join several pieces together. All pipes were sealed with the pipe joint compound pictured below - which we later discovered did a LOUSY job and leaked like crazy! We ended up pulling the whole thing apart and re-wrapping all the joints using a thick pink teflon tape. The thick tape worked great and everything was air tight and ready for battle!
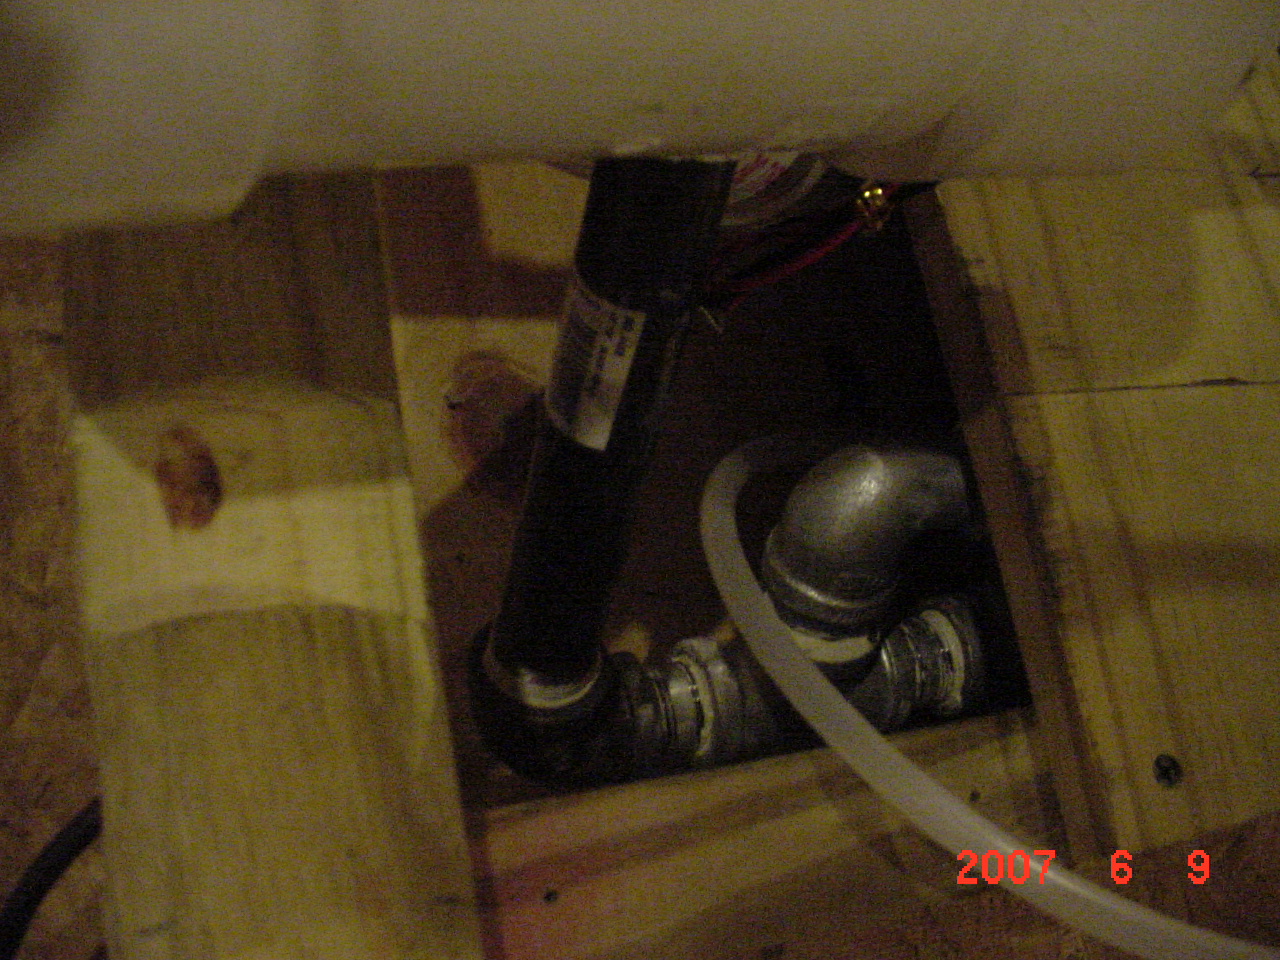
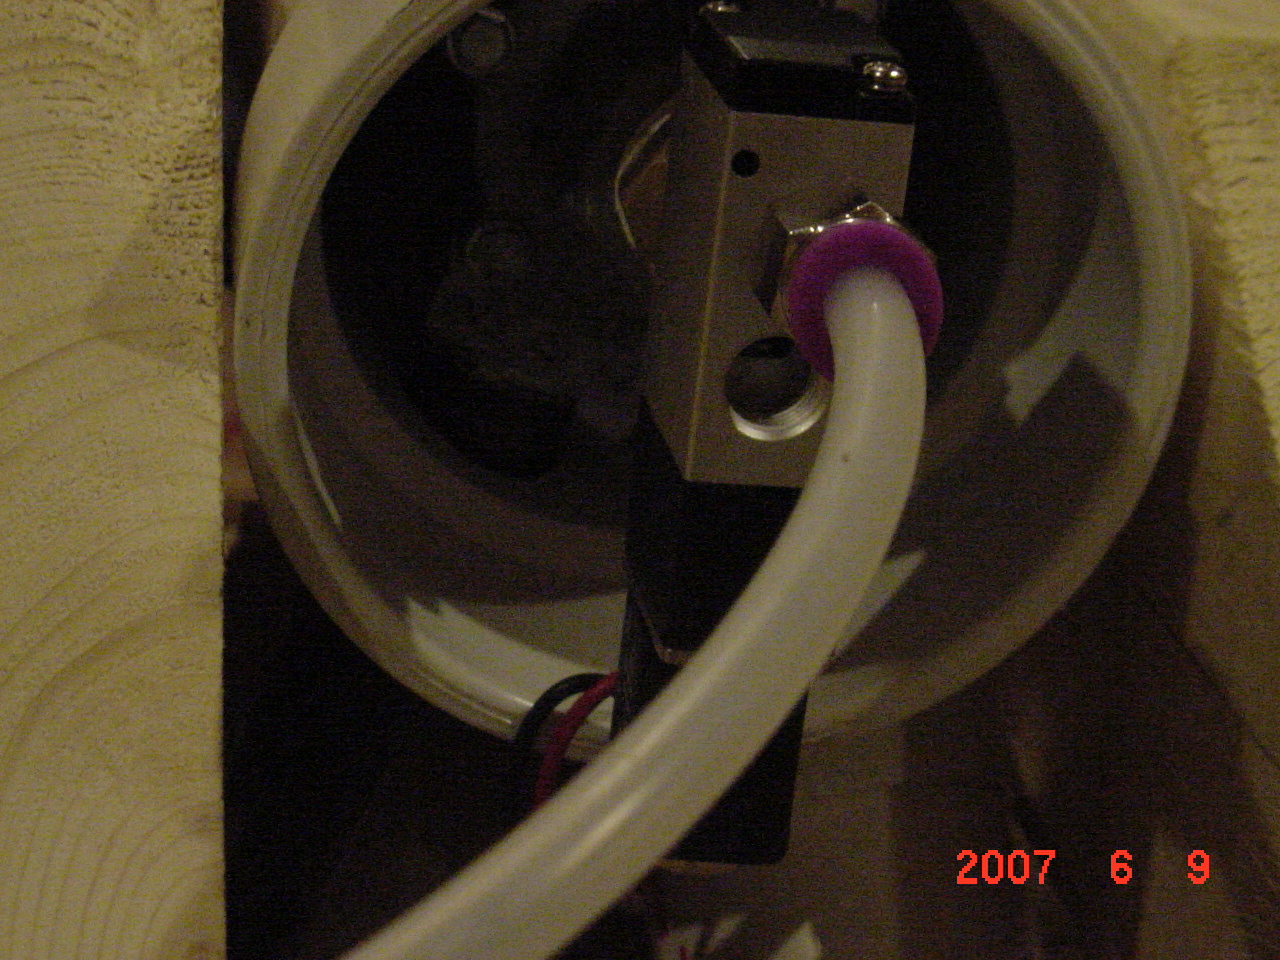
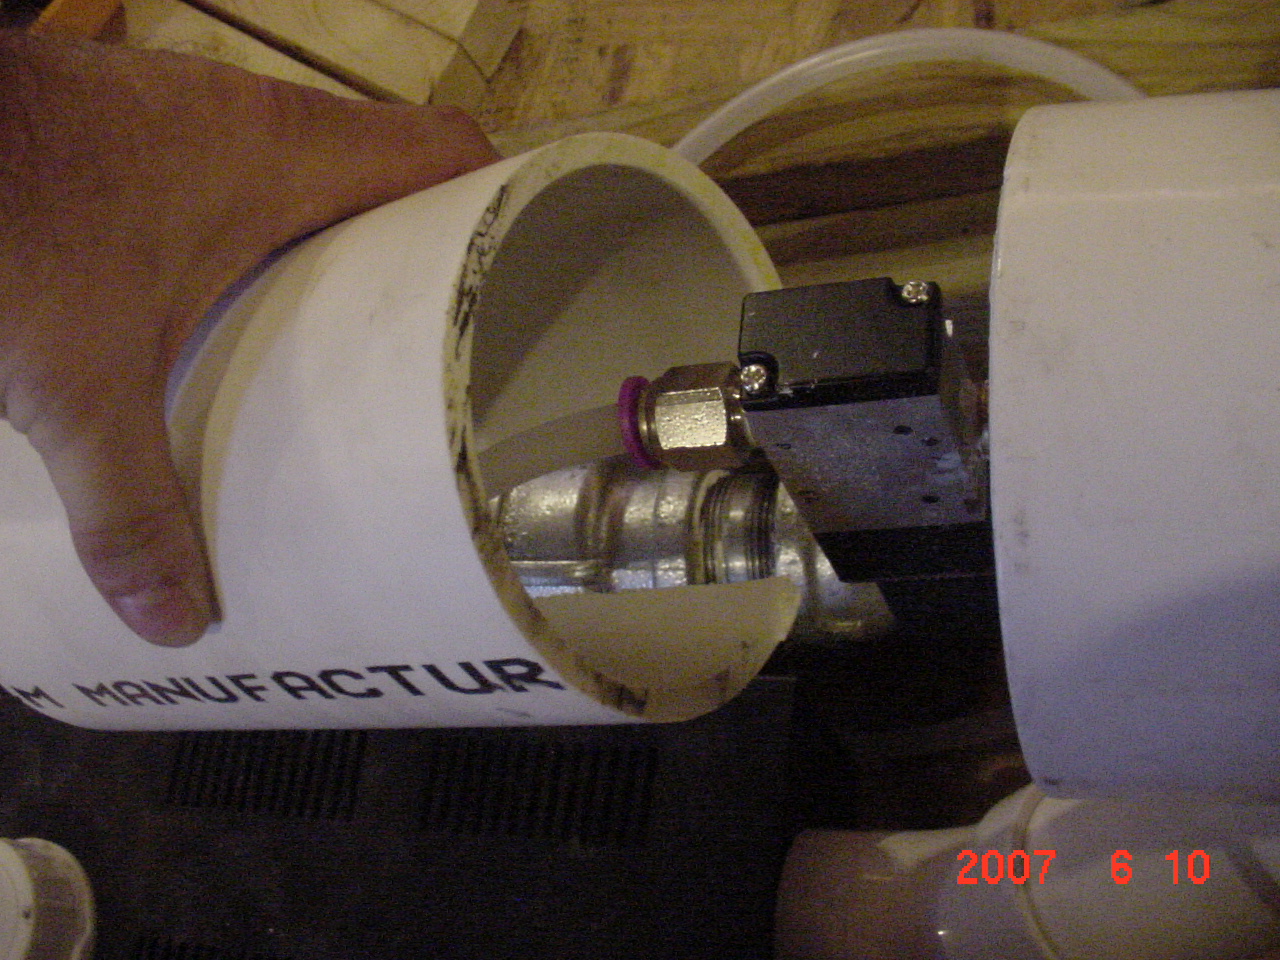
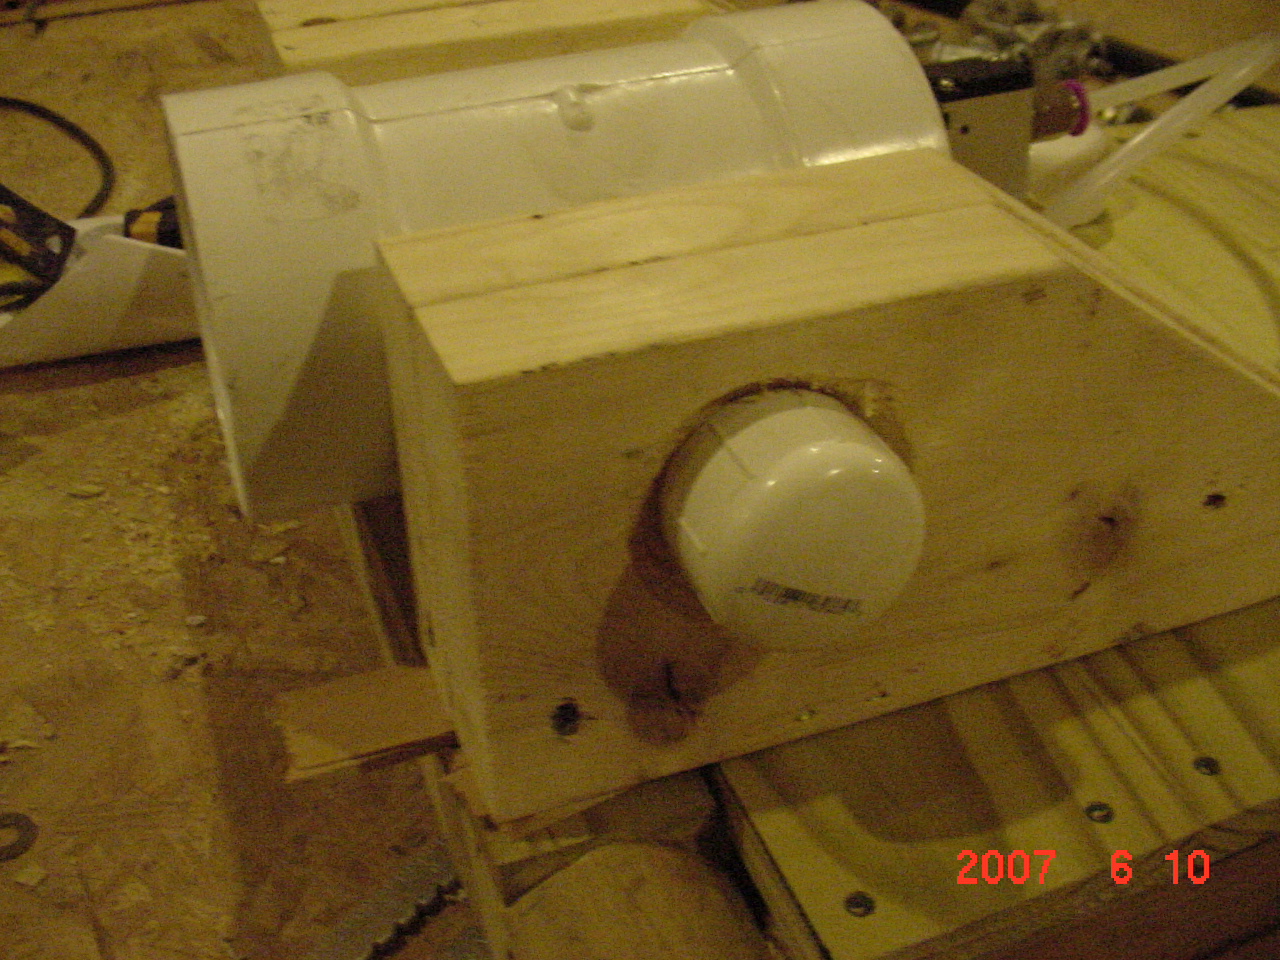
Below are some close-ups of the barrel assembly. The main area we're working with is the 4" PVC pipe with an angled 2" exit pipe. A fitting on the 2" exit pipe lines up nicely with the nozzle of the fog machine mounted inside the undercarriage, so that when it is activated, fog flows up the pipe and into the main cannon barrel - just ahead of the QEV assembly. The QEV is connected via a 3/4" x 8" steel black pipe to the holding tanks below. I had to drill a hole on the underside of the 4" PVC "barrel" for the black pipe to pass through. Because of the size of the QEV (it was too large to turn inside the PVC) I had to hold the QEV inside the PVC barrel and insert the black pipe up through the hole and twist to tighten it. The valve assembly mounted on the back side of the QEV, and again because of the size of the valve, some creative carving/notching will have to be done to get the back end of the cannon barrel mounted.
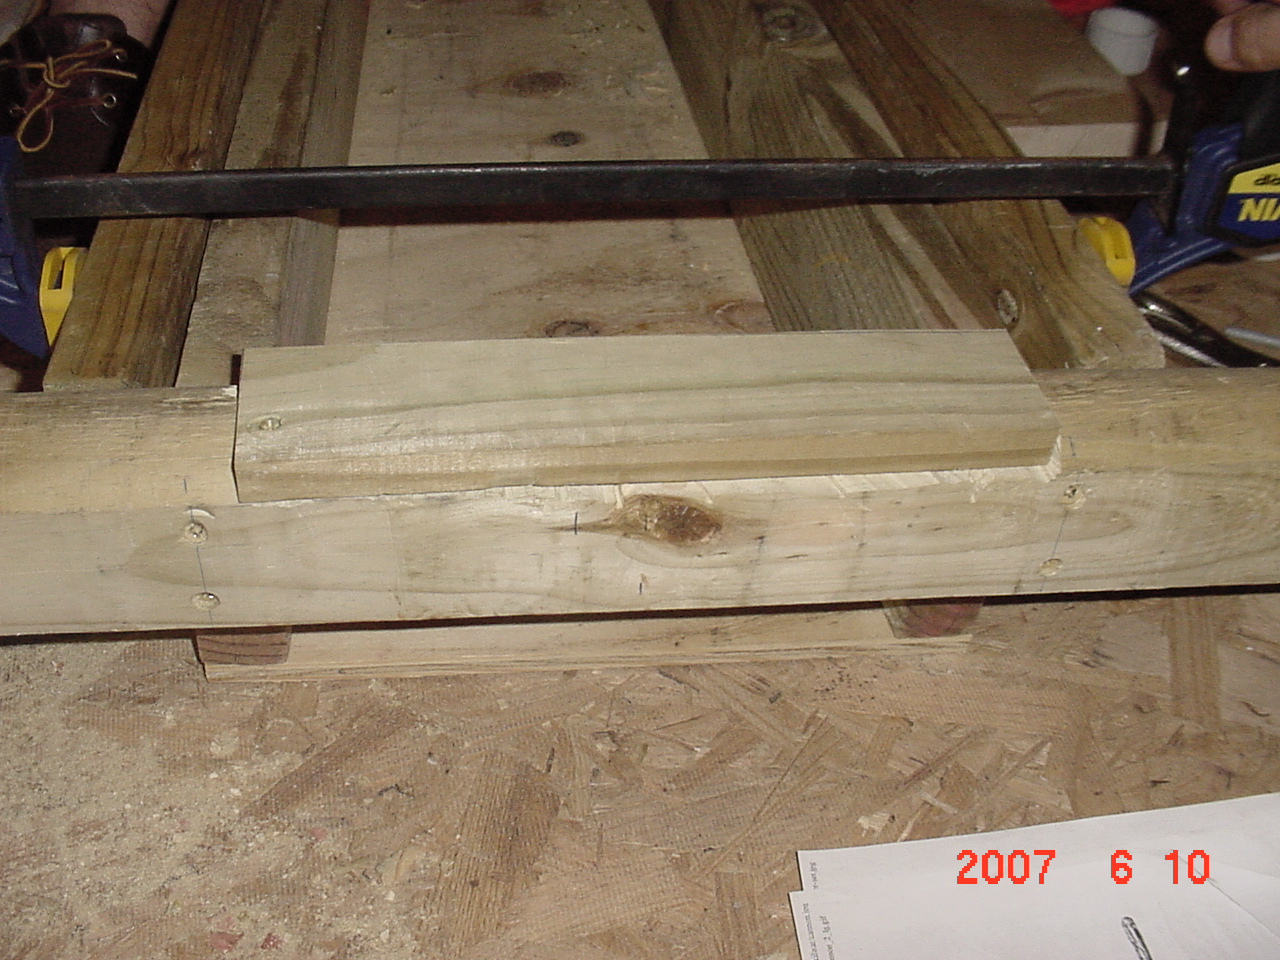
The valve attached to the QEV has a manual firing switch, which allowed us to test it before we hook up all the controlling electronics. Here's a couple short videos of our early test fires, and a close-up video of the mechanism as I test fire it. After test fitting the complete air tank assembly we discovered we needed at least another 1/4" in depth. We eventually ended up replacing the sides of the cannon frame with 2x10s which gave us much more room inside and a nice look on the outside. We also had to flatten the front lip of the axle so we the side mounts that hold the barrel would sit evenly. Below are pics of the notched front end.
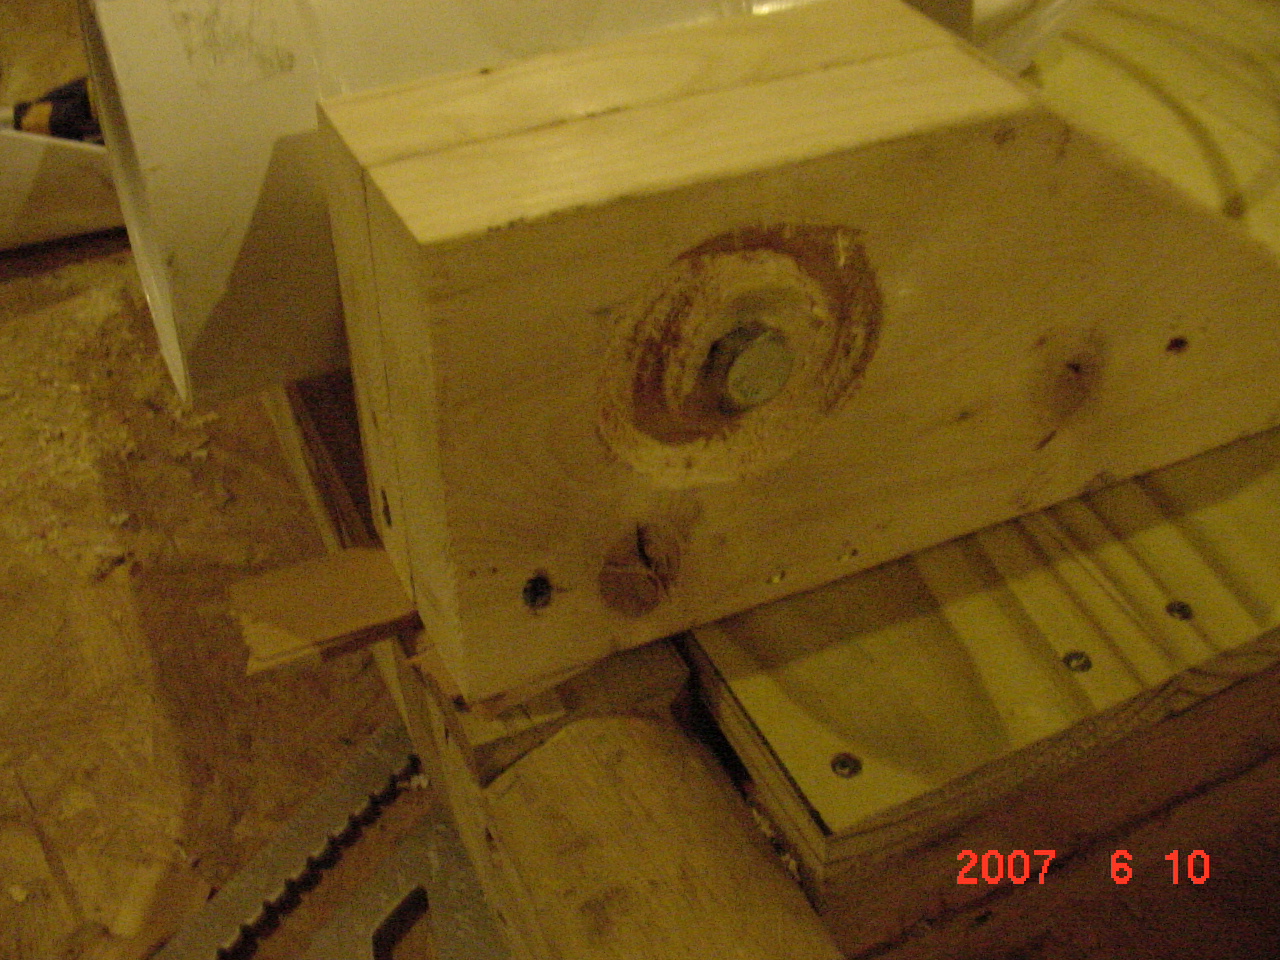
Next the 1x6 planks were cut and placed over the undercarriage, and the side mounts for the cannon we mounted. We ran a 1/2" x4" bolt through the side mounts with a lock washer and nut inside the cannon barrel. To "pretty up" the bolt, we covered them with 1 1/2" PVC end caps (after we routed out a hole for them to sit in). The caps will be painted black to match the cannon barrel:
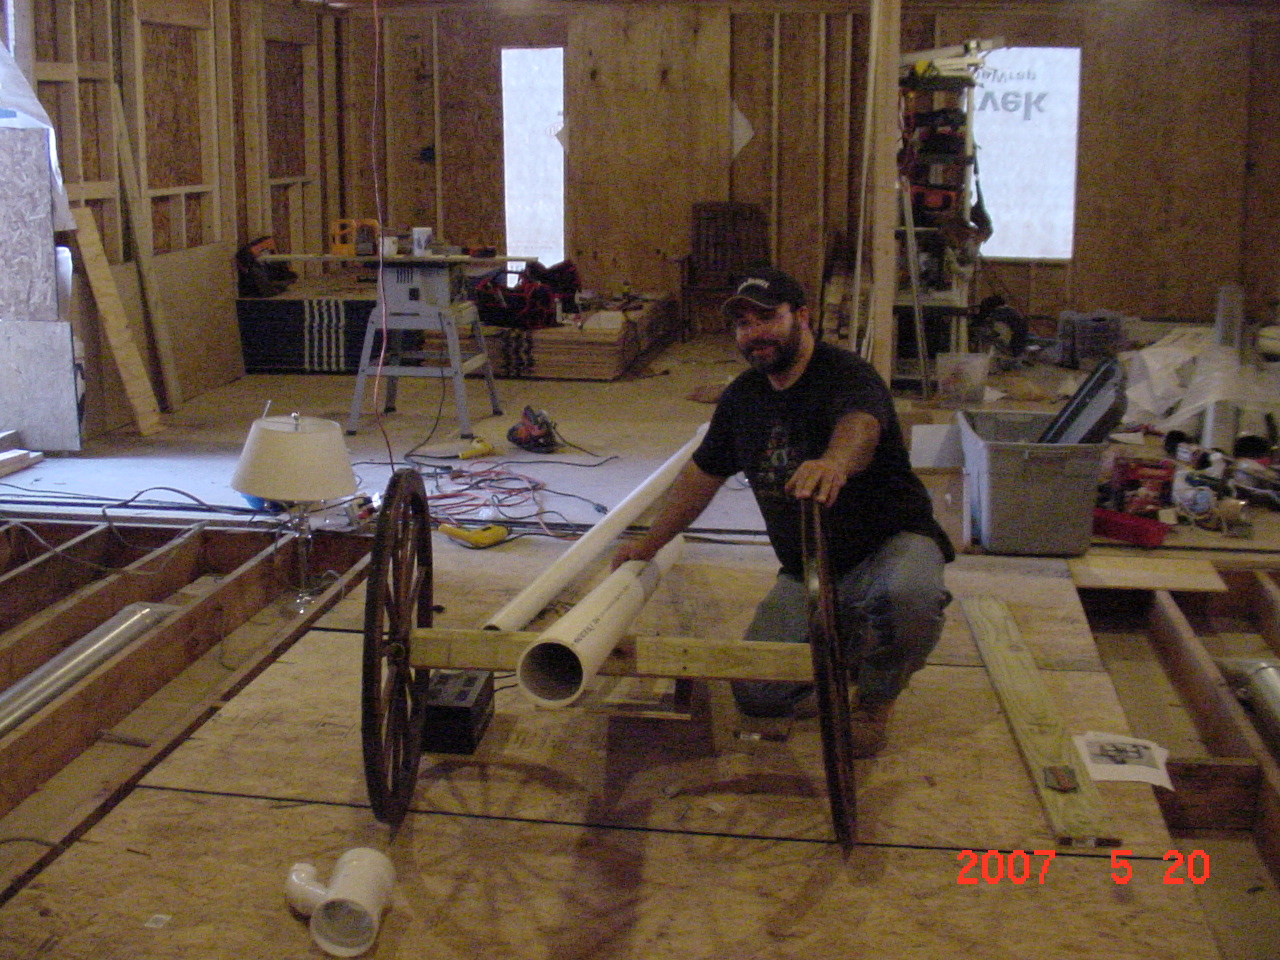
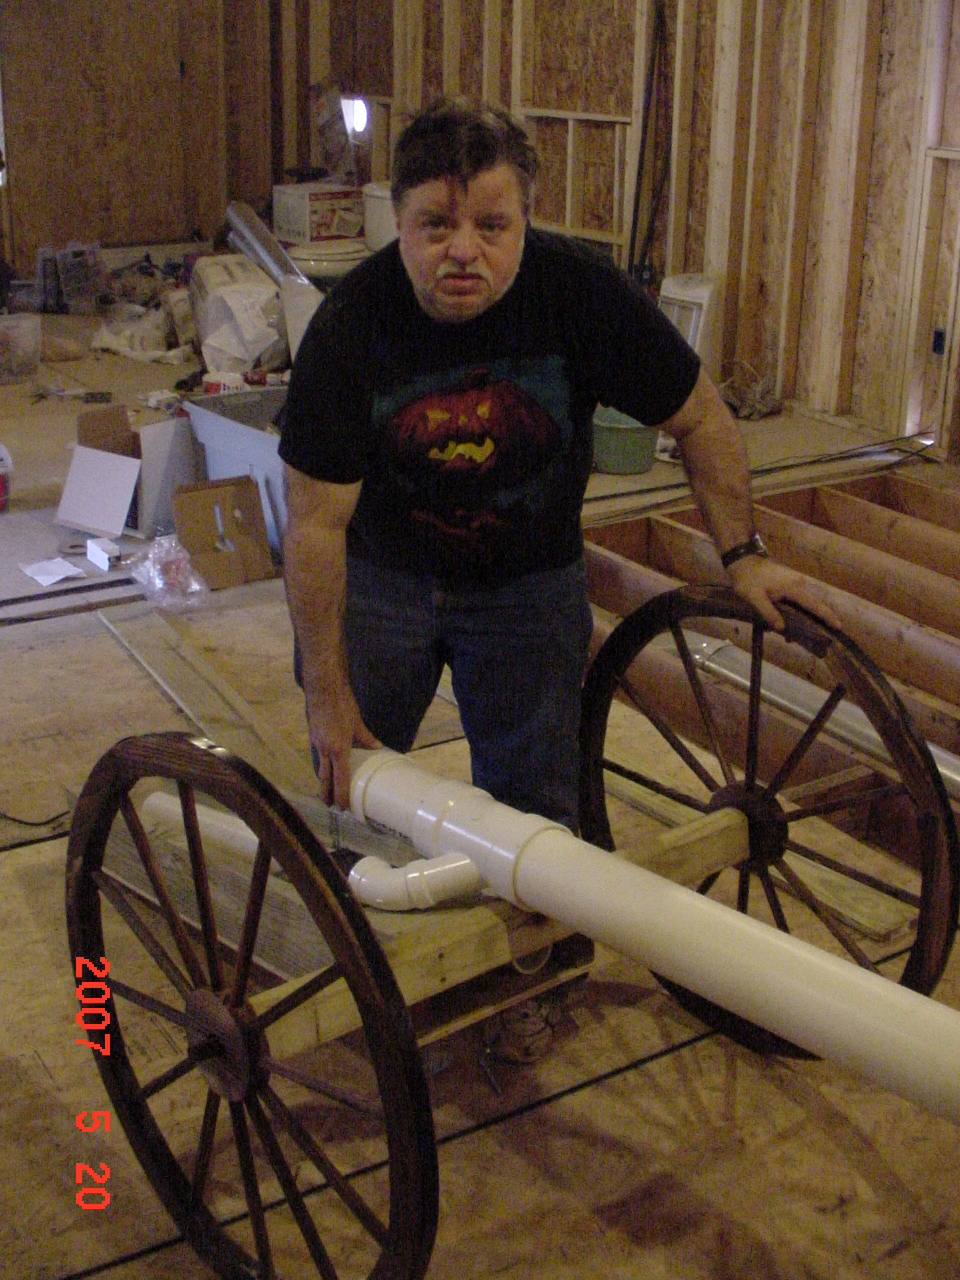
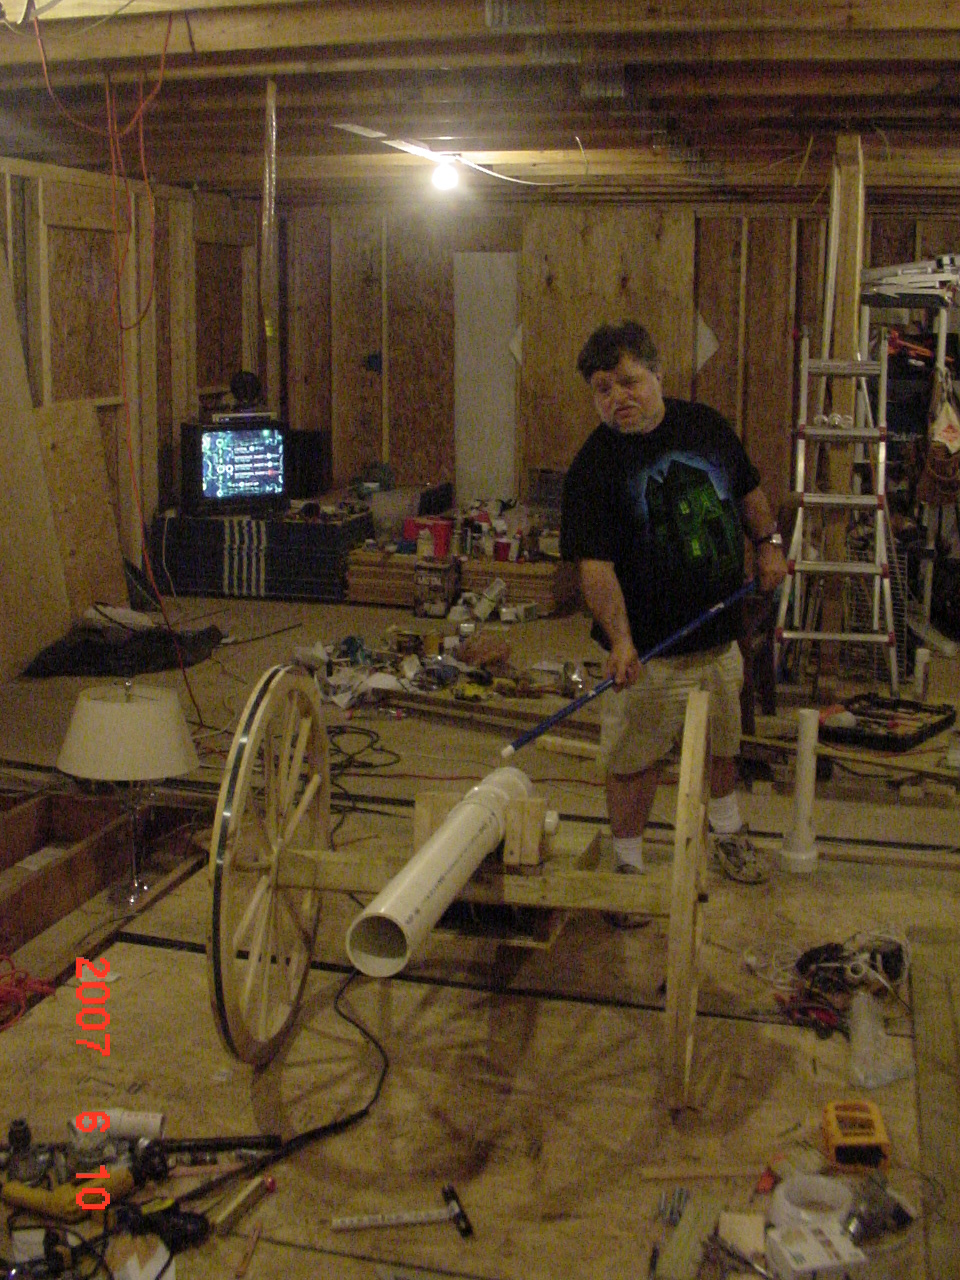
And you wanted to see how it came out (before paint and wood stain)?
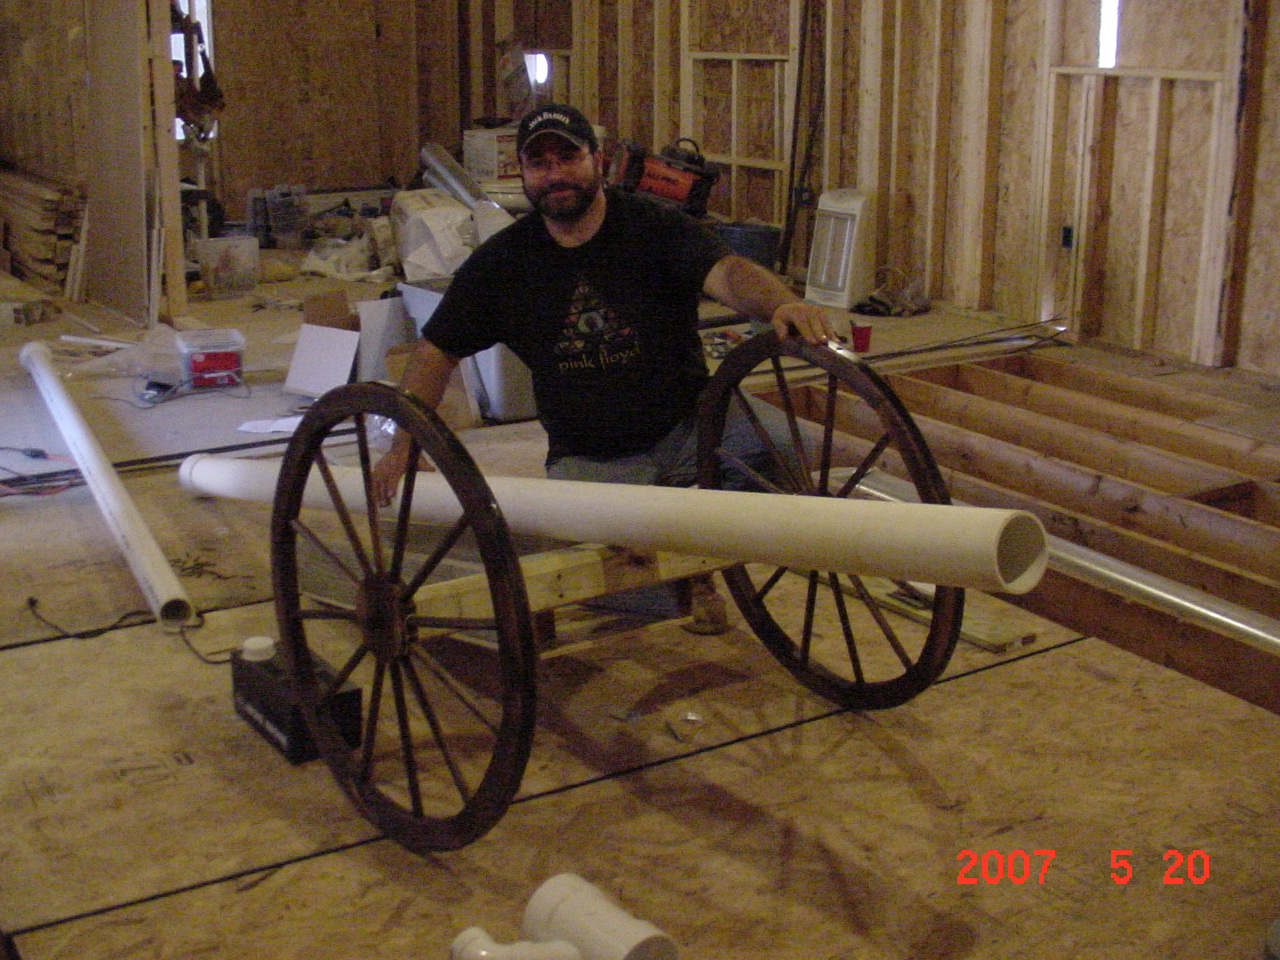
And I couldn't resist posing with it:
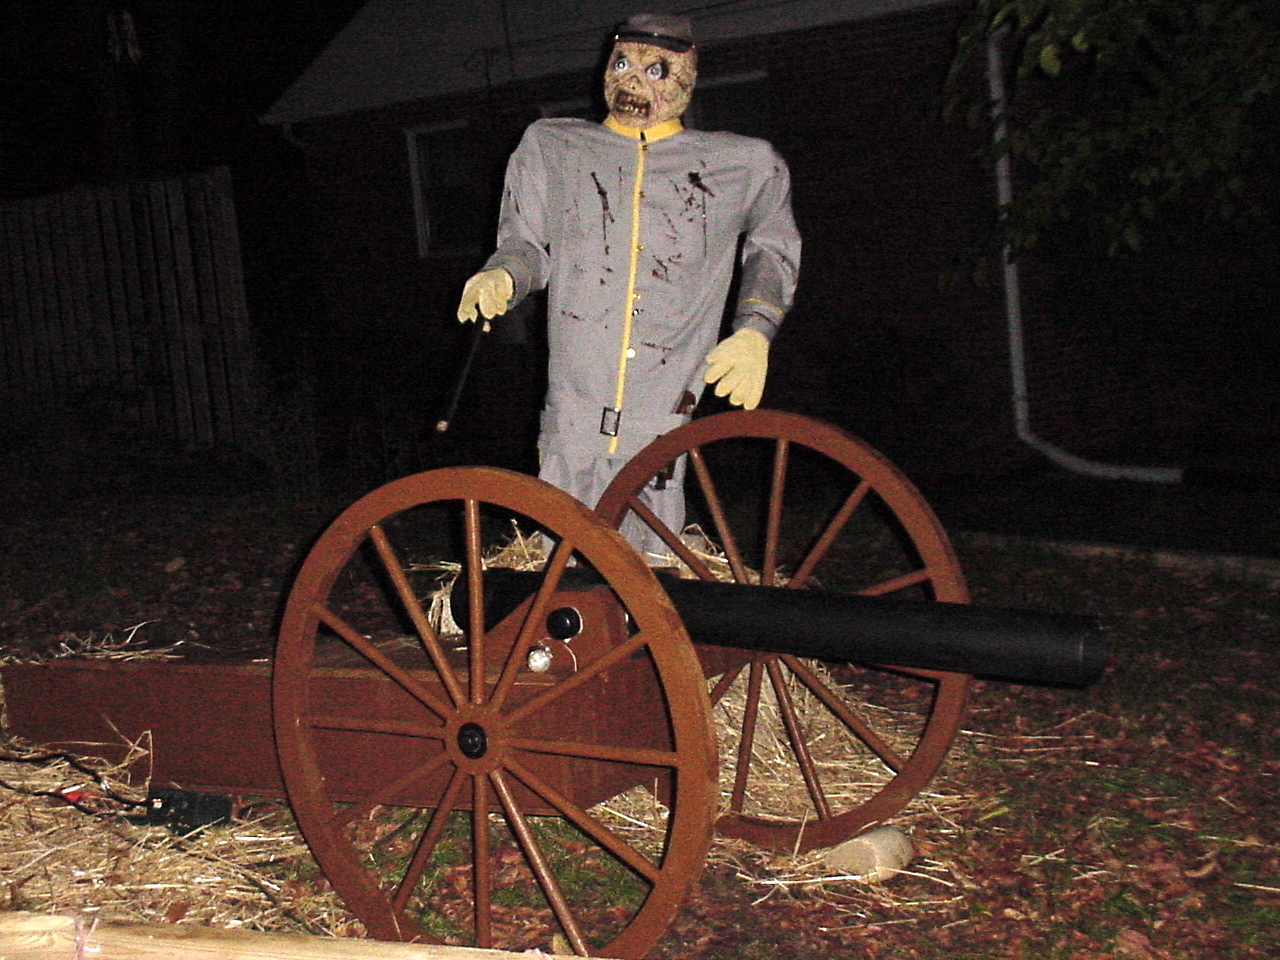
And here's a picture of the cannon and Private Waltrip "ready for action"!
Like all our other fancy automated props we used a Prop-1 micro controller from EFX-TEK as the brains. A motion sensor (PIR) unit hooked up to the Prop-1 lets it know when a victim approaches. The first thing it does is start the Rogue Robotics uMP3 player which plays the soldier's speech. A few seconds into the speech, Private Waltrip's eyes and cannon-igniter tip light up. The private then lowers his igniter which touches the cannon at which point the internal fog machine is started. The Prop-1 then triggers the attached RC-4 relay board which turns on the fog machine (the RC-4 relay simply "closes" a circuit which was wired into the remote control "on" switch for the fogger; 3 seconds of fog is dispensed into the cannon "barrel" through the angled pipe connection below. Finally, the RC-4 is signaled to engage the solenoid attached to the quick-exhaust valve, "firing" the cannon. All the electronics - including the pair of underpowered PC speakers - were tucked inside the cannon via the front panel (which you can see in the picture above). The front panel is removable for maintenance access by removing a couple screws. Here's a diagram of how all the wiring was hooked up:
Original plans included the "Colonel" who would narrate the area, but we ran out of time before he was ready. And for those real tech-heads in the audience, here's the source code for PROP1 program that controlled the cannon.
|