Head Turner 2007
|
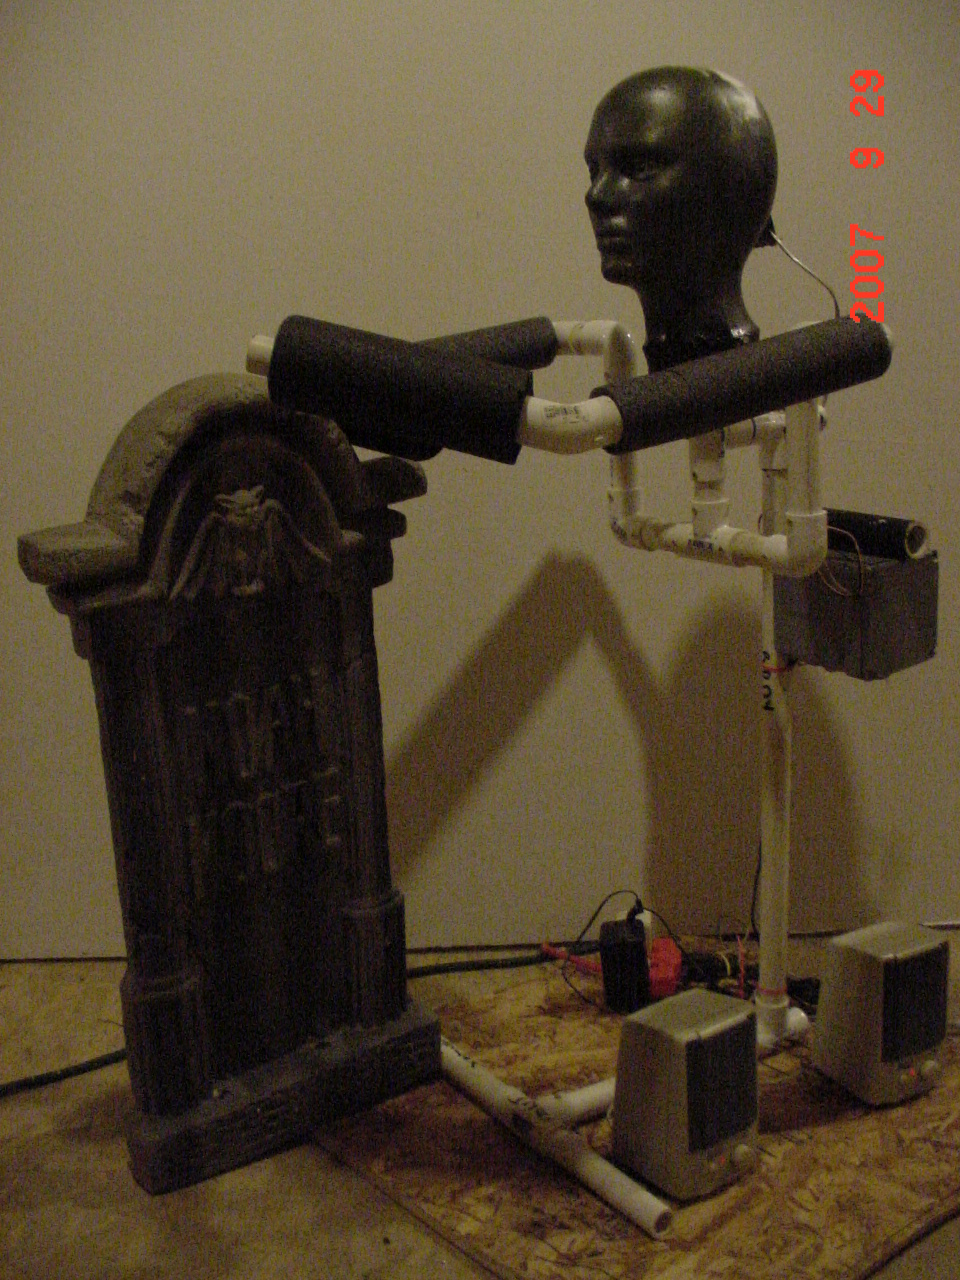
The Head Turner Prop Our head turner - originally started in 2005 and shelved due to time and technical difficulties - got resurrected in 2007! Here's a short video of the final product in action! First step was a PVC frame, allowing for a head that would rotate. Second, figuring out just HOW we would get the head to turn. From earlier testing I discovered that a foam head (with wig) sitting on top of the servo was just too much mass for that servo to turn - not to mention the stability problems of keeping all that mass firmly attached to a servo head. I came up with a solution that held the mass of the head separately, using the servo (via an attached wire) to only turn it. With a servo, and the other linked effects I wanted to trigger, it came time to consider the "brains" of this prop. For this I picked up a PROP1 board from EFX-TEK. To the PROP1, I've wired a PIR (passive infrared) motion detector, a pair of LEDs to light the eyes, the servo, and a Cowlacious ChipCorder player for sound.
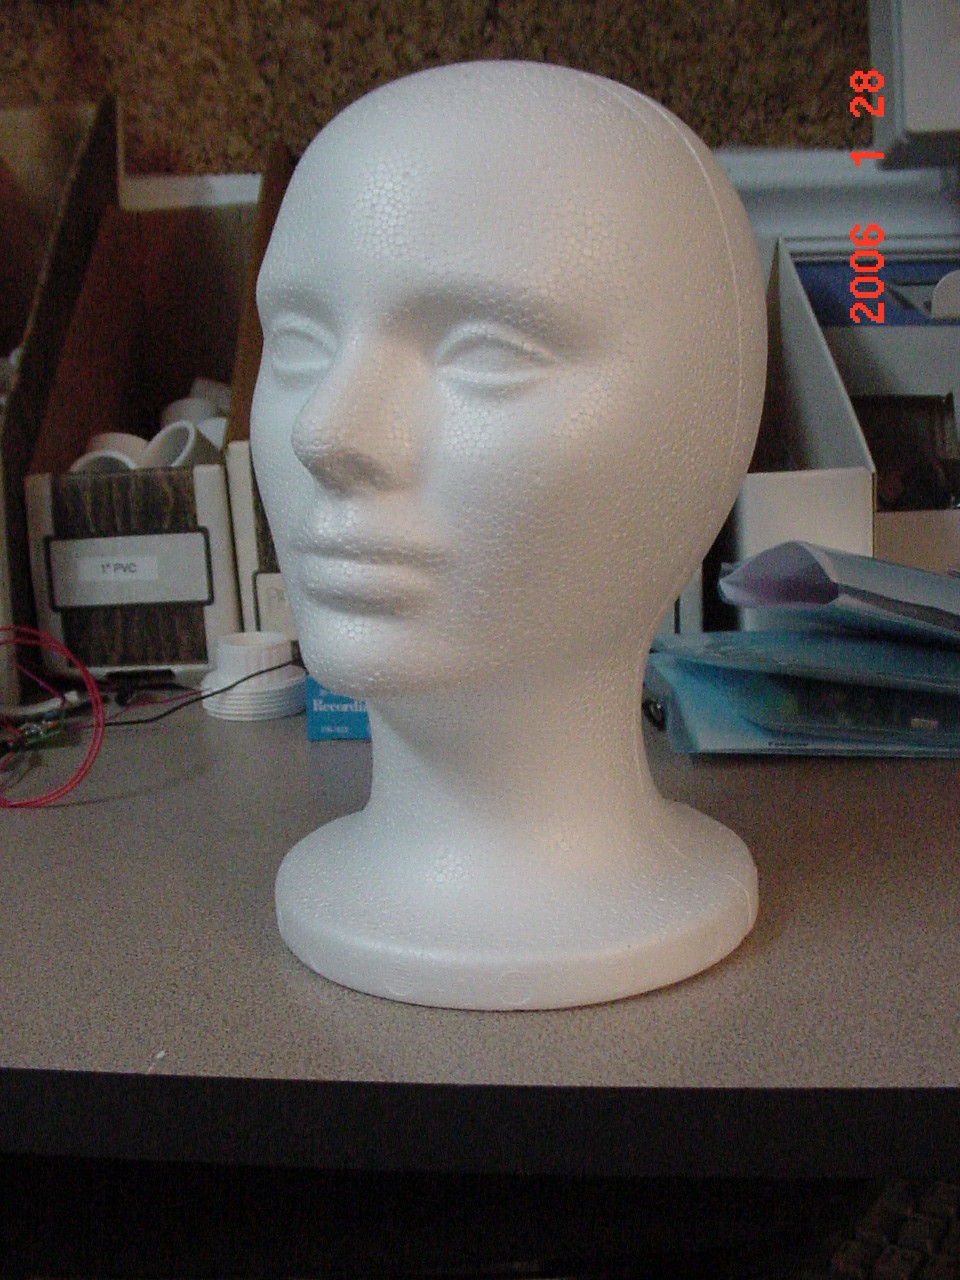
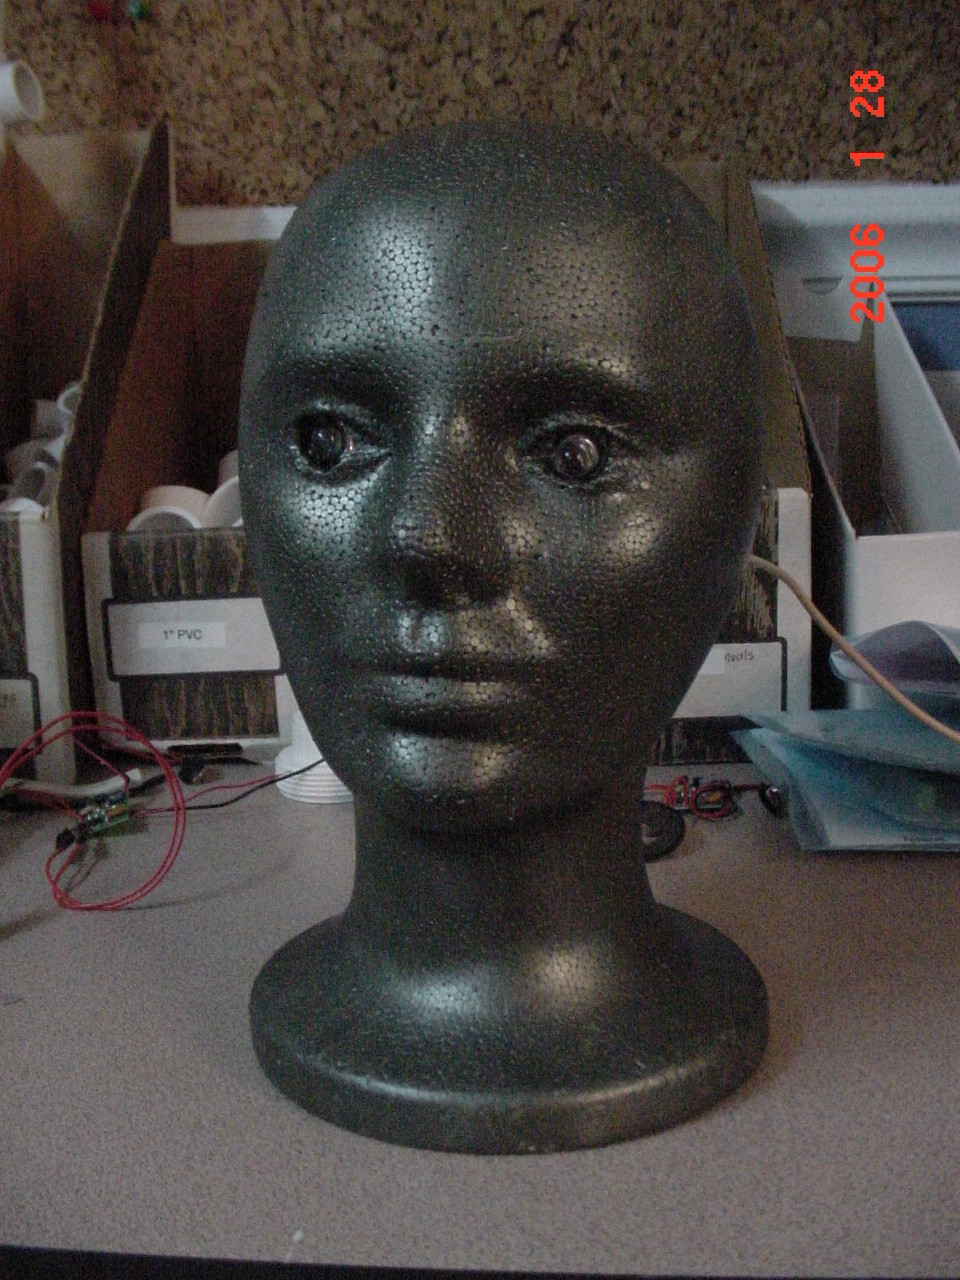
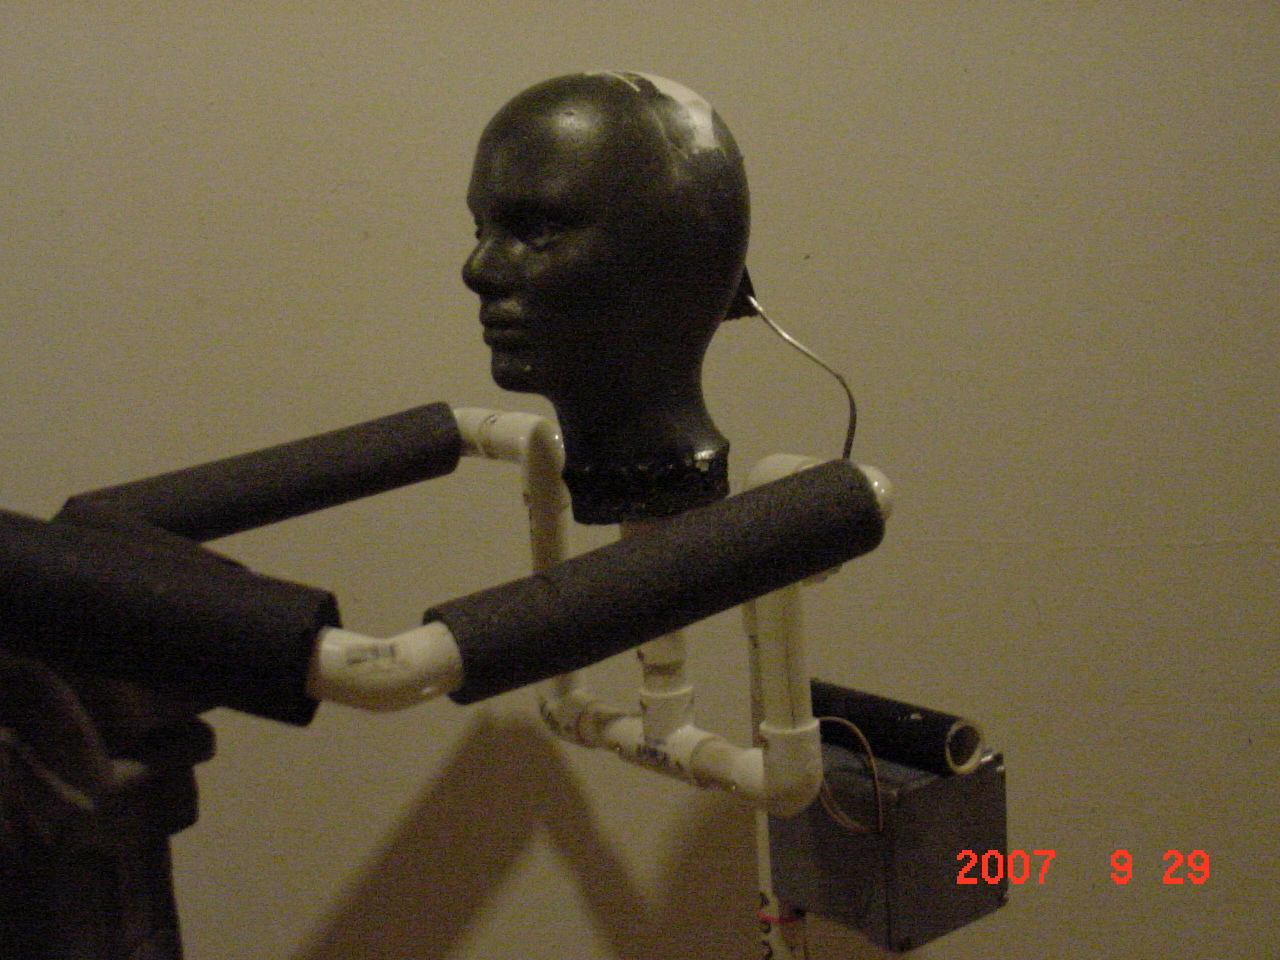
And here's the foam wig-form head used for the figure; an original and one painted with the large LED eyes fitted in it. The frame was built of 1" PVC pipe. To support the head and allow it to pivot easily, the head has a 1/2" PVC pipe inserted inside it then down into the 1" pipe you see below the head. To keep it from rocking around too much, there is a pipe cap on the 1" pipe just below the neckline with a 5/8" hole drilled into it so the 1/2" PVC head-support pipe fits snugly but securely. With this setup the inner PVC pipe (and the head attached to it) can rotate freely within the other pipe, and are supported by the inner PVC pipe whose bottom rests at the base of the "T" below it.
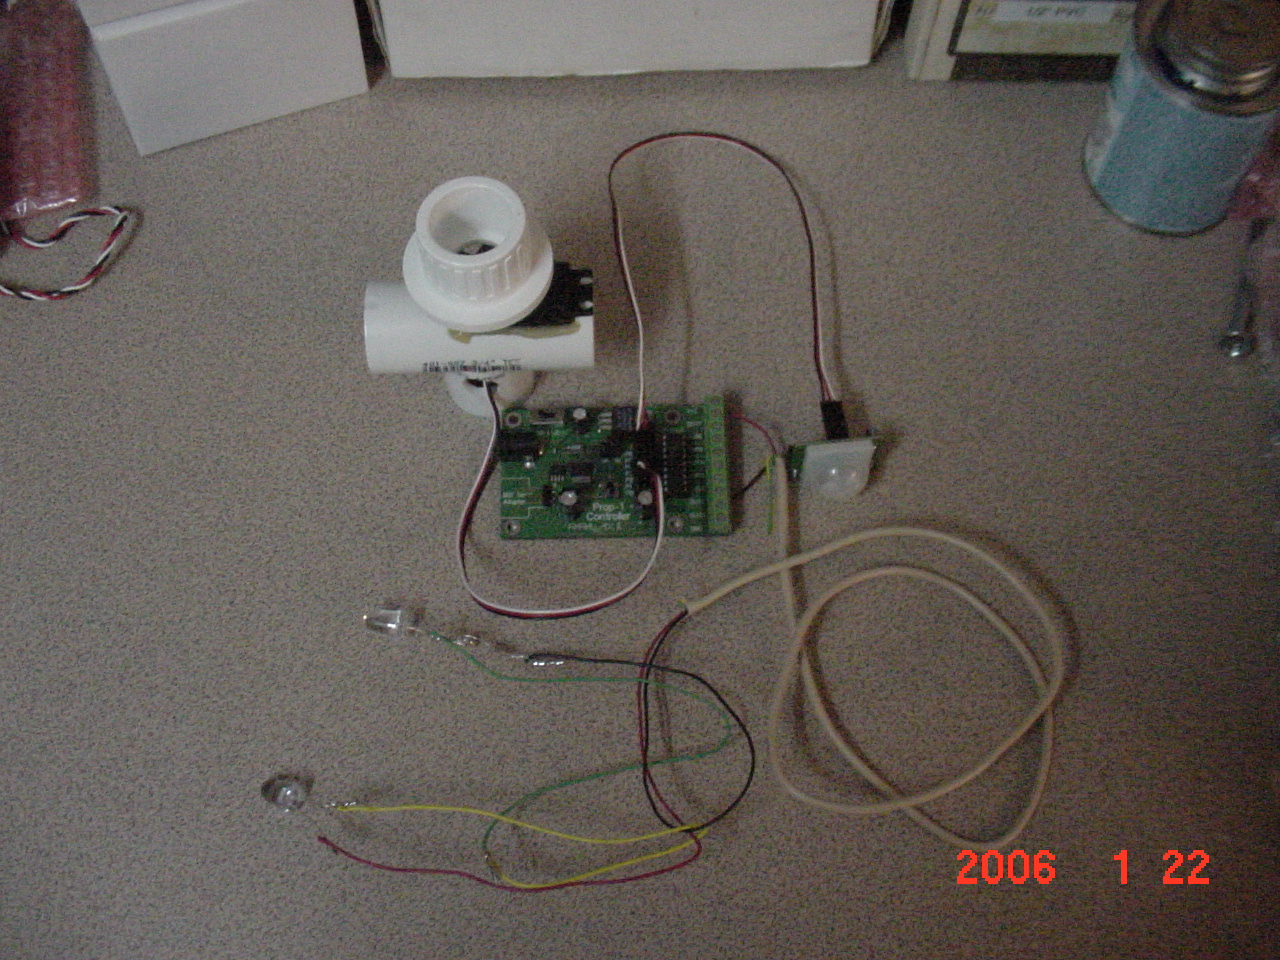
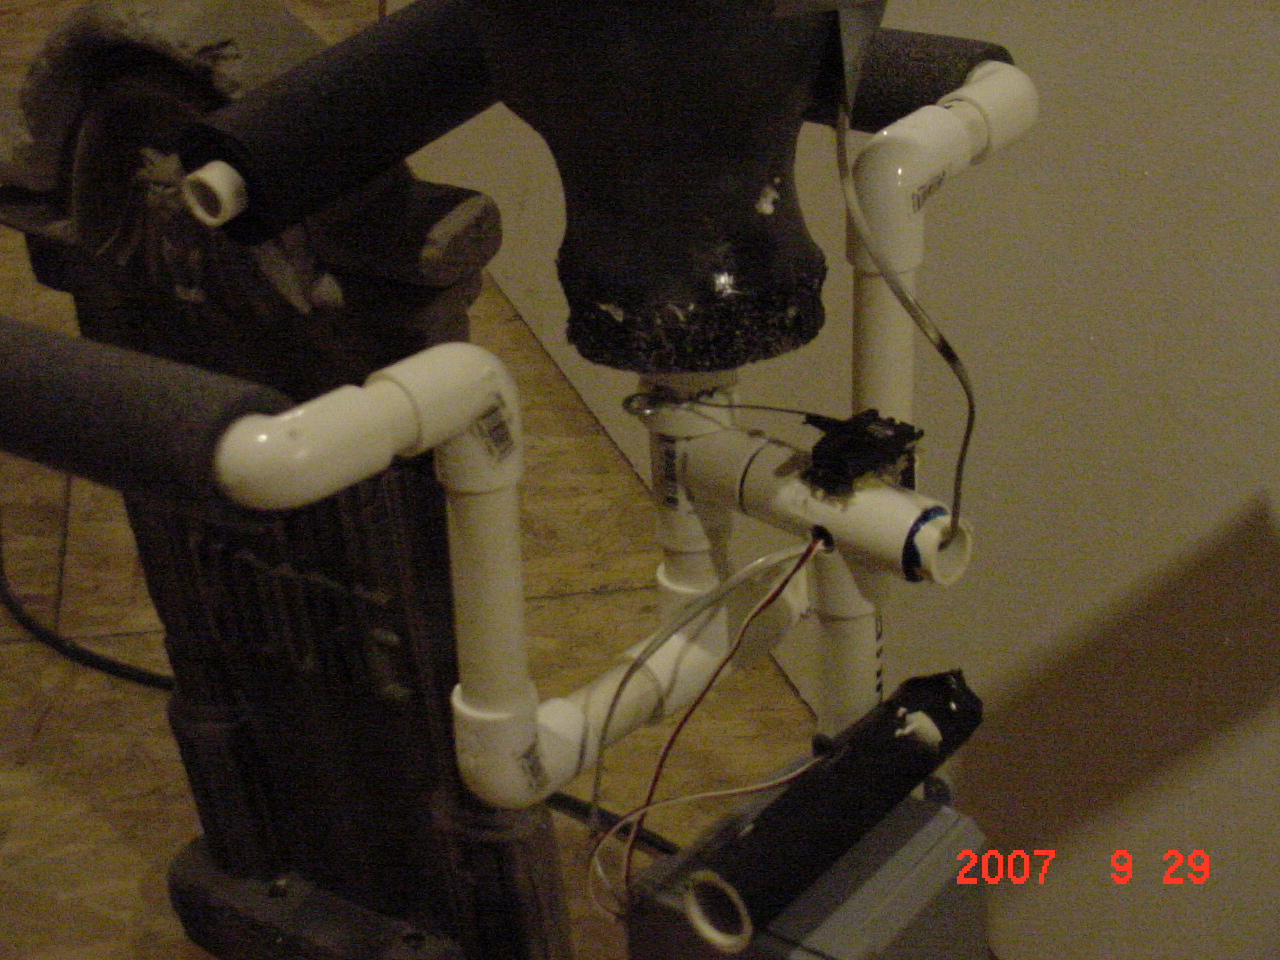
Below you can see the mechanism of the prop. The 1" pipe frame supporting the head is connected via a "T" that extends toward the back of the prop, then another pipe running to the base acts as the support. You can see the servo mounted in the "T" just behind the neck support pipe. It's difficult to make out in these pictures but a chunk of the 1" pipe cap (that the neck fits into) has been cut away with a dremel tool, forming a small channel from front to back where you can see through to the 1/2" PVC pipe inside. Through this opening we screwed an eye hook extending out clear of the outer pipe. A wire attached to this eye hook and then attached to the servo arm is what rotates the head.
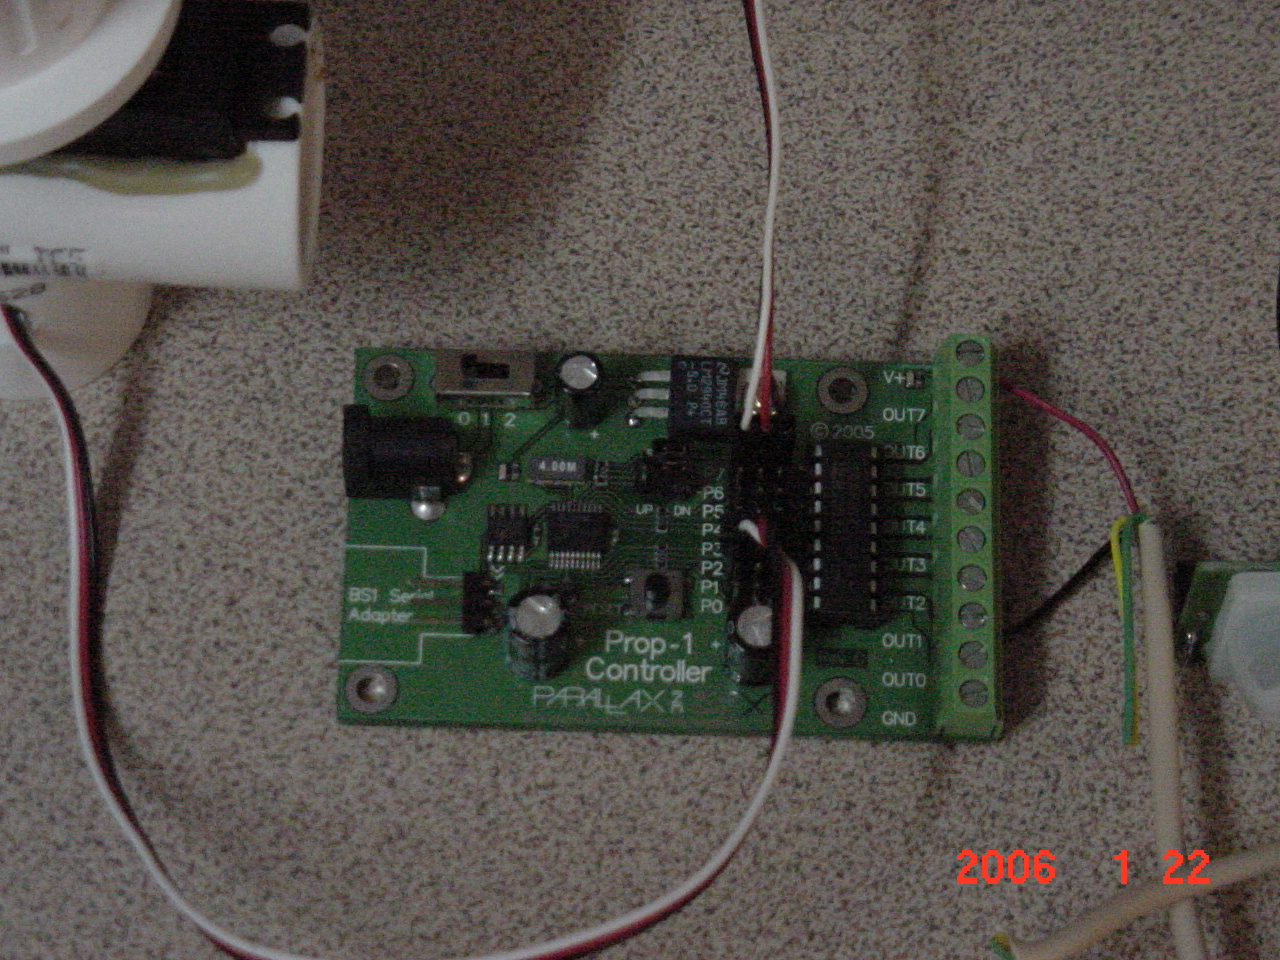
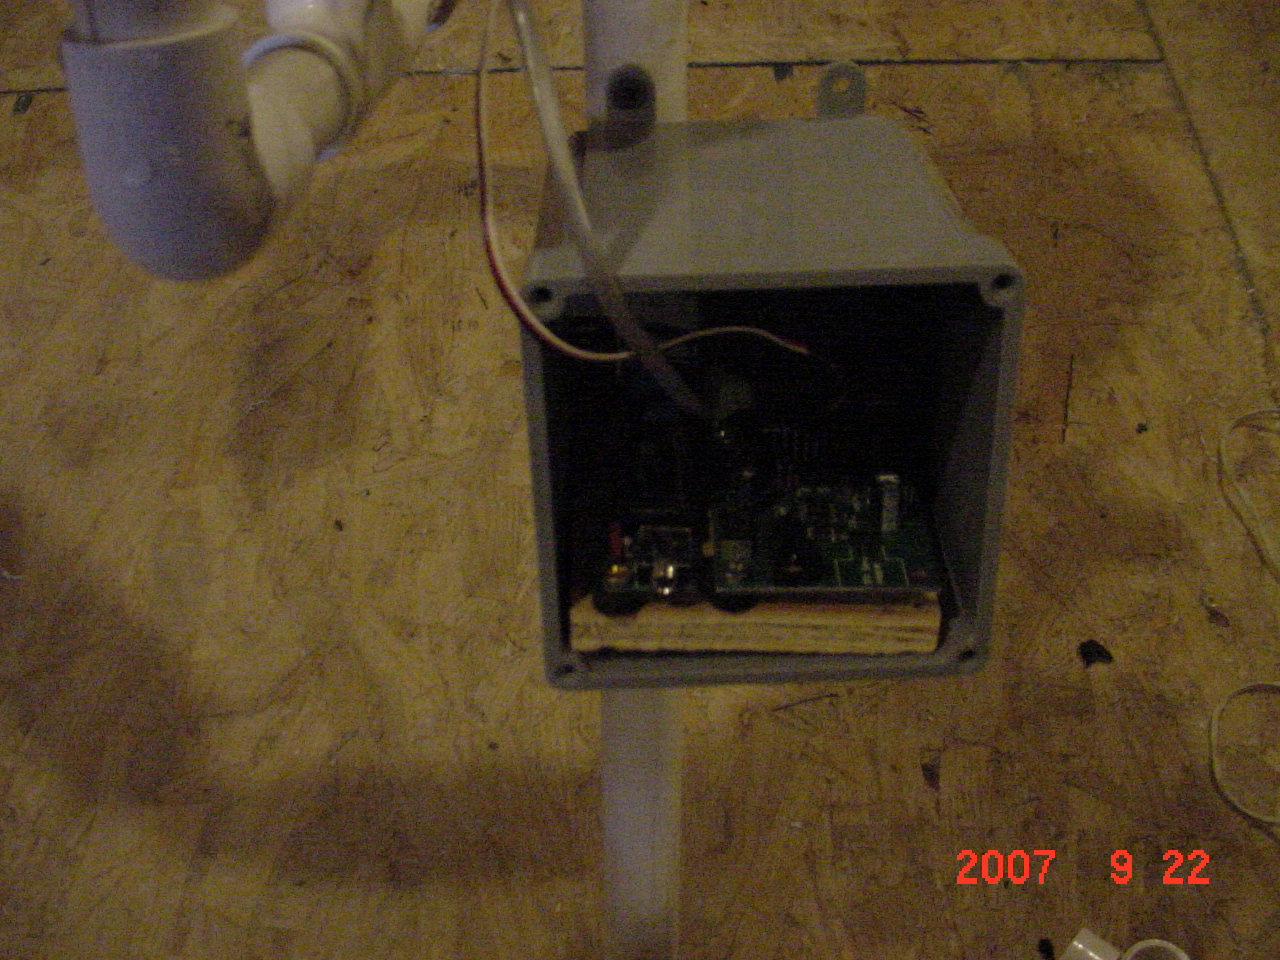
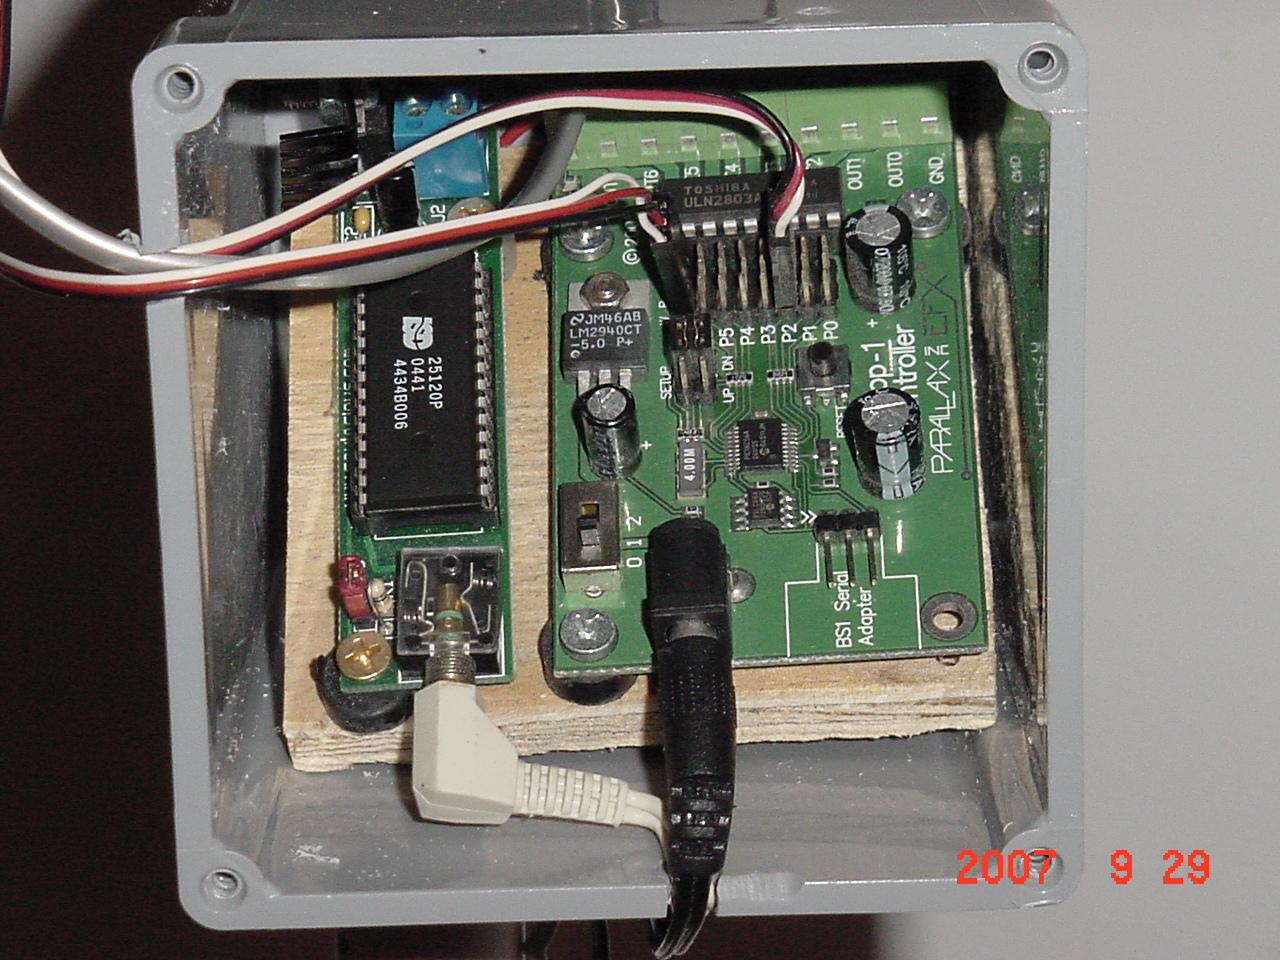
Since this prop was going to outside and was therefore likely to get wet and weathered, it was important that the controlling electronics be adequately shielded from the elements. For this we used a 6x6" plastic outdoor electrical box (picked up from Home Depot). The controlling electronics were mounted to a small piece of plywood which fit nicely inside the electrical box. Some small openings around the box (located so that water wouldn't drip down into it) were dremeled in so the wires could exit the box without allowing any moisture in.
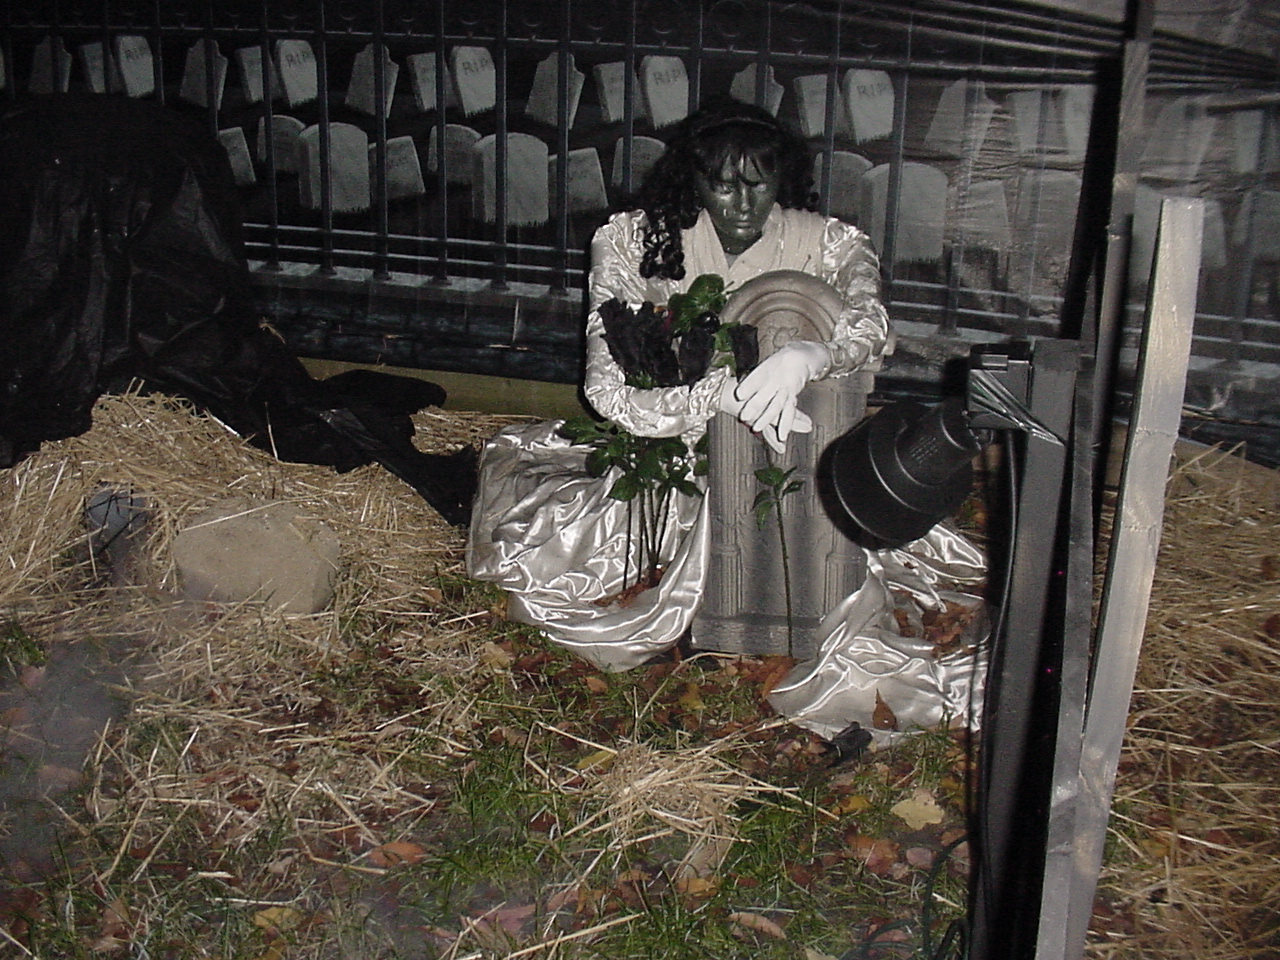
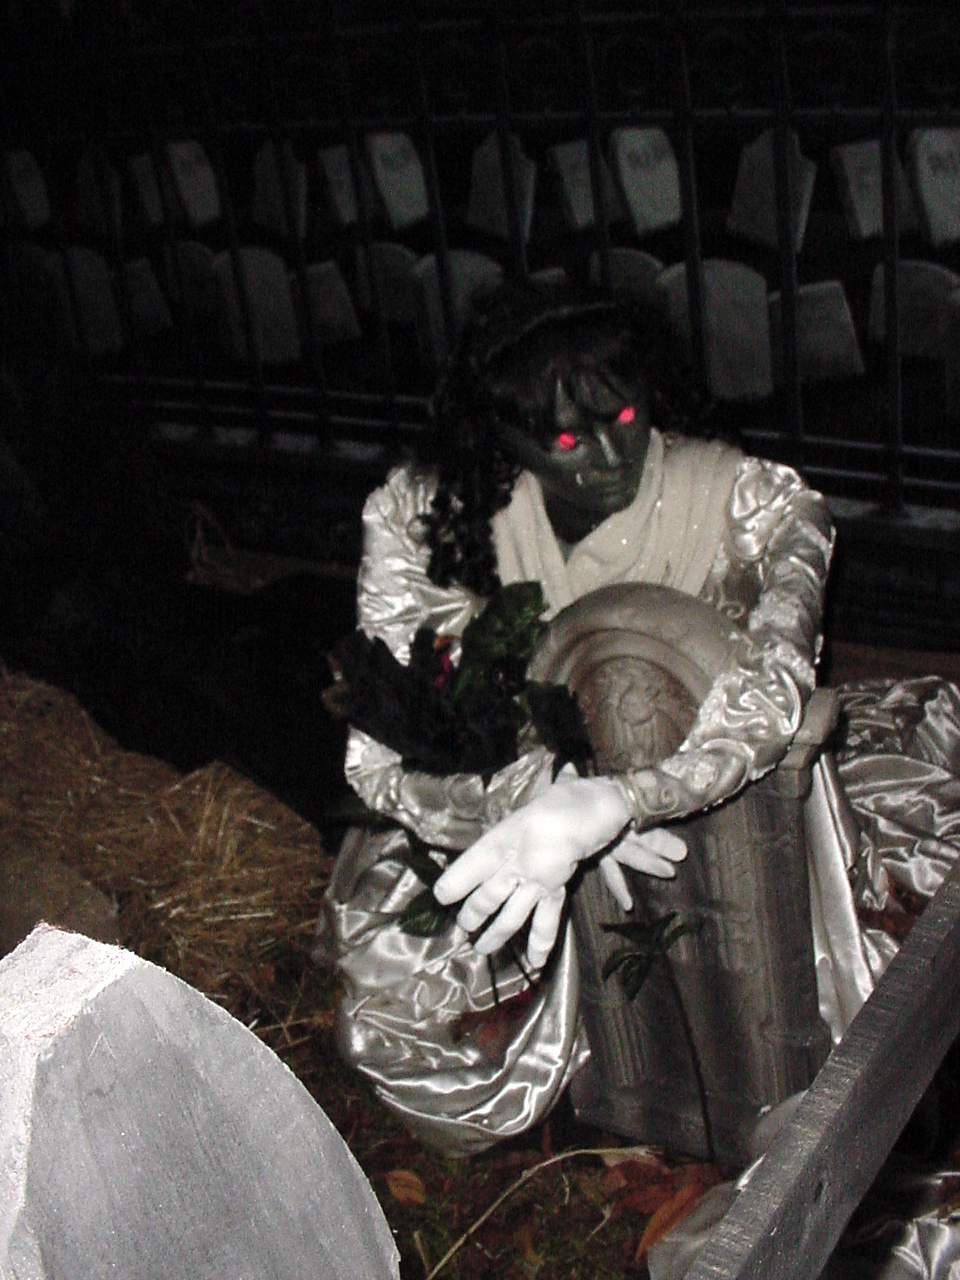
The electronics consisted of the "brains" - a EFX-TEK Prop1 controller and a Cowlacious Designs ChipCorder player board which plays the sound effect. Wires run to the servo (which turns her head) and to the super-bright red LEDs mounted in her eyes. An audio cable runs down to the pair of amplified PC speakers sitting on the base (which were eventually wrapped in plastic bags so they wouldn't get wet). Here's a short video where we tested the mechanism and electronics before she was "dressed". After all the electronics were mounted and the mechanism was tested, our bride was wrapped in a poncho of chicken wire (to give her a body frame) and then dressed in a real wedding dress (picked up at a thrift store for a couple dollars). Finally, here she is all dressed and ready to scare:
|